(Windows 2008 Server: Lesson 2)
{ Configuring dcpromo }
| Section 0. Background Information |
- What is dcpromo?
- It is the Domain Controller Promoter/demoter utility for Microsoft's Active Directory Services. It's function is to change (Promote) a member server into a domain controller or to demote a domain controller to a member server in the active directory.
- http://technet.microsoft.com/en-us/library/cc732887(WS.10).aspx
| Section 1. Login to your W2K8 server. |
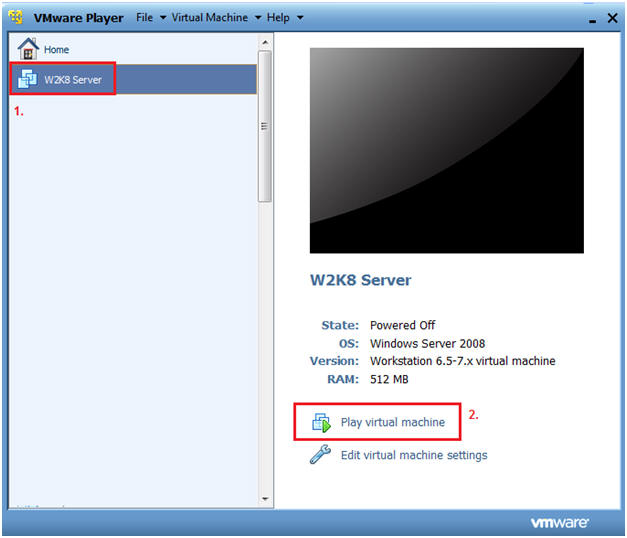
- Start your Windows 2008 Server
- Instructions:
- Click on W2K8 Server
- Click on Play virtual machine
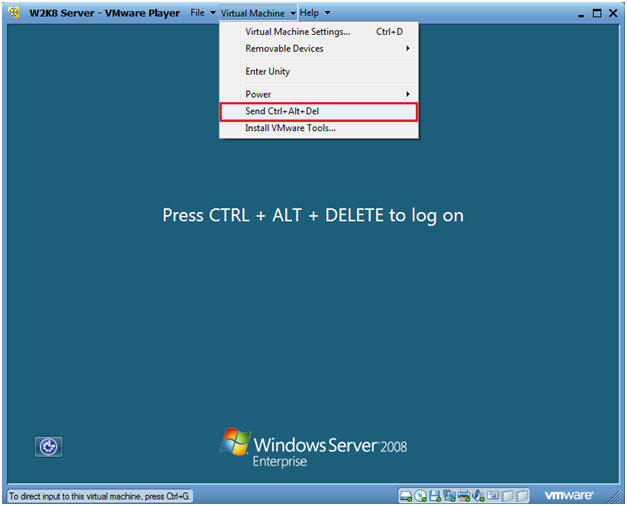
- Instructions:
- CRTL + ALT + DELETE
- Instructions
- Virtual Machine
- Send Ctrl+Alt+Del
- Instructions
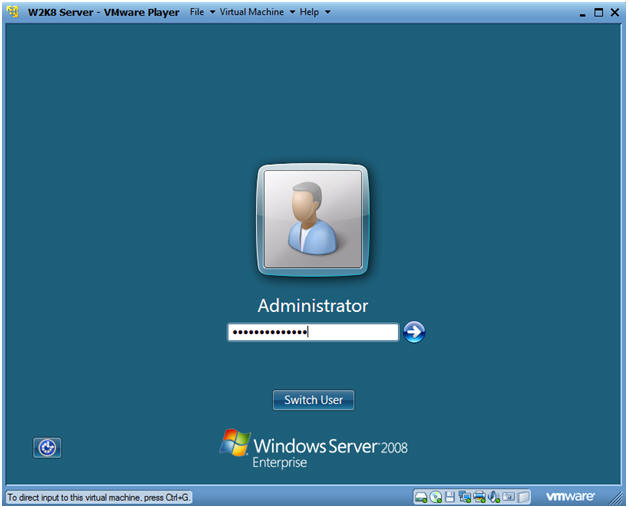
- Login as Administrator
- Click on the Administrator icon.
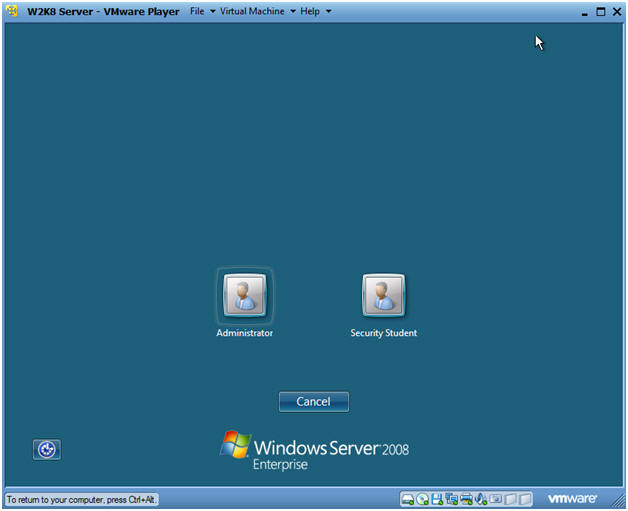
- Login
- Command: Provide the password for the Administrator account.
| Section 2. Launching dcpromo |
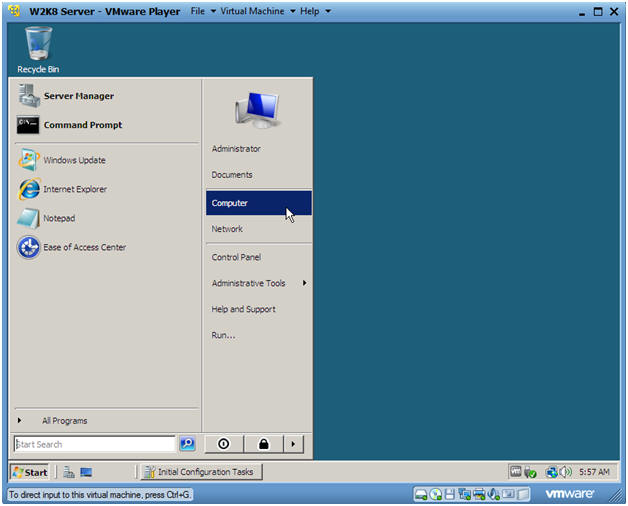
- Bring up My Computer
- Instructions:
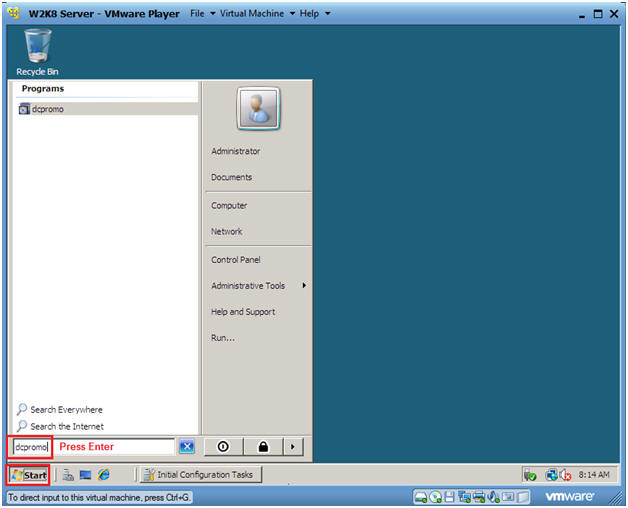
- Click the Start Button
- In the search box, type "dcpromo"
- Press Enter
-
- Instructions:
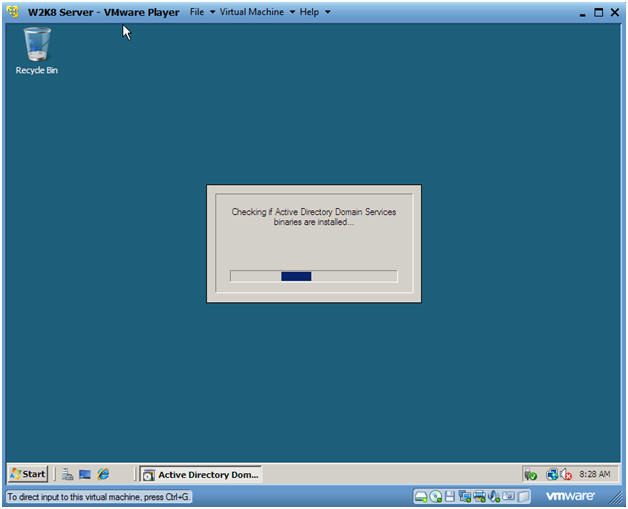
- Informational
- Note: You will see the following screen while Active Directory services are installed.
-
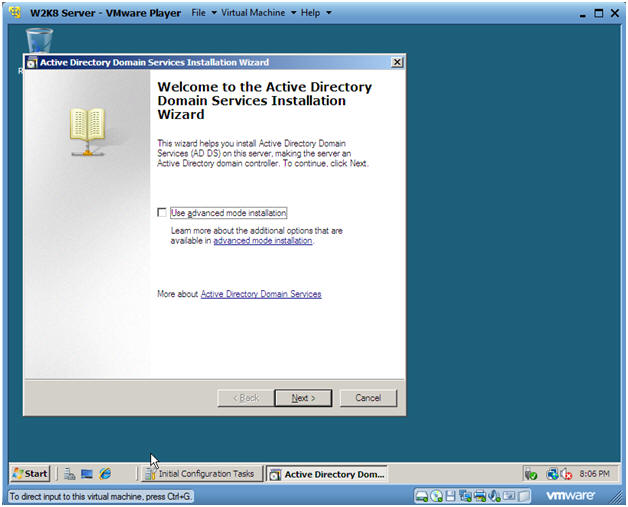
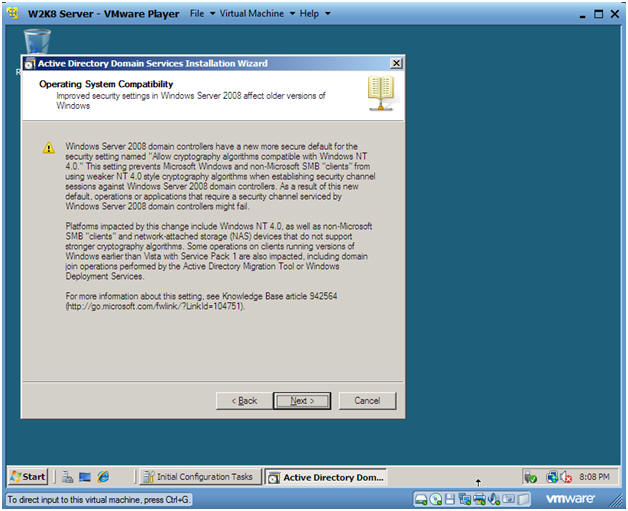
- Active Directory Domain Services Installation
Wizard (Screen 1)
- Command: Select Next
- Active Directory Domain Services Installation
Wizard (Screen 2)
- Command: Select Next
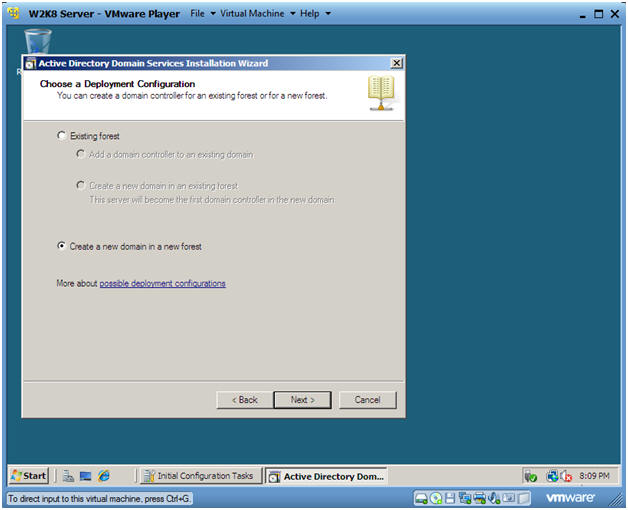
- Active Directory Domain Services Installation
Wizard (Screen 3)
- Instructions:
- Select Create a new domain in a new forest
- Select Next
- Instructions:
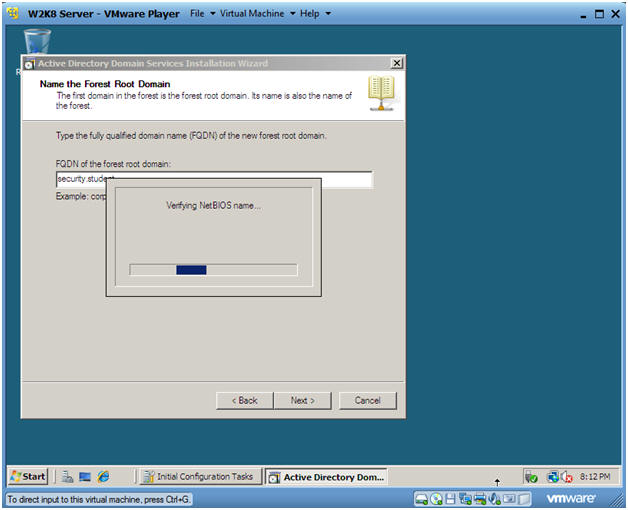
- Active Directory Domain Services Installation
Wizard (Screen 4)
- Instructions:
- FQDN of the forest root domain: security.student
- Select Next

- Instructions:
- Informational
- Note: You will see the following screen while the security.student domain is created.
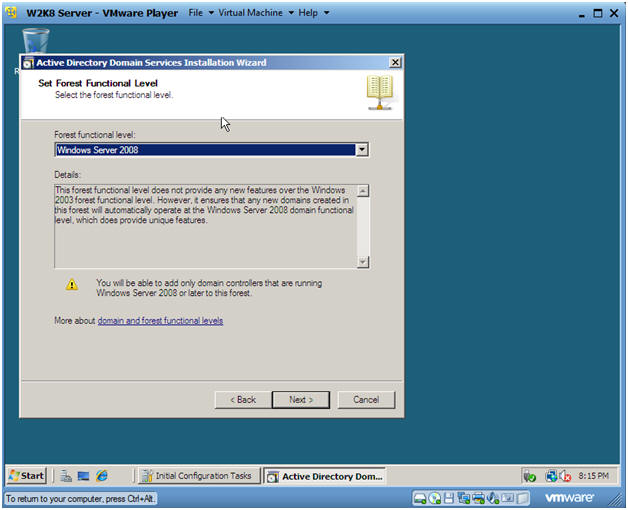
- Active Directory Domain Services Installation
Wizard (Screen 5)
- Instruction:
- Forest function level: Windows Server 2008.
- Select Next
- Instruction:
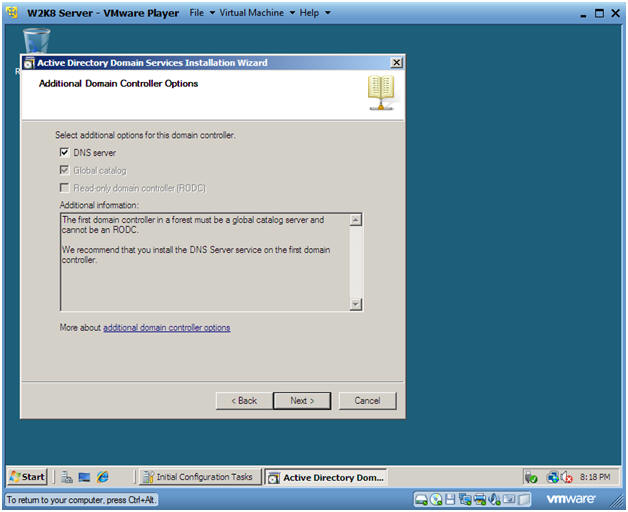
- Active Directory Domain Services Installation
Wizard (Screen 6)
- Instruction:
- Select DNS Server
- Select Next
- Instruction:
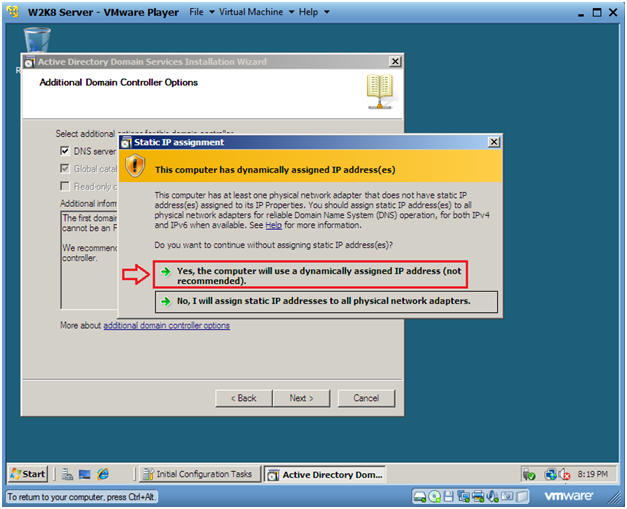
- Active Directory Domain Services Installation
Wizard (Screen 7)
- Instruction:
- Select "Yes, the computer will use a
dynamically assigned IP address (not recommended).
- Note: For our classroom purposes, we use DHCP. For those of you not in my class that have a static IP to assign your server, then select "No....".
- Select Next
- Select "Yes, the computer will use a
dynamically assigned IP address (not recommended).
- Instruction:
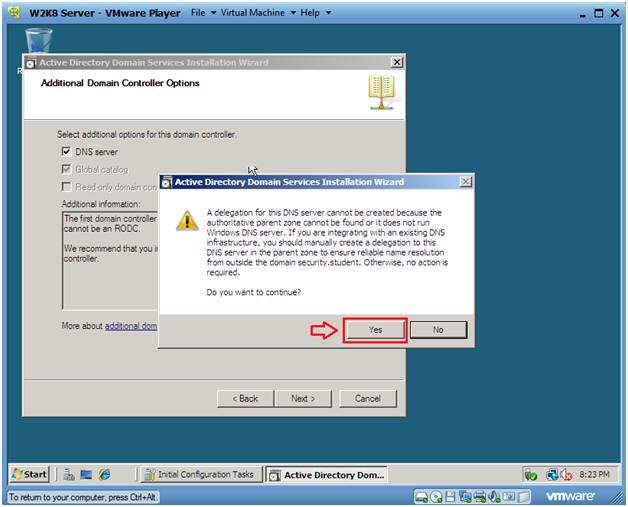
- Active Directory Domain Services Installation
Wizard (Screen 8)
- Instruction:
- Select "Yes"
- Instruction:
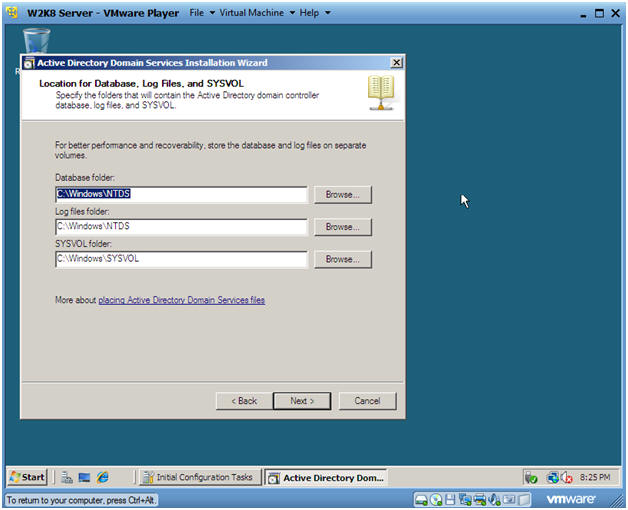
- Active Directory Domain Services Installation
Wizard (Screen 9)
- Instruction:
- Select "Next"
- Instruction:
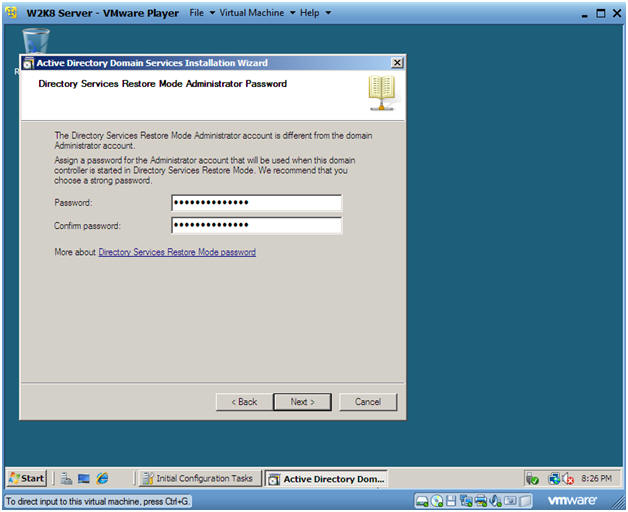
- Active Directory Domain Services Installation
Wizard (Screen 10)
- Instruction:
- For my class, use the password supplied to you in lab 1.
- Click Next.
- Instruction:
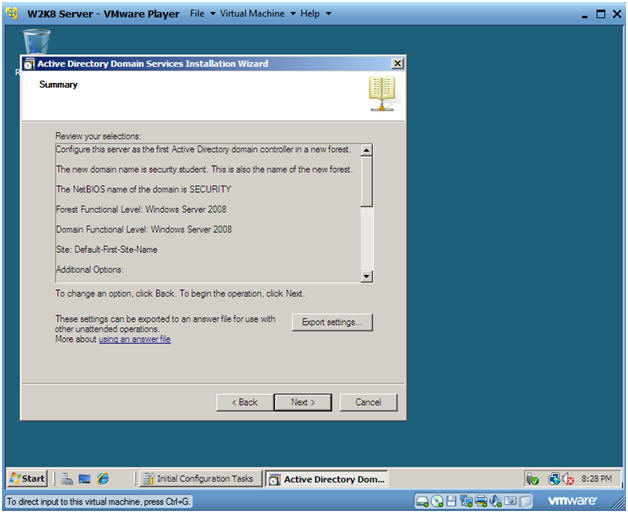
- Active Directory Domain Services Installation
Wizard (Screen 11)
- Instruction:
- Click Next.
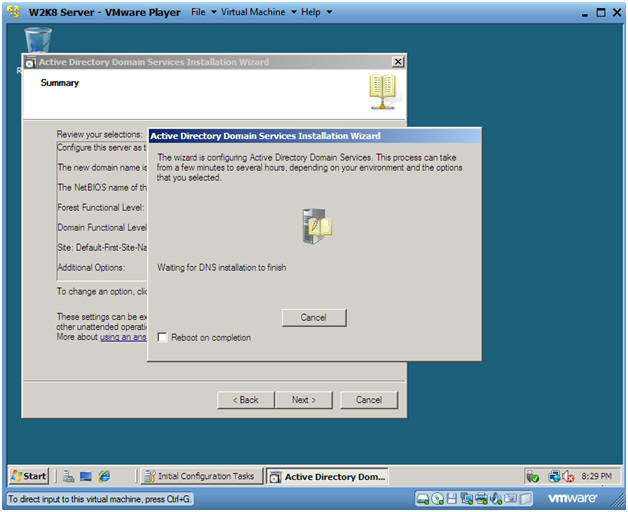
- Instruction:
- Informational
- Note: The Active Directory Services will now be configured.
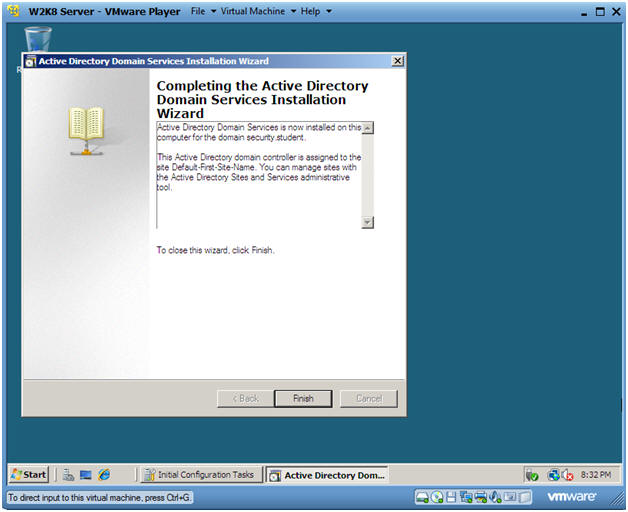
- Active Directory Domain Services Installation
Wizard (Screen 12)
- Instruction:
- Click Finish
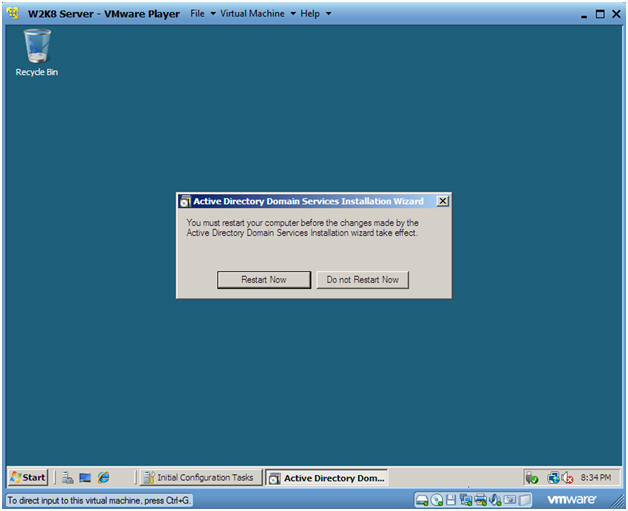
- Instruction:
- Restart your machine
- Instruction:
- Click Restart Now
- Instruction:
| Section 3. Login to your W2K8 server. |
- CRTL + ALT + DELETE
- Instructions
- Virtual Machine
- Send Ctrl+Alt+Del
- Instructions
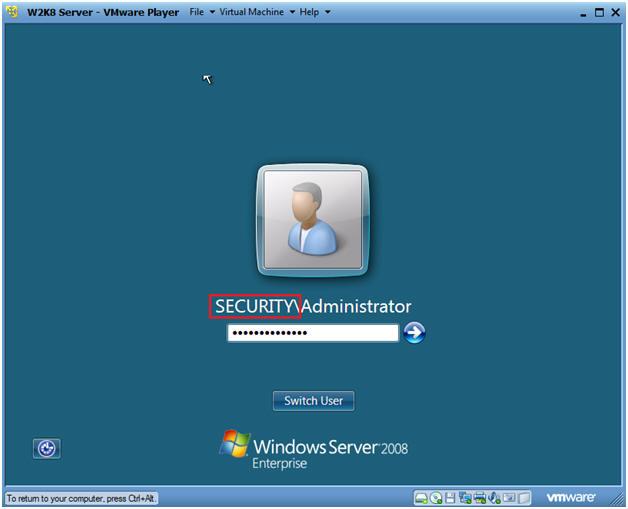
- Login as Administrator in your new "security"
domain
- Instructions
- Supply the password you previous created for the Administrator account.
- Press Enter or click the Arrow next to the password textbox.
- Note
- Notice that you are logging in to the SECURITY domain as Administrator.
- Instructions
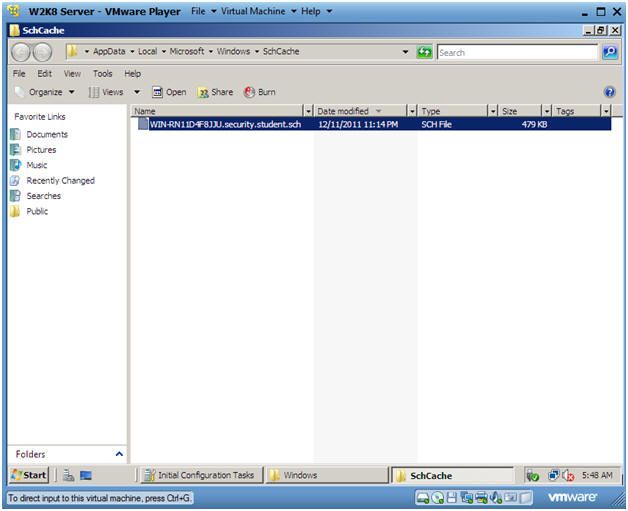
| Section 4. Proof of Lab |
- Start --> Computer
- Proof
of Lab Instructions
- Instruction
- Navigate to C:\Users\Administrator\AppData\Local\Microsoft\Windows\SchCache
- Highlight the file that contains security.student.sch
- Cut and Paste a PrtScn into a word doc and upload to Moodle.
- Note: Your time stamp should be different from the rest of your classmates.
- Instruction