(Windows 2008 Server: Lesson 14)
{ Security Configuration Wizard }
| Section 0. Background Information |
- Overview
- Security Configuration Wizard (SCW) is an attack-surface reduction tool included with Windows Server 2008 R2 and Windows Server 2008.
- SCW guides administrators in creating security policies based on the minimum functionality required for a server's role or roles.
- This guide provides step-by-step procedures for
using SCW to create and apply a security policy to a prototype server in a
test environment.
| Section 1. Login to your W2K8 server. |
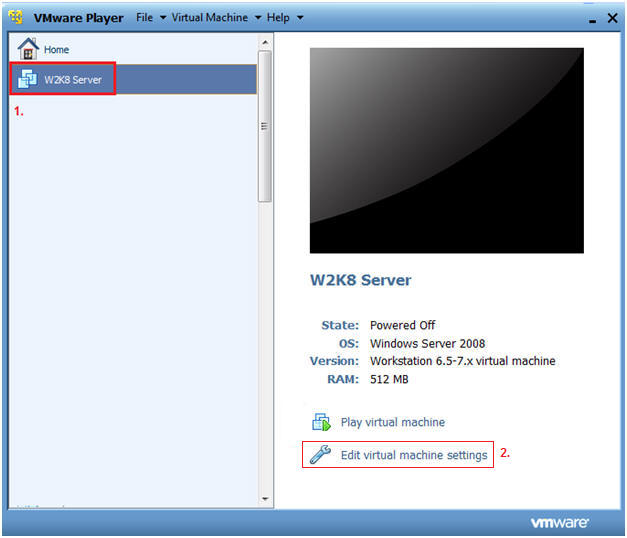
- Edit Virtual Machine Settings
- Instructions:
- Click on W2K8
- Click on Edit virtual machine settings
- Instructions:
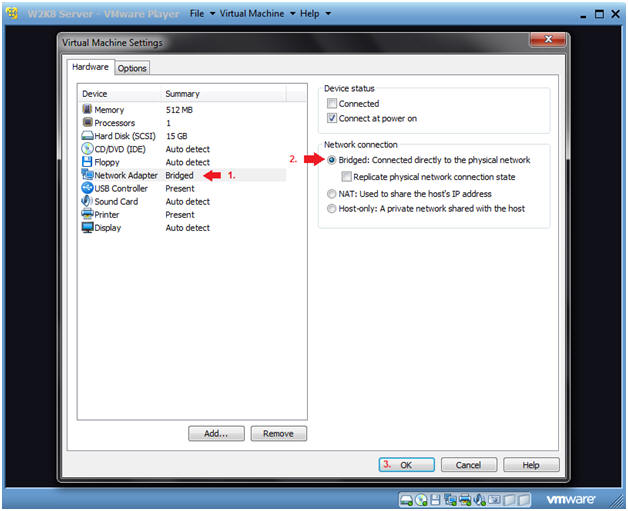
- Edit Network Adapter Settings
- Instructions:
- Click on Network Adapter
- Click on Bridged: Connected directly to the physical network.
- Click OK.
- Instructions:
- Start your Windows 2008 Server
- Instructions:
- Click on W2K8 Server
- Click on Play virtual machine

- Instructions:
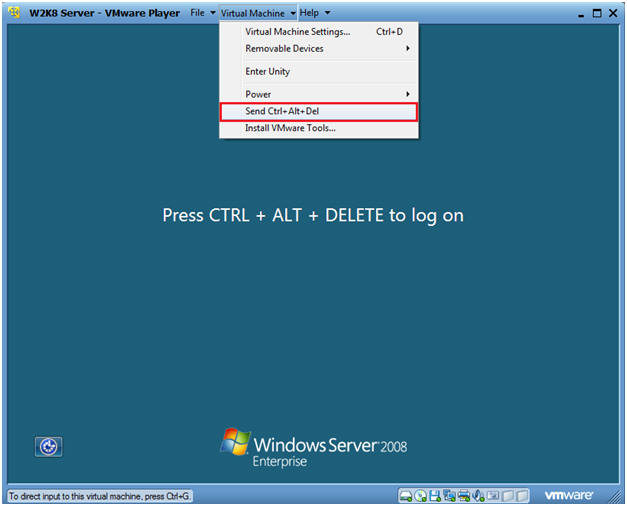
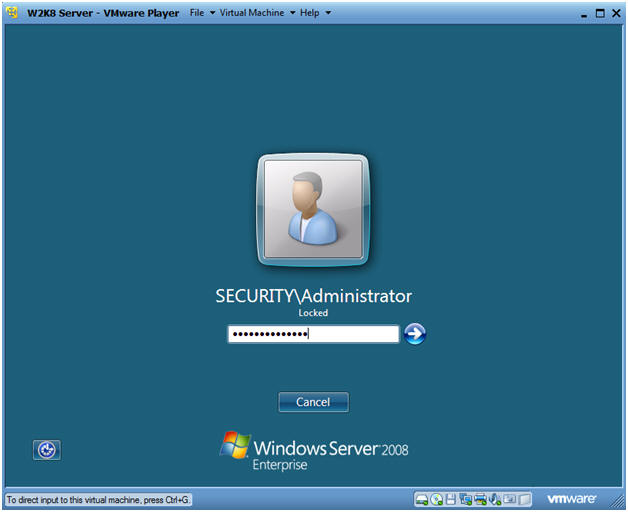
- CRTL + ALT + DELETE
- Instructions
- Virtual Machine
- Send Ctrl+Alt+Del
- Instructions
- Login as Administrator
- Click on the Administrator icon.
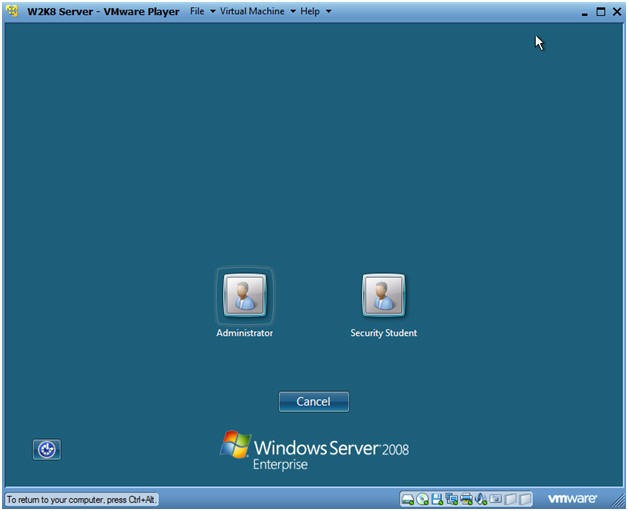
- Login
- Command: Provide the password for the Administrator account.
| Section 2. Start the Security Configuration Wizard |
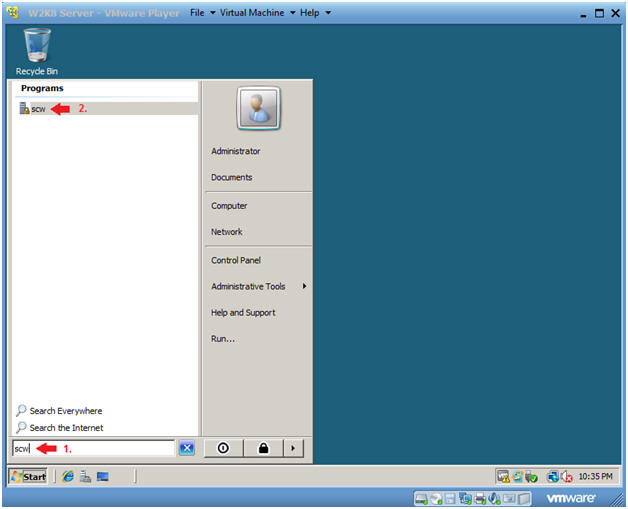
- Opening the Security Configuration
Wizard
- Instructions:
- Type "scw" in the search box.
- Click on "scw" under Programs.
- Instructions:
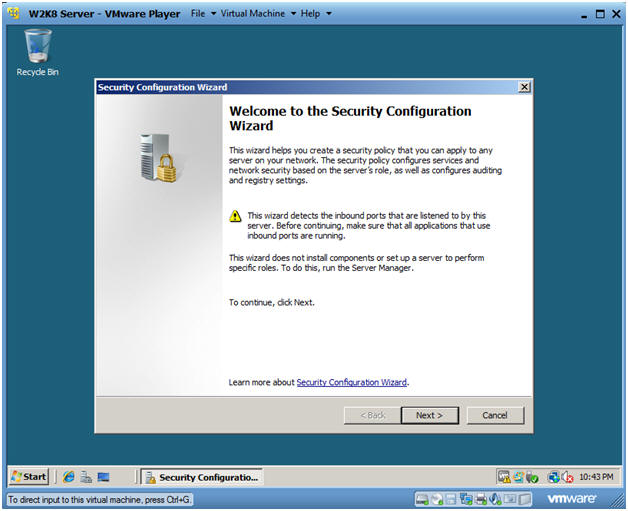
- Welcome to the Security Configuration
Wizard
- Instructions:
- Click Next
- Instructions:
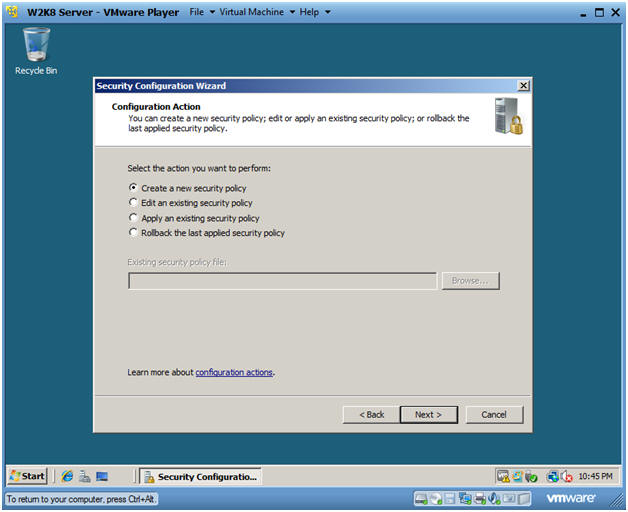
- Create New Security Policy
- Instructions:
- Click the "Create a new security policy" radio button.
- Click Next
- Instructions:
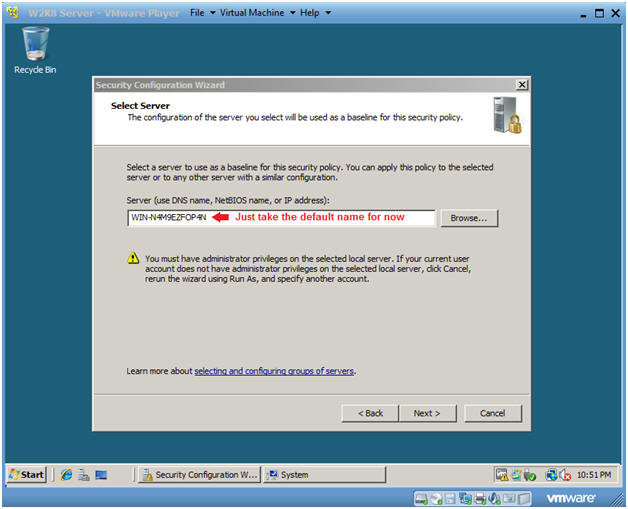
- Select a Server
- Instructions:
- Just take the default name.
- Click Next.
- Instructions:
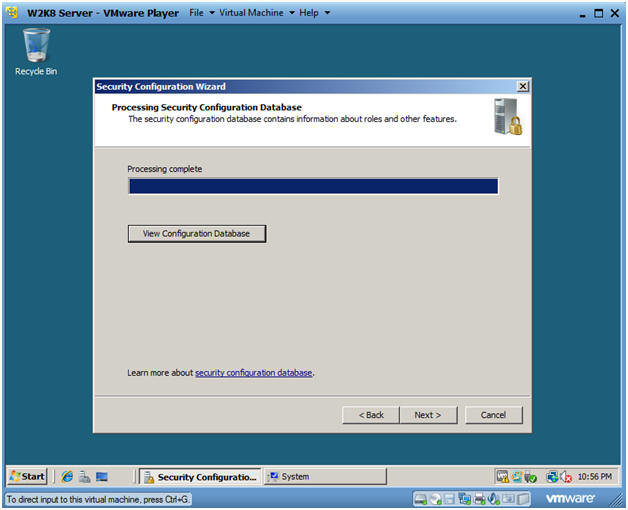
- Processing Security Configuration
Database
- Instructions:
- Select Next
- Instructions:
| Section 3. Role-Based Service Configuration |
- Role-Based Service Confirguration
-
Instructions:
- Select Next.
-
Instructions:
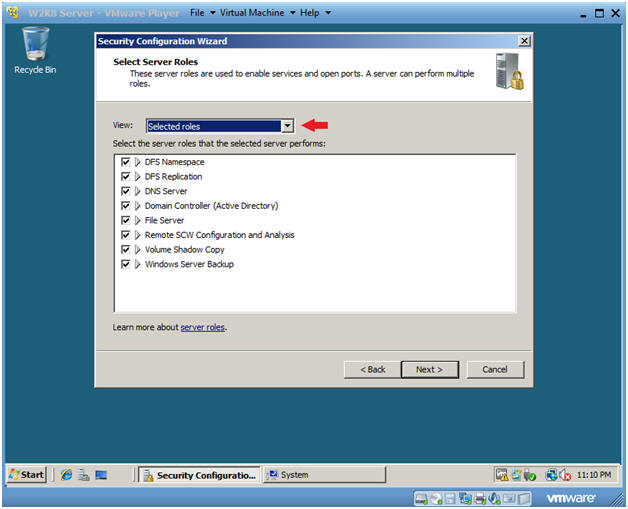
- Select Server Roles
- Instructions:
- Under the View: drop down box, select "Selected roles"
- Make sure the following roles are selected.
- Click Next.
- Instructions:
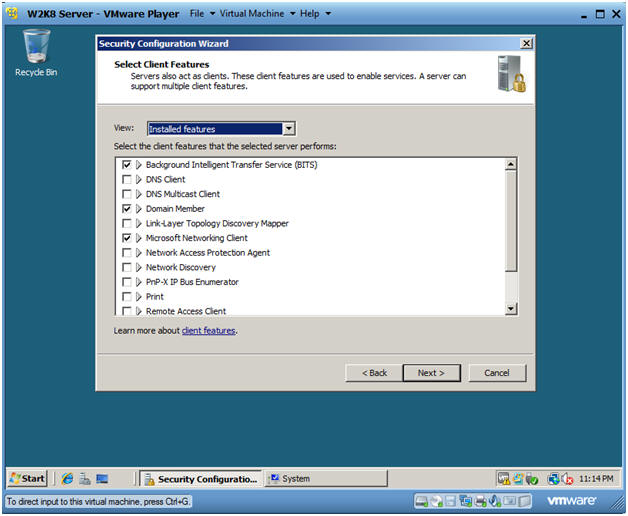
- Select Client Features
- Instructions:
- Take the Default Selections
- Click Next
-
- Instructions:
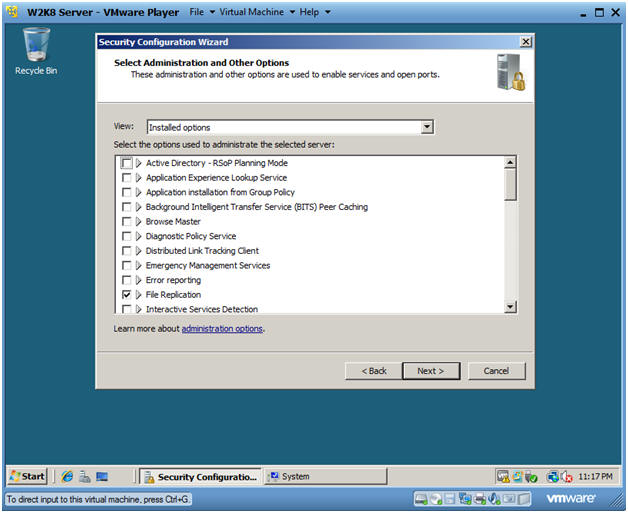
- Select Administration and Other Options
- Instructions:
- Take the Default Selections
- Click Next
- Instructions:
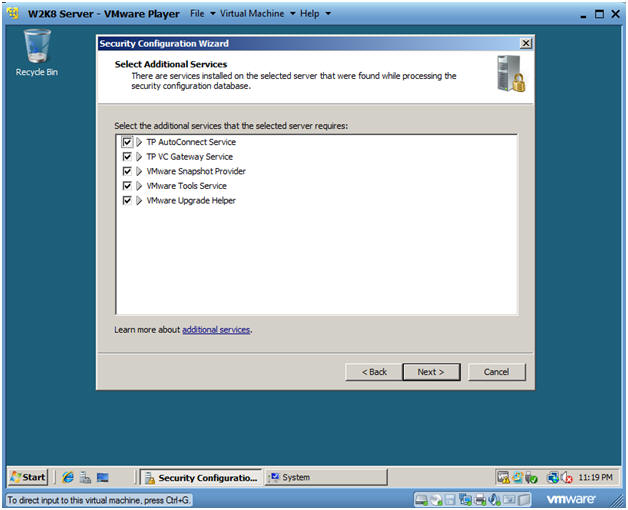
- Select Additional Services
- Instructions:
- Take the Default Selections
- Click Next
- Instructions:
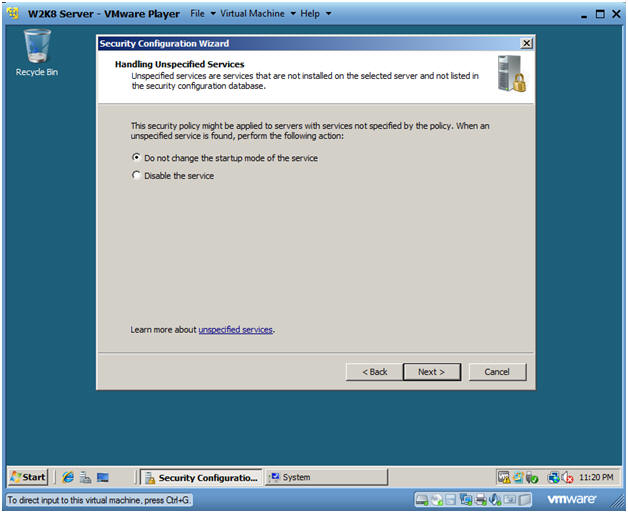
- Handling Unspecified Services
- Instructions:
- Select "Do not change the startup mode of the service" radio button.
- Click Next
- Instructions:
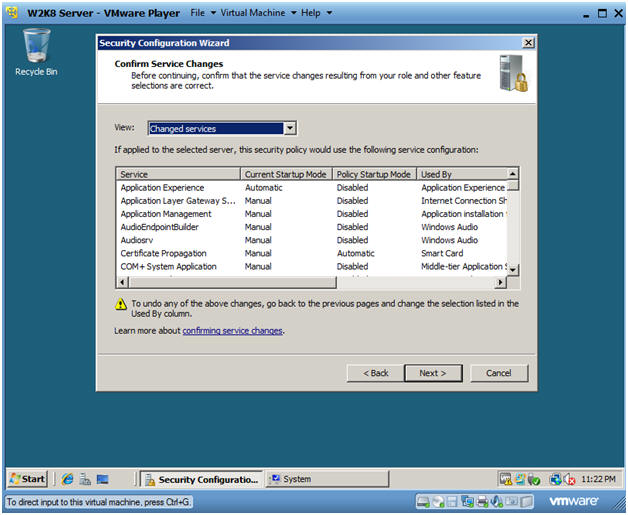
- Confirm Service Changes
- Instructions:
- Select "Changed services"
- Click Next
- Instructions:

| Section 4. Network Security |
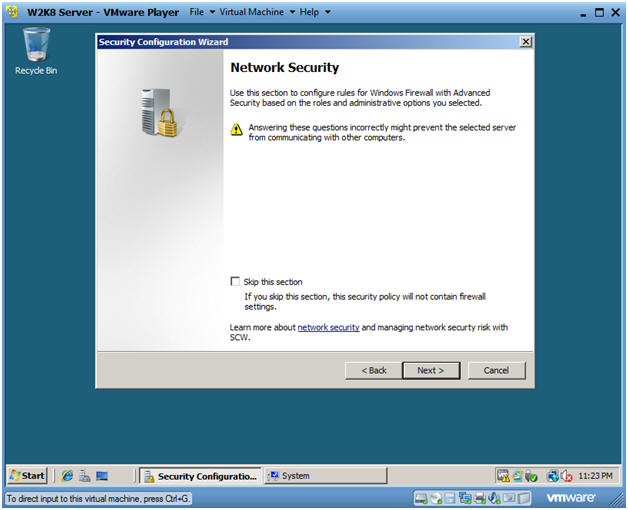
- Network Security
- Instructions:
- Click Next
- Instructions:
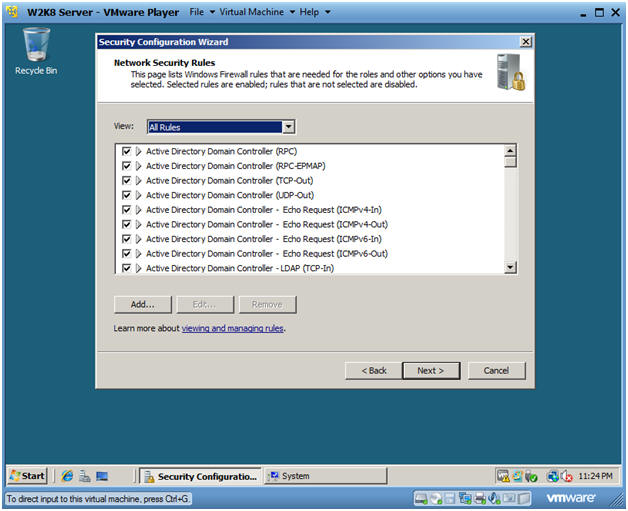
- Network Security Rules
- Instructions:
- Select All Rules
- Click Next
- Instructions:
| Section 5. Registry Settings |
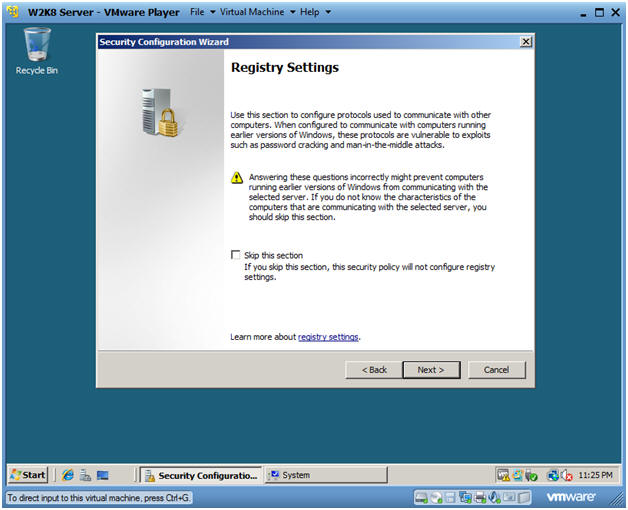
- Registry Settings
- Instructions:
- Select Next.
-
- Instructions:
- Require SMB Security Signatures
- Instructions:
- Select both check boxes.
- Select Next.
-

- Instructions:
- Require LDAP Signing
- Instructions:
- Do not select the check box.
- Click Next
- Instructions:
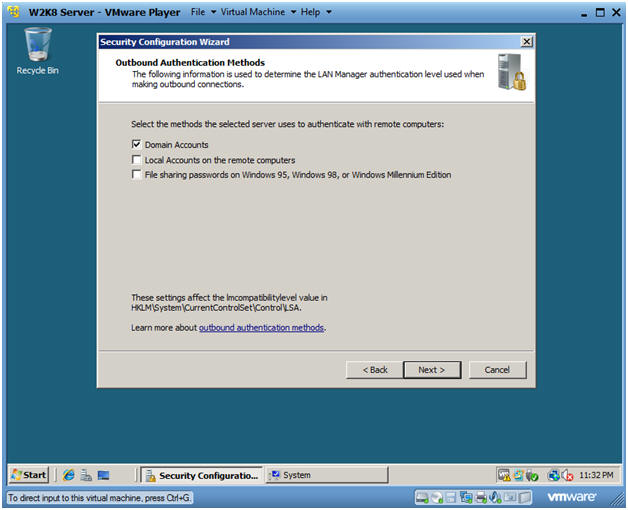
- Outbound Authentication Methods
- Instructions:
- Click the Domain Accounts checkboxes
- Click Next.
- Instructions:
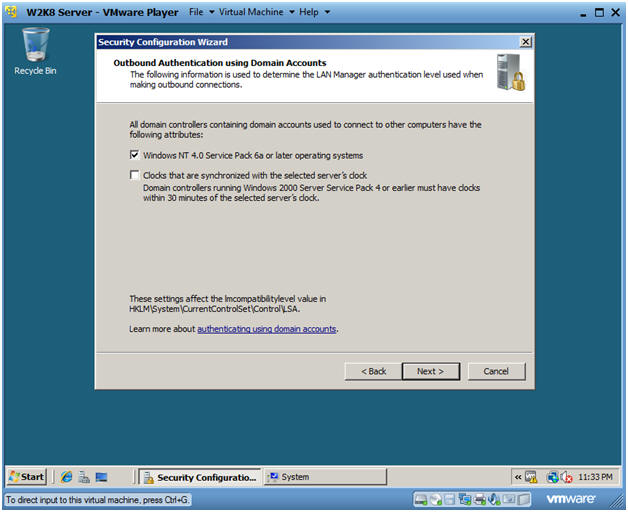
- Outbound Authentication using Domain
Accounts
- Instructions:
- Click the Windows NT or later operating system checkbox.
- Click Next.
- Instructions:
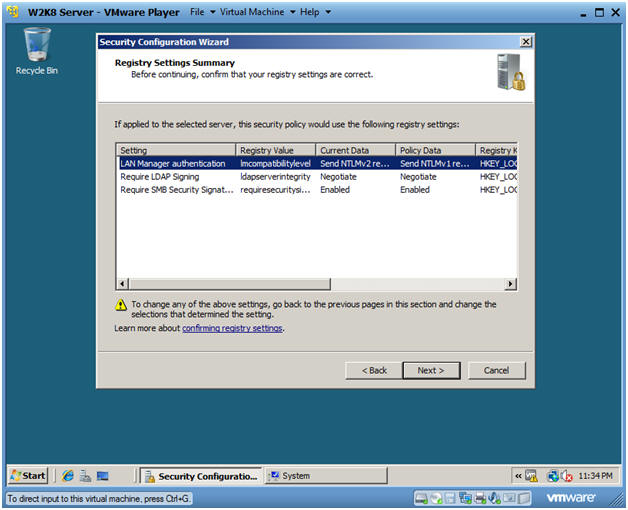
- Registry Settings Summary
- Instructions:
- Click Next
- Instructions:

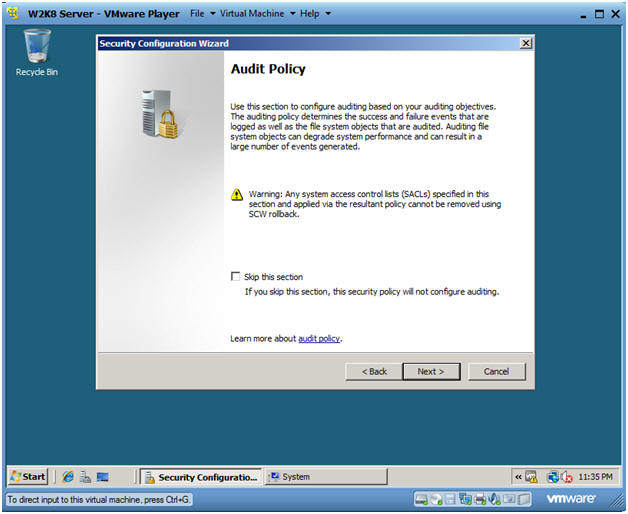
| Section 6. Audit Policy |
- Audit Policy
- Instructions:
- Click Next.
- Instructions:
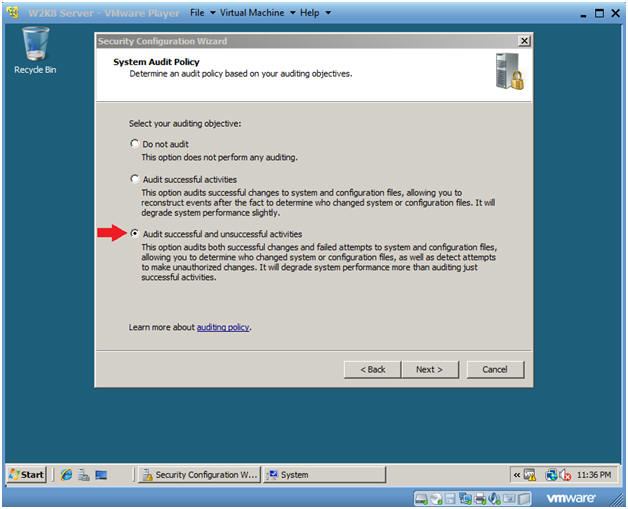
- System Audit Policy
- Instructions:
- Click on the "Audit successful an unsuccessful activities" radio button.
- Click Next.
- Instructions:
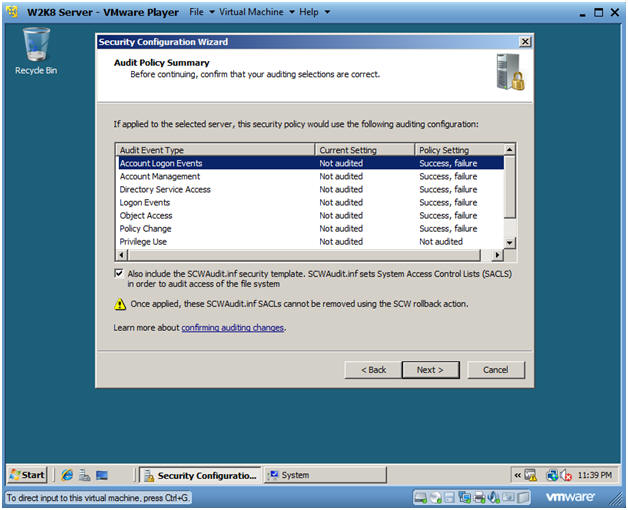
- Audit Policy Summary
- Instructions:
- Click Next.
- Instructions:
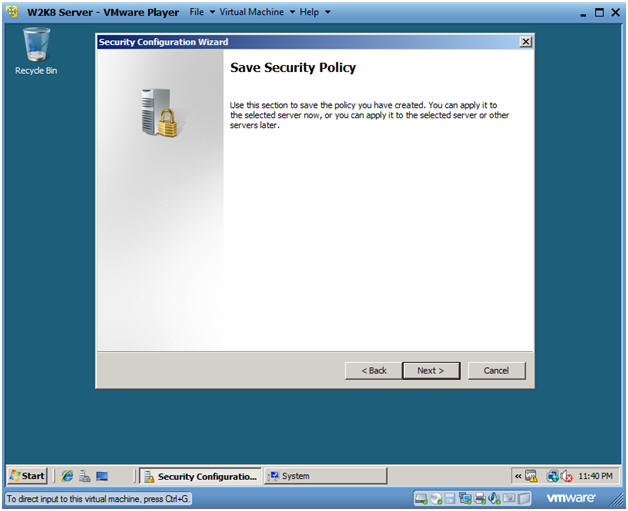
- Save Security Policy
- Instructions:
- Click Next.
- Instructions:
- Security Policy File Name
- Instructions:
- Take Default Location
- Click Next.
- Instructions:
- Security Policy File Name
- Instructions:
- Name the Security Policy Your Name. (See Below)
- Click Next.
- Instructions:
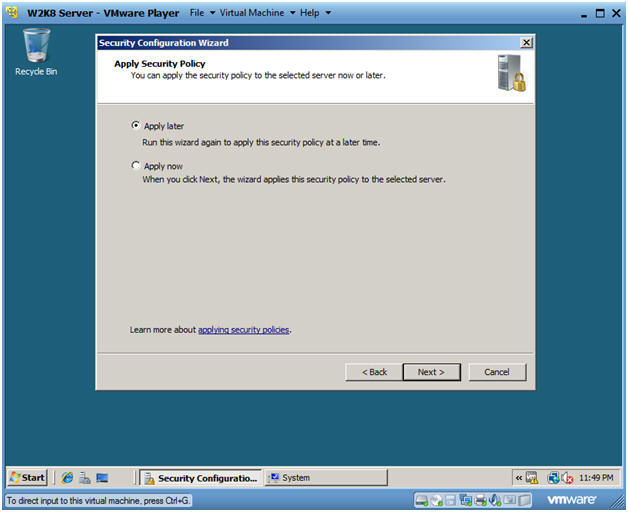
- Apply Security Policy
- Instructions:
- Click Apply later
- Click Next
- Instructions:
- Completing the Security Configuration Wizard
- Instructions:
- Click Finish
- Instructions:


| Section 7. Proof of Lab |
- Open a Command Prompt
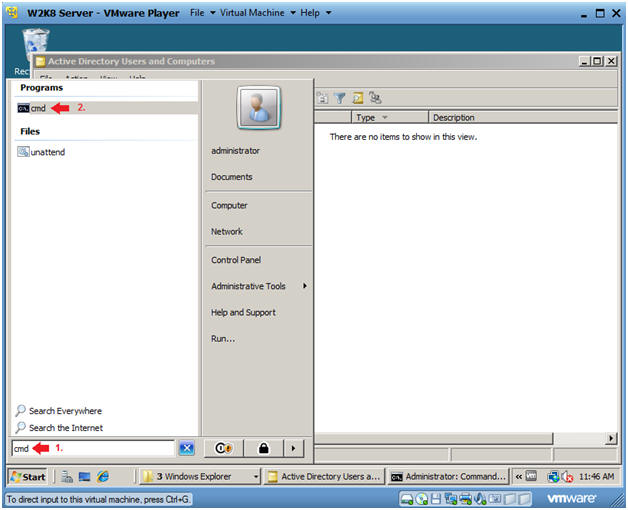
- Instructions:
- Type "cmd" in the search box.
- Click on "cmd" under programs.
- Instructions:
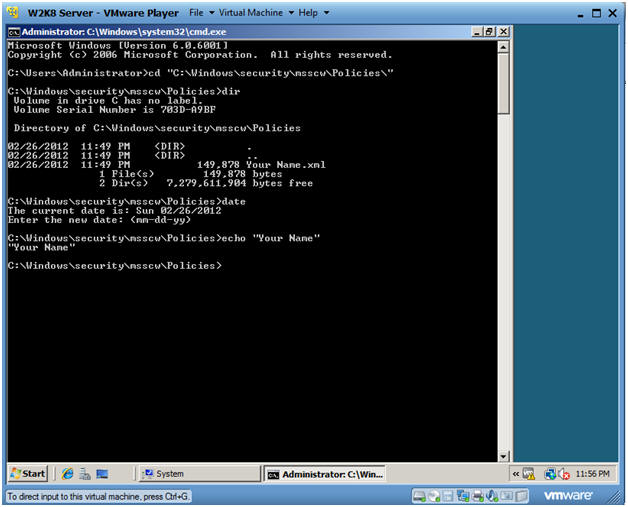
- Proof of Lab
- Instructions:
- cd "C:\Windows\security\msscw\Policies\"
- dir
- date
- echo "Your Name"
- Replace the string "Your Name" with your actual name.
- E.g., echo "John Gray"
-
Proof of Lab Instructions:
- Do a PrtScan
- Paste into a word document
- Upload to Moodle.
- Instructions: