(Fedora: Lesson 8)
{ Making /tmp non-executable }
| Section 0. Background Information |
- What is /etc/fstab
- The fstab is a configuration file that contains information of all the partitions and storage devices in your computer.
- The file is located under /etc, so the full path to this file is /etc/fstab. /etc/fstab contains information of where your partitions and storage devices should be mounted and how.
- The fstab is just a plain text file, so you can open and edit it with any text editor you're familiar with. However, note that you must have the root privileges before editing fstab. So, in order to edit the file, you must either log in as root or use the su command to become root.
- Making /tmp non-executable
- Many simple exploits that are used against Linux machines, (via vulnerable PHP applications or local users, etc), rely upon being able to execute commands in /tmp.
- If this is a separate partition or file system you can gain some protection by marking it non-executable.
- Pre-Requisite Lab
-
Lab
Notes
- In this lab we will do the following:
- Configure /etc/fstab to prohibit /tmp executables from running.
- In this lab we will do the following:
- Legal Disclaimer
- As a condition of your use of this Web site, you warrant to computersecuritystudent.com that you will not use this Web site for any purpose that is unlawful or that is prohibited by these terms, conditions, and notices.
- In accordance with UCC § 2-316, this product is provided with "no warranties, either express or implied." The information contained is provided "as-is", with "no guarantee of merchantability."
- In addition, this is a teaching website that does not condone malicious behavior of any kind.
- You are on notice, that continuing and/or using this lab outside your "own" test environment is considered malicious and is against the law.
- © 2016 No content replication of any kind is allowed without express written permission.
| Section 1: Edit the Fedora14 Virtual Machine |
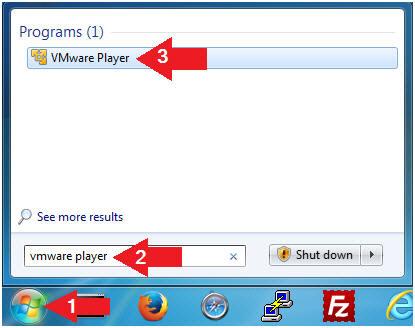
- Open VMware Player on your windows machine.
- Instructions:
- Click the Start Button
- Type "vmware player" in the search box
- Click on VMware Player
- Instructions:
- Edit Fedora 14 Virtual Machine Settings
- Instructions:
- Highlight Fedora14
- Click Edit virtual machine settings

- Instructions:
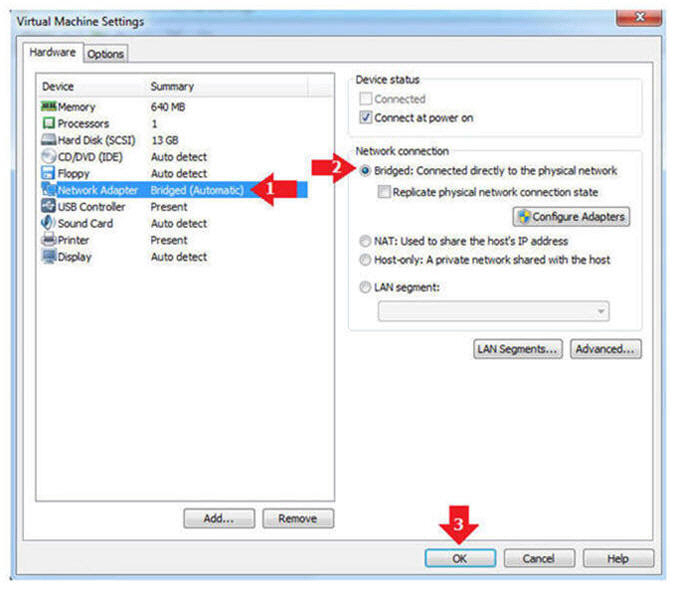
- Edit Network Adapter
- Instructions:
- Highlight Network Adapter
- Select Bridged
- Click the OK Button
- Instructions:
| Section 2: Play the Fedora14 Virtual Machine |
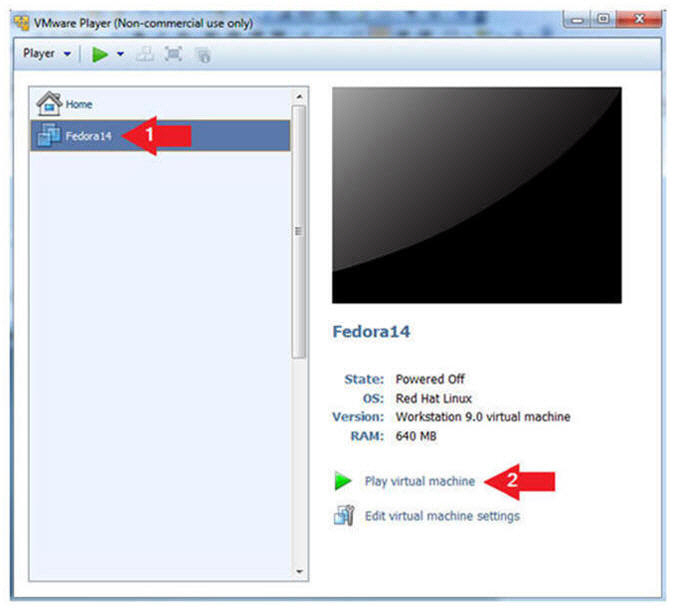
- Start the Fedora14 VM
- Instructions:
- Click on the Fedora14 VM
- Click on Play virtual machine
- Instructions:
| Section 3: Login to your Fedora14 server: |
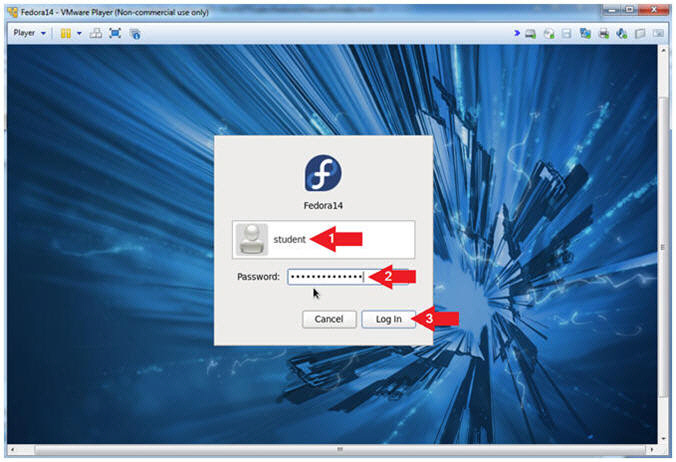
- Login As student
- Instructions:
- Click on student
- Provide student password
- Click the Login Button
- Instructions:
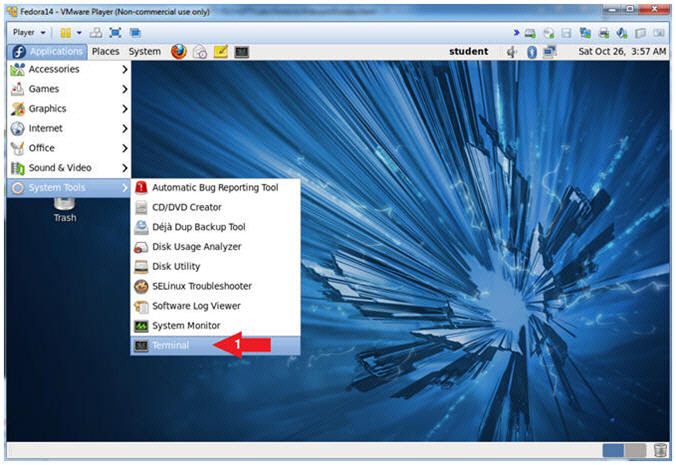
- Start Up A Terminal.
- Instructions:
- Applications --> System Tools --> Terminal
- Instructions:
- Switch User to root
- Instruction:
- su - root
- Supply the Root Password
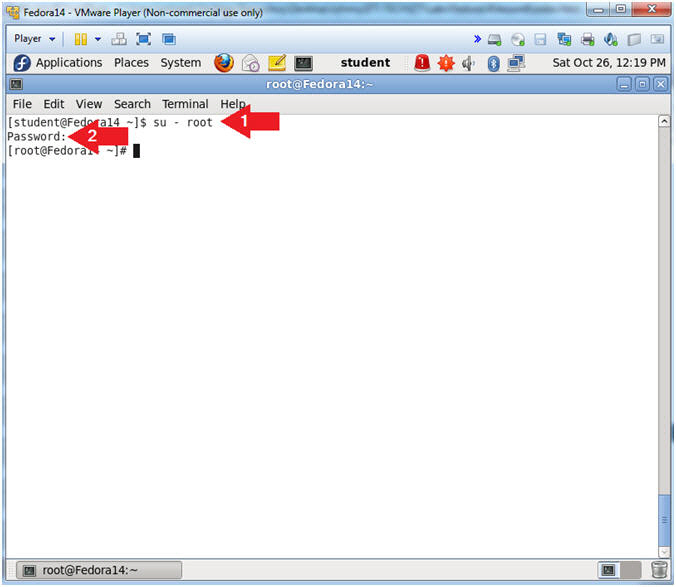
- Instruction:
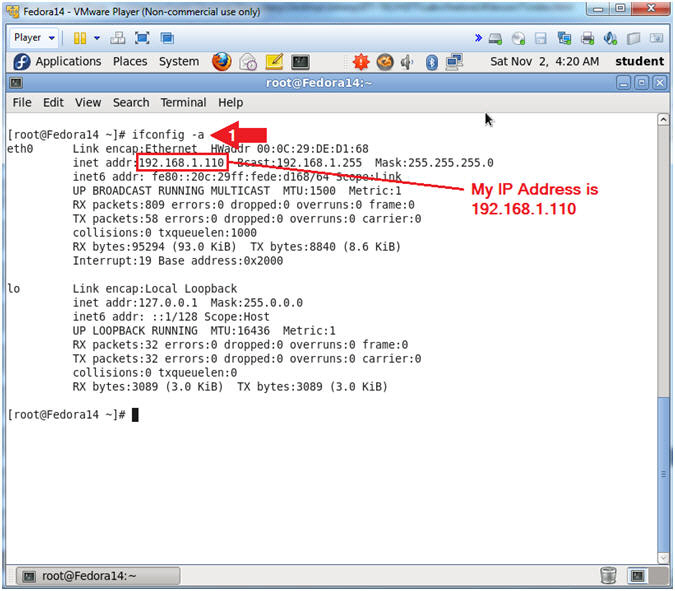
- Get IP Address
- Instructions:
- ifconfig -a
- Notes (FYI):
- As indicated below, my IP address is 192.168.1.110.
- Please record your IP address.
- Instructions:
| Section 4: Creating a basic executable shell script |
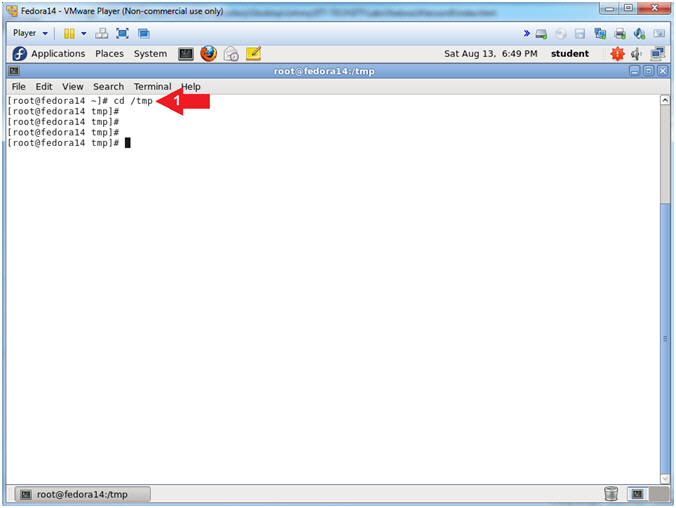
- Navigate to the /tmp directory
- Instructions:
- cd /tmp
- Instructions:
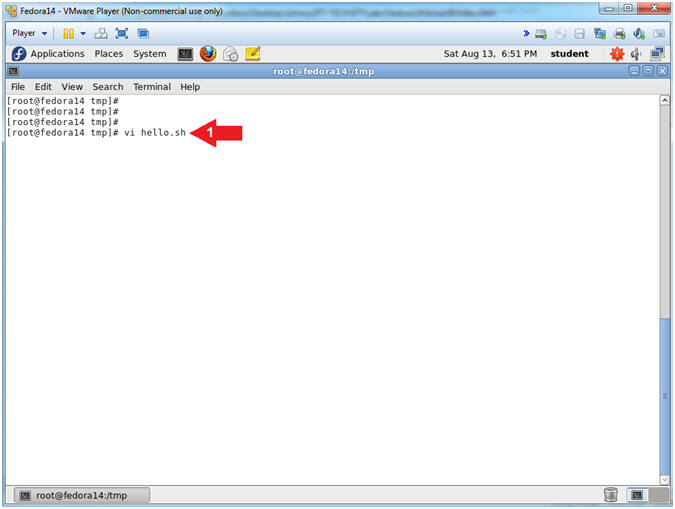
- Create an executable shell script
- Instructions:
- vi hello.sh
- Instructions:
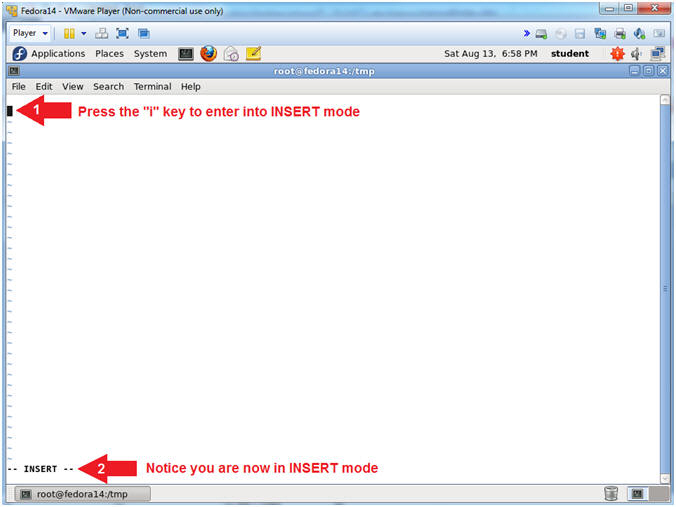
- Enter into INSERT Mode
- Instructions:
- Press the (i) key
- Notice in the lower left corner that you are now in INSERT mode.
- Instructions:
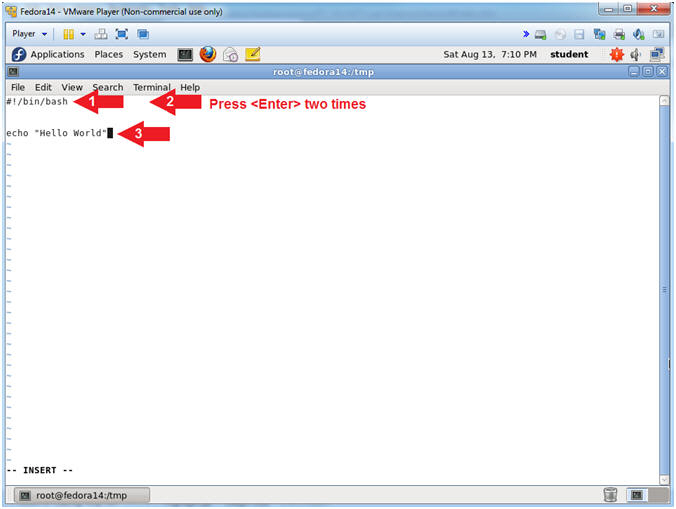
- Insert Script
- Notes(FYI):
- Below are the lines of shell code that you will input into the terminal window.
- Instructions:
- #!/bin/bash
- Press <Enter> two times
- echo "Hello World"
- Notes(FYI):
- Line #1, The shebang (#!) syntax is used in scripts to indicate to the Linux/Unix operating system that an interpreter is needed to interpret and execute the particular file. In this case, we are telling the Linux operating system, that the bash shell will be required to interpret this file.
- Line #2, You only need to press <Enter> once, but the instructions say twice for cosmetic appearance.
- Line #3, (echo) is used to print the string (Hello World) to the screen, which is known as standard output.
- Notes(FYI):
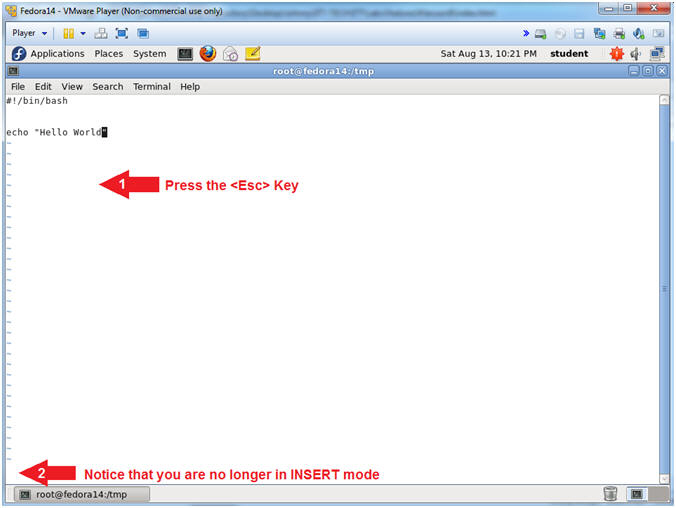
- Exit INSERT Mode
- Instructions:
- Press the <Esc> Key
- Notice that you are no longer in INSERT mode
- Instructions:
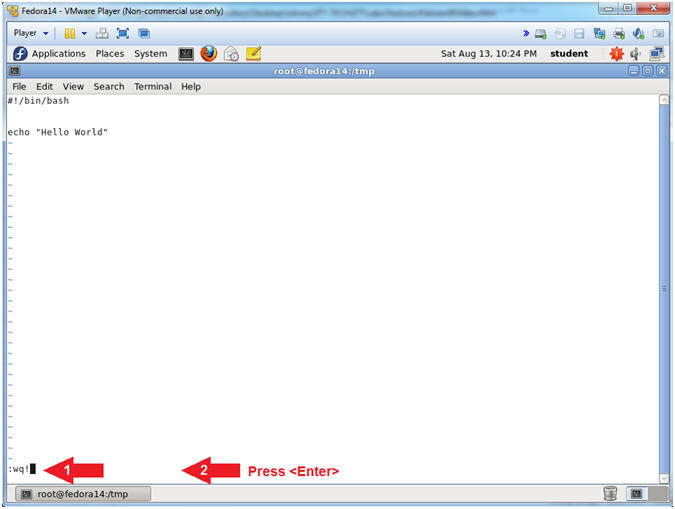
- Save the Bash Script
- Instructions:
- Type :wq! to save and quit the file
- Press the <Enter> key
- Instructions:
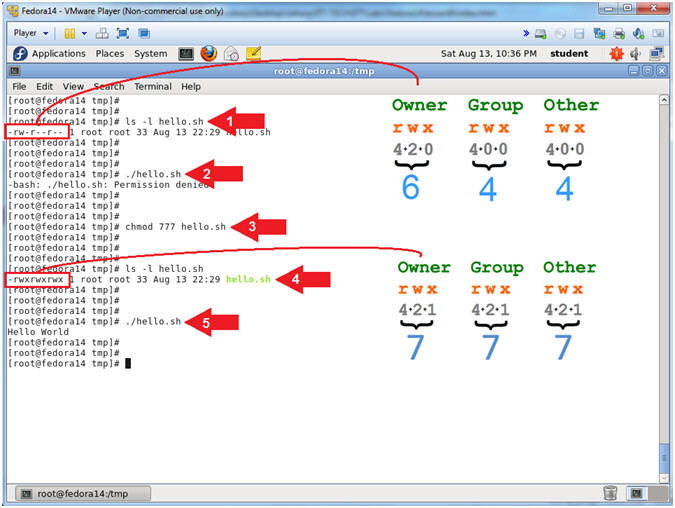
- Set Permissions and Execute Script
- Instructions:
- ls -l hello.sh
- ./hello.sh
- chmod 777 hello.sh
- ls -l hello.sh
- ./hello.sh
- Note(FYI):
- Command #1, Use (ls -l) to list the file permissions and ownerships of the file (hello.sh). The permissions are as follows: Owner can read and write, the Group can only read, and Other (aka World) can only read. Notice, none of the execute bits are set.
- Command #2, Use (./) to try to
execute the hello.sh script. Notice it did not execute and you
received a warning Permission denied.
This is because none of the execute bits are set -or- turned on.
Consequently, this is a brief lesson on setting execute permissions,
and obviously you can place bash in front of hello.sh to execute it
without the permissions being set.
- E.g., bash hello.sh
- Command #3, Use (chmod) to set
give all permissions to Owner, Group and Other. Accordingly,
this is very unsafe, which means that anybody can not only execute
this script, but can edit it to do harmful things. (Below is
only meant to show a basic example of things you don't want placed
in a script that could potentially be executed by a user.
Accordingly the effective UID is not set).
- for DISK in `fdisk -l | grep "^Disk /dev" | awk '{print $2}' | sed 's/://g'`
- do echo "Zero Out Disk: $DISK"
- echo "dd if=/dev/zero of=$DISK"
- done
- Command #4-5, Use (./) to execute the file (hello.sh). Accordingly, the script wrote Hello World to the screens standard output. The scary part is that all users in most Linux/Unix environments have access to /tmp.
- Instructions:
| Section 5: Editing the /etc/fstab |
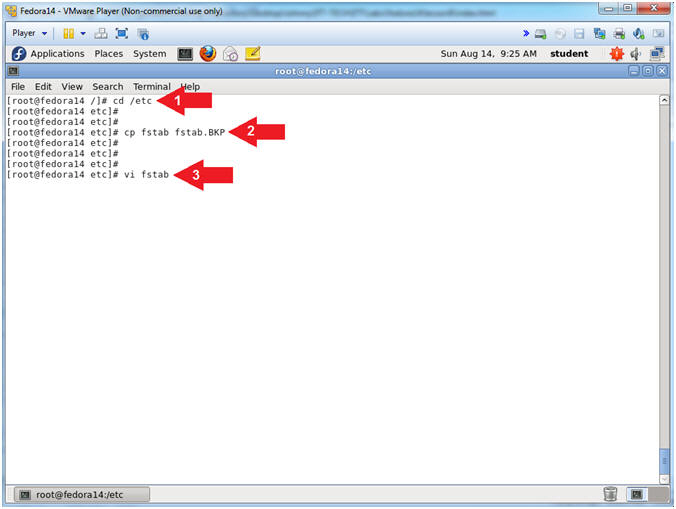
- Make fstab Backup
- Instructions:
- cd /etc
- cp fstab fstab.BKP
- vi fstab
- Note(FYI):
- Command #1, Use (cd) to change directory into the (/etc) directory.
- Command #2, Use (cp) to make a backup copy (fstab.BKP) of the (fstab) file.
- Command #3, Use (vi) to open the (fstab) file. The (fstab) contains information about the various file systems of the particular server. Among other things, the operating system uses the (fstab) to mount the file systems during boot and in other situations.
- Instructions:
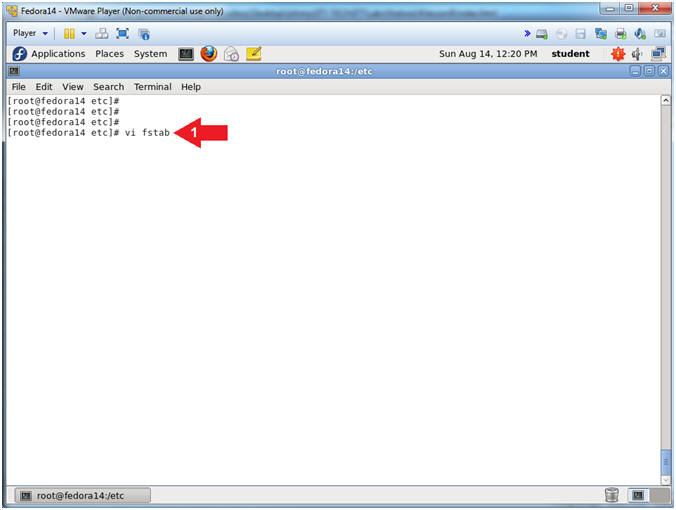
- Open the /etc/fstab
- Instructions:
- vi fstab
- Instructions:
- Enter INSERT Mode
- Instructions:
- Arrow down to the line that contains the /tmp mount point.
- Arrow right over to where your cursor directly on the "d" in the word defaults, and press the <i> key.
- Notice that you are not in INSERT Mode.
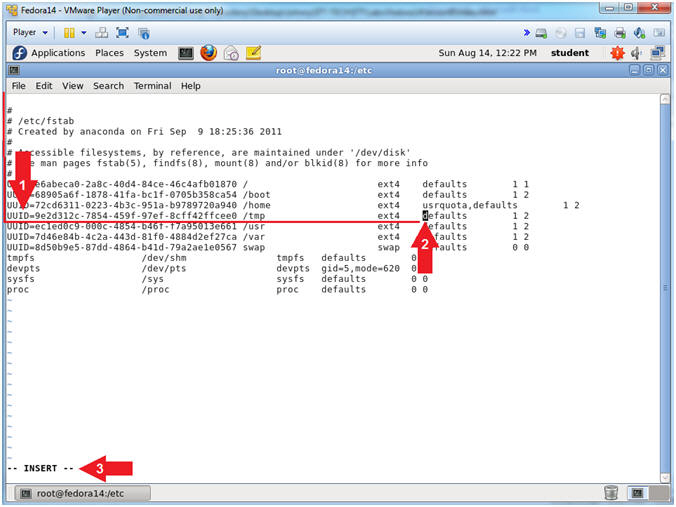
- Instructions:
- Removing execute permission from the /tmp mount
point.
- Instructions:
- Type noexec, in front of the word defaults
- Press the <Esc> key to get out of vi's INSERT mode
- Notice that the word INSERT is not longer visible in the lower left corner of the screen.

- Instructions:
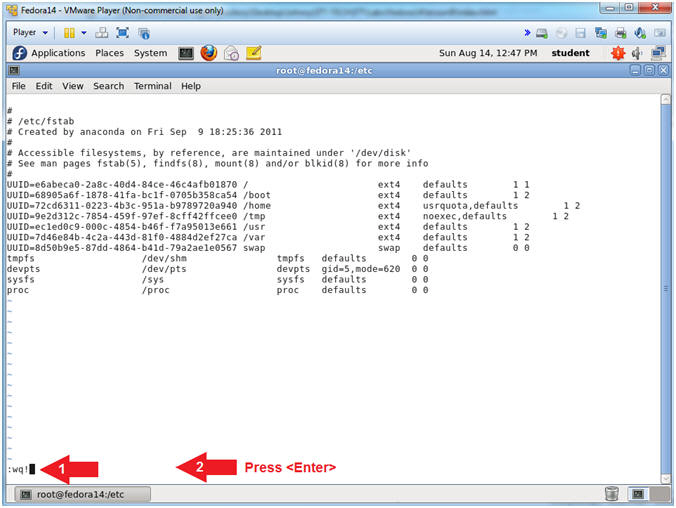
- Save The File
- Instructions:
- Type :wq! to save and quit
- Press the <Enter> Key
- Instructions:
| Section 6: Remount /tmp |
- Remounting the /tmp directory
- Instructions:
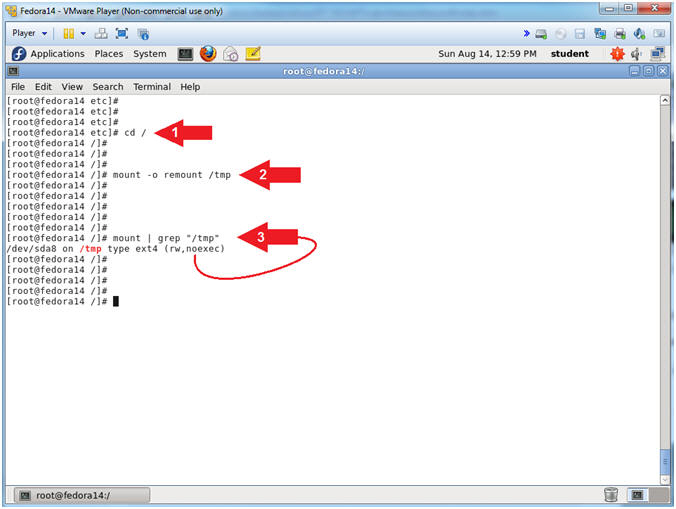
- cd /
- mount -o remount /tmp
- mount | grep "/tmp"
- Note(FYI):
- Command #1, Use (cd) to navigate to the root (/) file system. Our of habit, it is always a good idea to change directory into the root (/) file system before issuing before remounting a mount point.
- Command #2, Use (mount) to only (-o remount) the (/tmp) mount point.
- Command #3, Use (mount) to display all the mount points. Use (grep) to only display lines that contain (/tmp). Notice that (/tmp) now has (noexec) set.
- Instructions:
| Section 7: Proof of Lab |
- See if you can execute the hello.sh script
- Instructions:
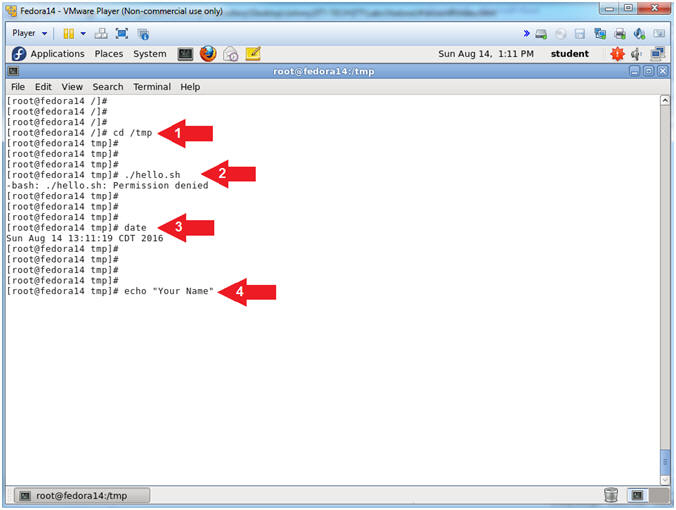
- cd /tmp
- ./hello.sh
- date
- echo "Your Name"
- Note(FYI):
- Command #1, Use (cd) to navigate to the (/tmp) directory.
- Command #2, Attempt to execute the (hello.sh) script. Notice that the permission was denied, which is the desired result.
-
Proof of Lab Instructions
- Press both the <Ctrl> and <Alt> keys at the same time.
- Do a <PrtScn>
- Paste into a word document
- Upload to Moodle
- Instructions: