(Fedora:
Lesson 11)
{ Basic Samba
Configuration }
|
Section 0. Background
Information |
- What is Samba?
- The name Samba comes from SMB (Server Message
Block), the name of the standard protocol used by the Microsoft Windows
network file system. SMB is a protocol for sharing files, printers, serial
ports, and communications abstractions such as named pipes and mail slots
between computers.
- Samba provides file and print services for
various Microsoft Windows clients and can integrate with a Windows Server
domain, either as a Primary Domain Controller (PDC) or as a domain member.
- It can also be part of an Active Directory
domain.
- Samba runs on most Unix and Unix-like systems,
such as GNU/Linux, Solaris, AIX and the BSD variants, including Apple's Mac
OS X Server (which was added to the Mac OS X client in version 10.2).
|
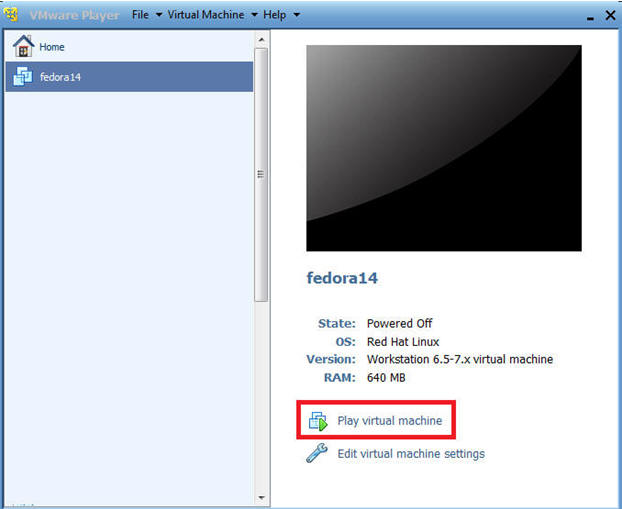
Section 1. Play
Virtual Machine |
- Play virtual machine. (See Below)
|
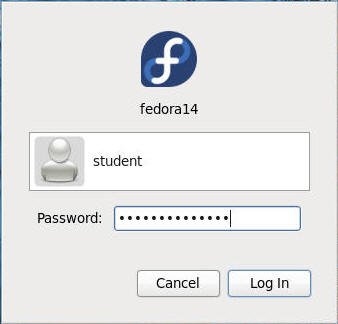
Section 2. Login to
your Fedora14 server. |
- Login As student
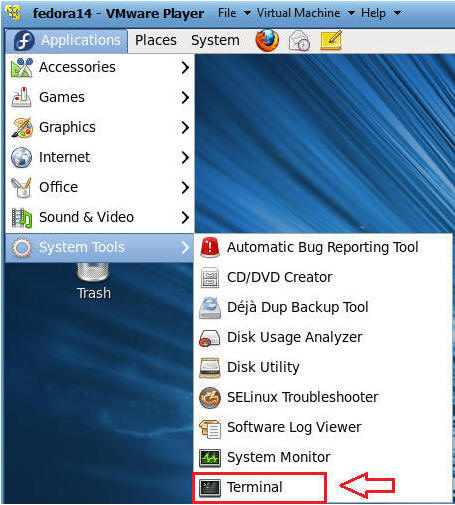
- Start Up A Terminal.
- Applications --> System Tools --> Terminal
- Switch User to root
- Command:
su - root

|
Section 3.
Prerequisite Samba RPMs |
- Prerequisite Samba RPMs
- Required:
- samba
- samba-client
- samba-common
- samba-config-samba
- Command:
yum install "samba" "samba-client" "samba-common" "system-config-samba"

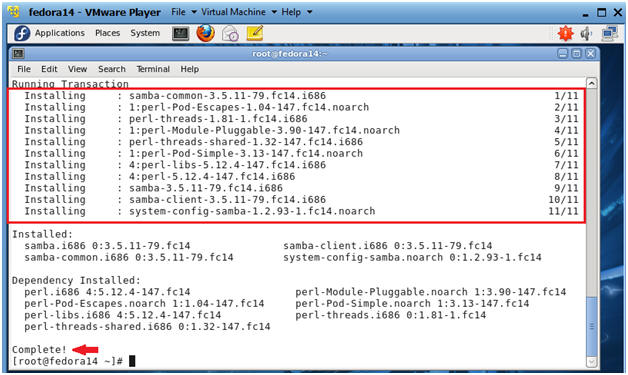
- Install samba rpm's
- Command:
Type "y", and hit enter
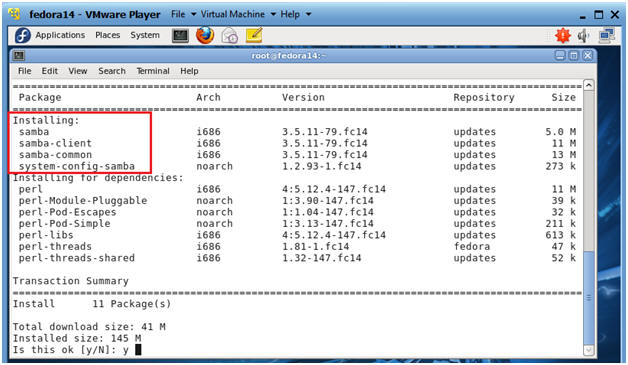
- Verify Installation Results
- Note:
Just take note of what is getting installed along with the completion
notice.
|
Section 4. Create a
Samba User Account |
- Create a samba UNIX user account called
student.
- Note:
If you already have a Unix
Username account called student on your machine, then skip this step and
proceed to section 5.
- Command:
useradd -m -d /home/student -c "Student" -s /bin/bash student

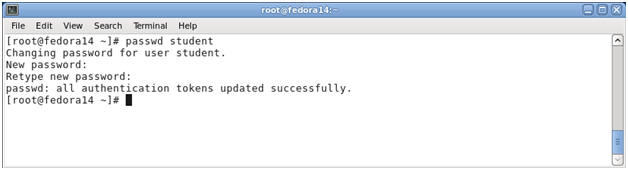
- Set the student unix password
- Command:
passwd student
- Note:
This password will not be the student password, but it will be the unix
password.
|
Section 5. Using the
system-config-samba utility |
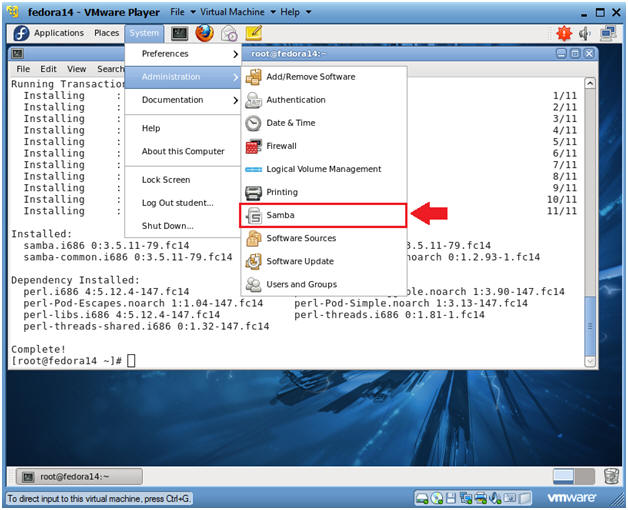
- Start up the system-config-samba utility
- Command:
System --> Administration --> Samba
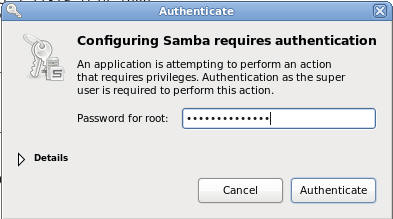
- Samba Configuration Authentication.
- Command:
Supply the root password
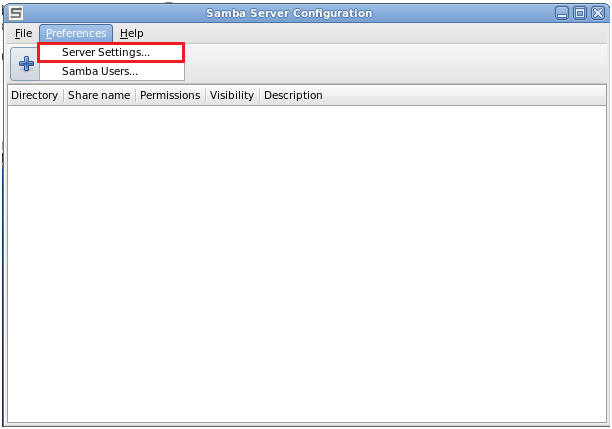
- Configure Workgroup Name
- Command:
Preferences --> Server Settings
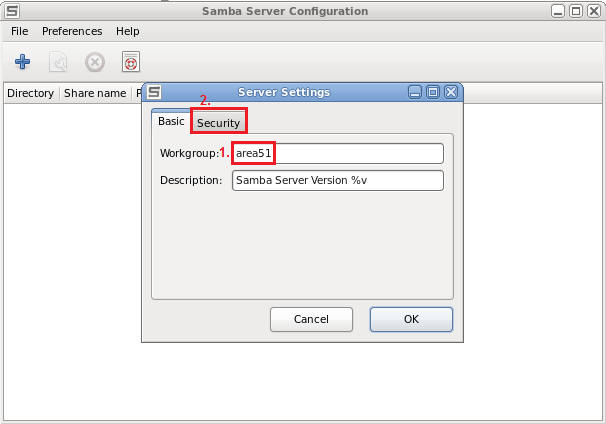
- Name the Workgroup
- Command:
- Change the workgroup name to whatever
you like. In my case, I named it "area51".
- Click on the Secure Tab
- Note:
How to set these directives in the /etc/samba/smb.conf file.
- The samba configuration file is located
at /etc/samba/smb.conf
- If you don't have access to this GUI,
then you can set the workgroup directive to
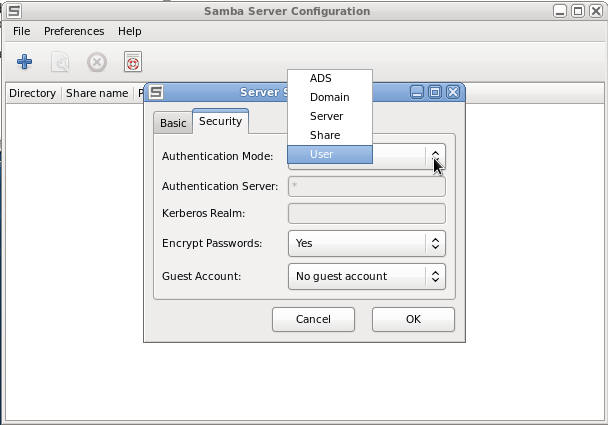
- Security Workgroup Configuration
- Command:
- Authentication Mode: User
- Encrypt Passwords: Yes
- Guest Account: No guest Account
- Click on OK.
- Note:
How to set these directives in the /etc/samba/smb.conf file.
- encrypt passwords = yes
- guest account = no
- Security Workgroup Configuration
- Command:
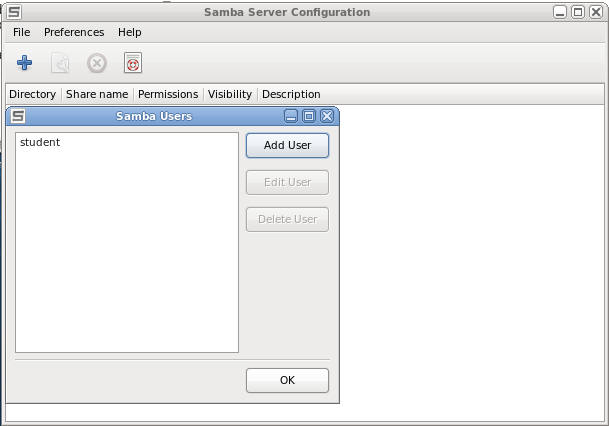
Preferences --> Samba Users
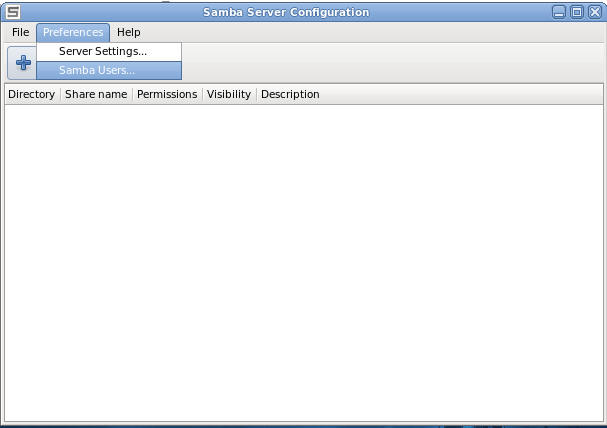
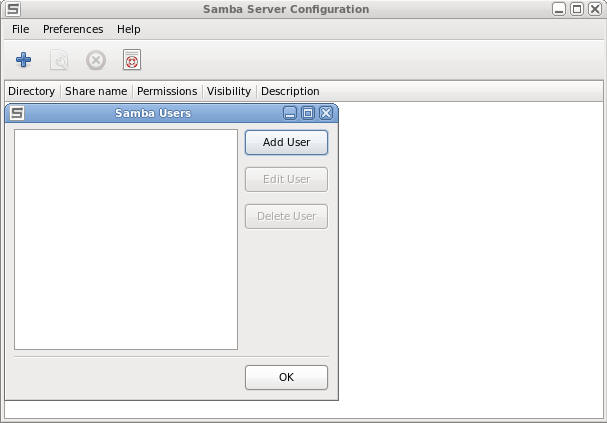
- Create a Samba User
- Command:
Click on the Add User Button
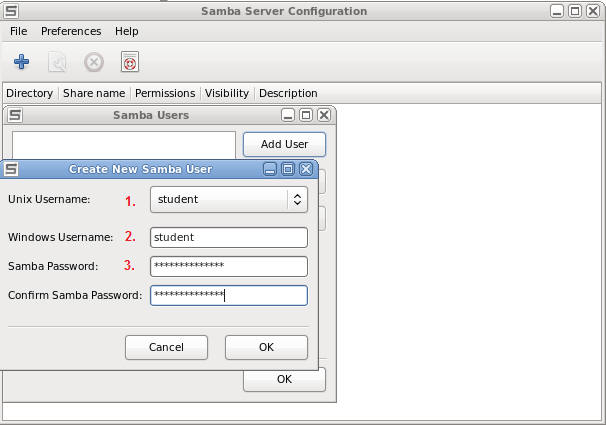
- Create a Samba User
- Command:
- Select the Unix student Username you
created earlier.
- Type in the Windows Username you want
associated in with the Unix student Username.
- Create a samba password associated with
the Unix student Username.
- Click OK
- Click OK
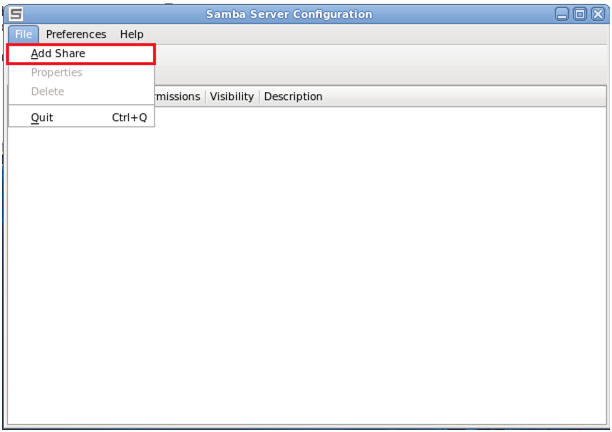
- Add a Samba Share
- Command:
File --> Add Share
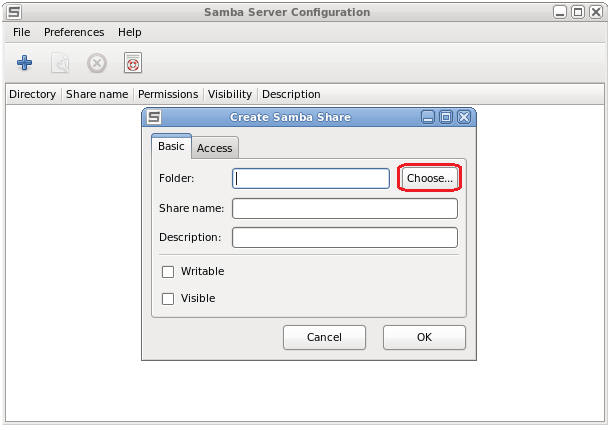
- Create Samba Share
- Command:
Click on the Choose Button
- Selecting a Folder
- Command:
- Click on File System
- Click on tmp
- Click on the OK button
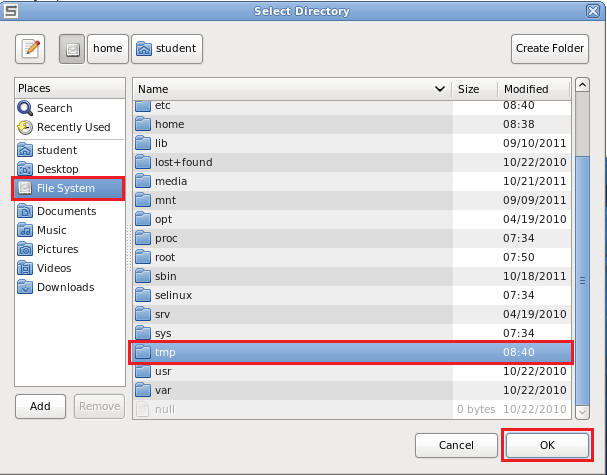
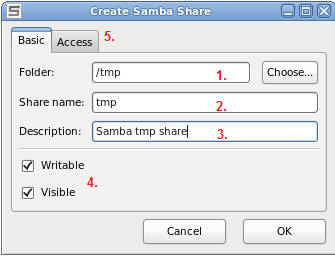
- Selecting a Folder
- Command:
- Folder: /tmp
- Share name: tmp
- Description: Samba tmp share
- Click on the Writable Check Box and on
the Visible Check Box
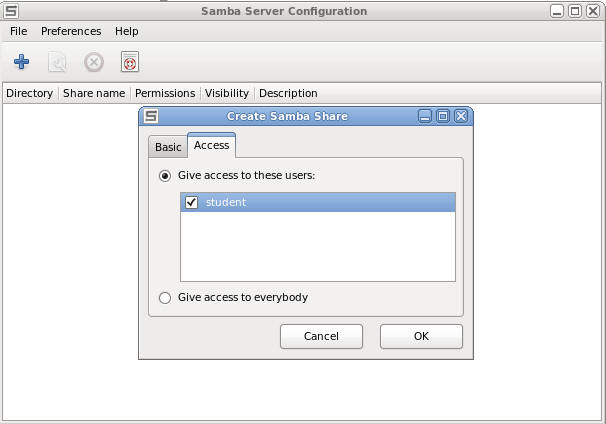
- Click on the Assess Tab
- Note:
How to set these directives in the /etc/samba/smb.conf file.
- path = /tmp
- [tmp]
- comment = Samba tmp share
- Writable and Visible
- read only = no
- browseable = yes
- valid users = student
- Give Access to the student username
- Command:
- Check the student check box
- Click OK
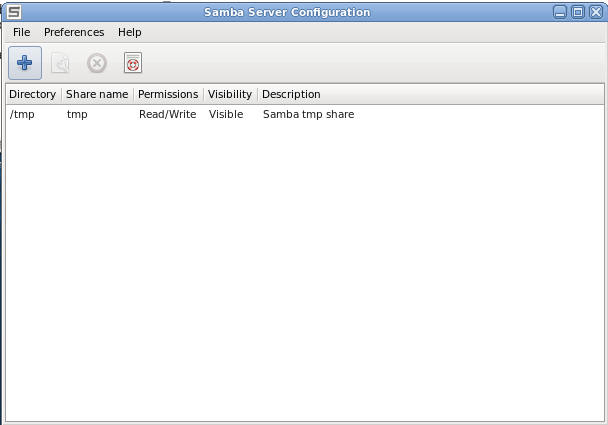
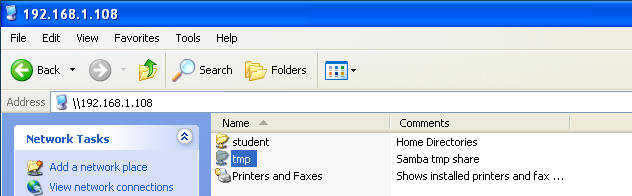
- Viewing your samba share
- Instructions:
After you completed the above step, you should see the below tmp share
name.
|
Section 6.
Configuring the Firewall for samba |
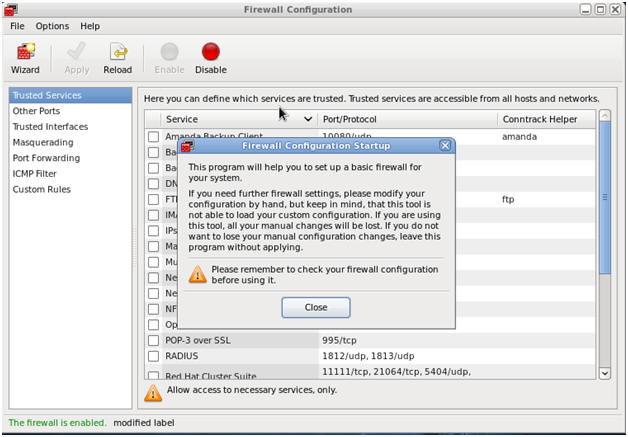
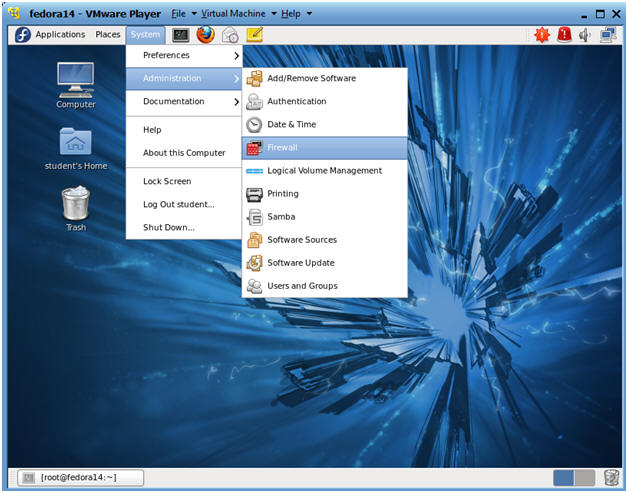
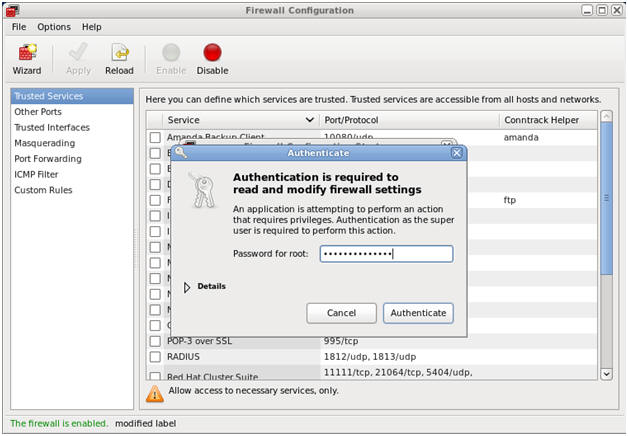
- Configure the Firewall.
- Command:
System --> Administration --> Firewall
- Click Close
- Provide the root password
- Command:
- Provide the root password
- Click on Authenticate
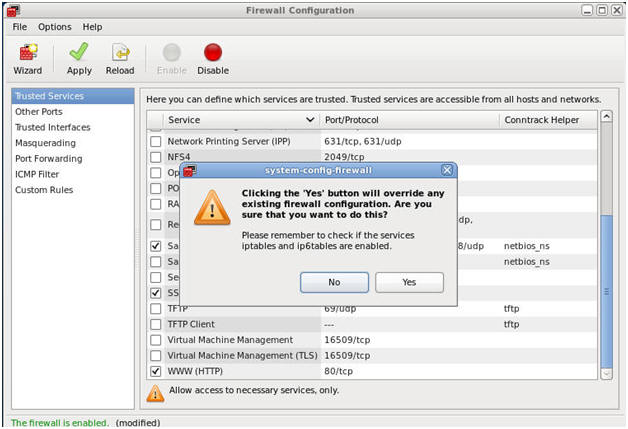
- Select Samba
- Command:
- Check the Samba checkbox
- Click the Apply Green Checkmark
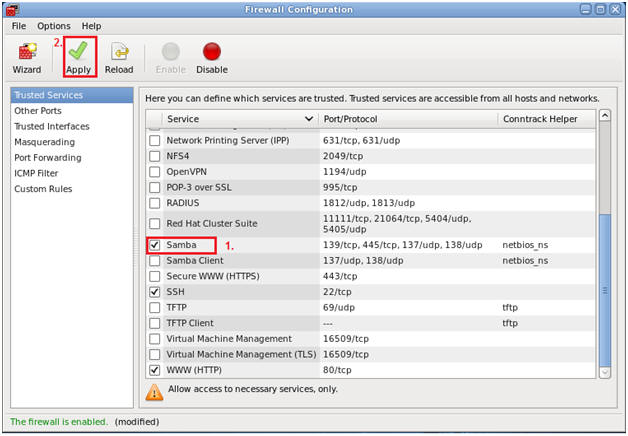
- Click Yes
|
Section 6. Configure
Samba Startup Scripts |
- Check Samba Start Up Scripts
- Command:
chkconfig --list smb
- Note:
Notice all start up scripts are off.
- Create a samba start up script for run level 3.
- Command:
chkconfig --level 3 smb on
- This creates the start up script.
- Command:
chkconfig --list smb
- Notice there is a "on" after the number 3.

- Verify Samba is Running.
- Command:
ps -eaf | grep -v grep | grep smb

|
Section 8. Determine
IP Address of Samba Server |
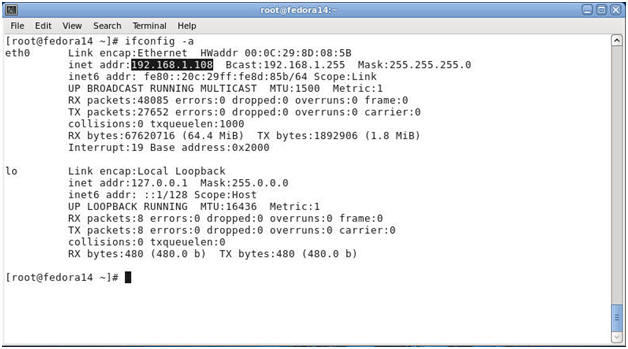
- Discover Samba Server's IP Address
- Command:
ifconfig -a
|
Section 9. Connect a
Windows Machine to the Samba Share |
- Start up WindowVulnerable01
- Note:
For those of you not in my class, this is a Windows XP VMware machine.
Just make sure your Windows machine is on the same network as your Samba
Server.
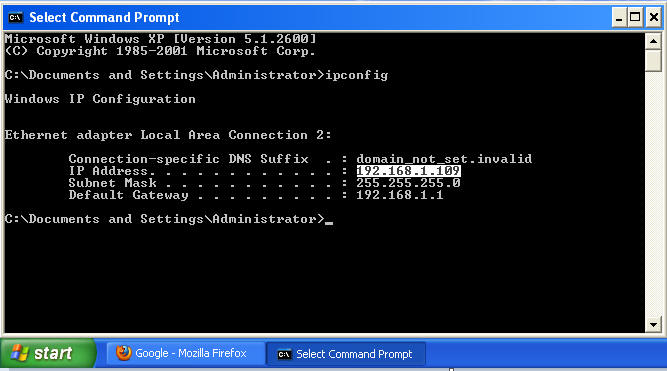
- Make sure your Windows Machine has a network
connection
- Command:
Start --> Command Prompt
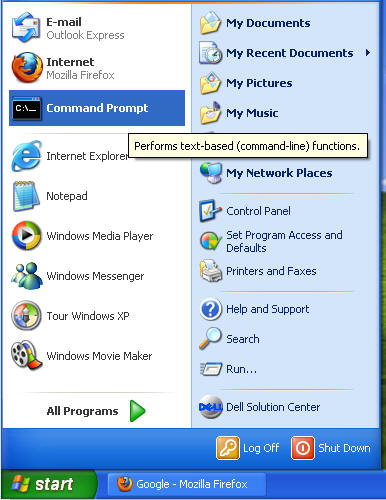
- Make sure your Windows Machine has a network
connection
- Command:
Start --> Command Prompt
- Note:
Verify you have an IP Address. Note, your IP address will probably
be different.
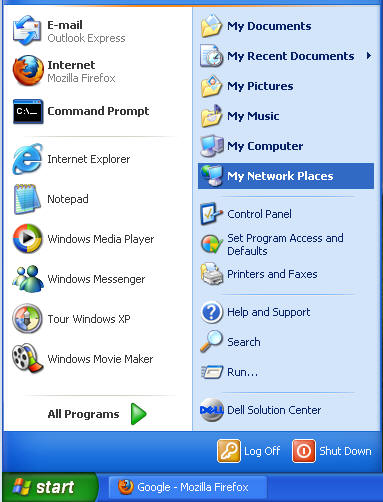
- Click on My Network Places
- Command:
Start --> My Network Places
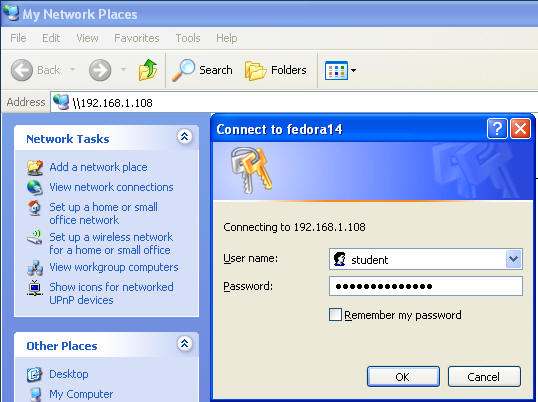
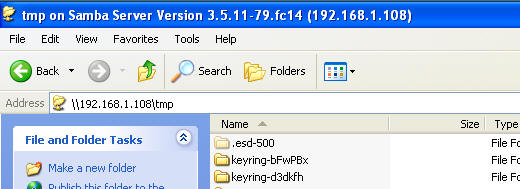
- Access the Samba Server
- Note:
In the address bar, place the IP address of the Samba server you
obtained in Section 8, Step 1.
- Command:
\\192.168.1.108 (See Below)
- Command:
Press Enter
- Command:
Enter the Samba Username and Password you set up in Step 8, Section 5.
- Access the Samba Share
- Command:
Double Click on the tmp share.
- Viewing the tmp share
- Note:
You are now inside of the tmp share.
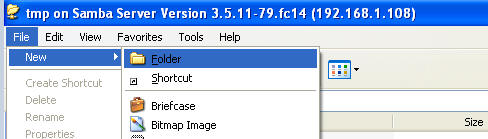
- Create a directory in the samba tmp share.
- Command:
File --> New --> Folder
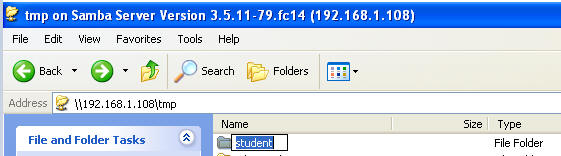
- Create a student directory
- Command:
Name the new directory "student".
|
Section 10. Connect
a Windows Machine to the Samba Share |
- On the Samba Server
- Command:
- cd /tmp/student
- echo "Hello Samba" >> hello_samba.txt
- ls -l hello_samba.txt
-
Proof of Lab
- Paste a Print Screen into a word document
and submit to Moodle.

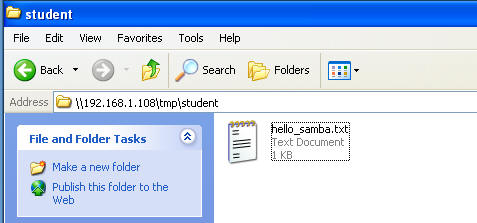
- On the Windows Machine
- Note:
Notice the hello_samba.txt file that you created on the Samba Server
shows up in this window as well.
- Cut and Paste a screen shot of Section 10, Step
1 into a word document and upload to Moodle.
|
 
|