(Forensics: DevManView)
{ Device and Driver Listing }
| Section 0: Background Information |
- Background
- DevManView is an alternative to the standard Device Manager of Windows, which displays all devices and their properties in flat table, instead of tree viewer.
- In addition to displaying the devices of your local computer, DevManView also allows you view the devices list of another computer on your network, as long as you have administrator access rights to this computer.
- Reference Link:
-
Lab
Notes
- In this lab we will do the following:
- Download DevManView
- Install DevManView
- Perform a Device Analysis
- Save device driver inventory
- In this lab we will do the following:
- Legal Disclaimer
- As a condition of your use of this Web site, you warrant to computersecuritystudent.com that you will not use this Web site for any purpose that is unlawful or that is prohibited by these terms, conditions, and notices.
- In accordance with UCC § 2-316, this product is provided with "no warranties, either express or implied." The information contained is provided "as-is", with "no guarantee of merchantability."
- In addition, this is a teaching website that does not condone malicious behavior of any kind.
- You are on notice, that continuing and/or using this lab outside your "own" test environment is considered malicious and is against the law.
- © 2012 No content replication of any kind is allowed without express written permission.
| Section 1: Power of Damn Vulnerable WXP-SP2 |
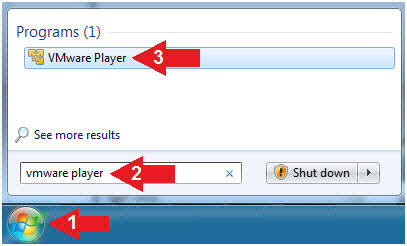
- Start VMware Player
- Instructions
- For Windows 7
- Click Start Button
- Search for "vmware player"
- Click VMware Player
- For Windows XP
- Starts --> Programs --> VMware Player
- For Windows 7
- Instructions
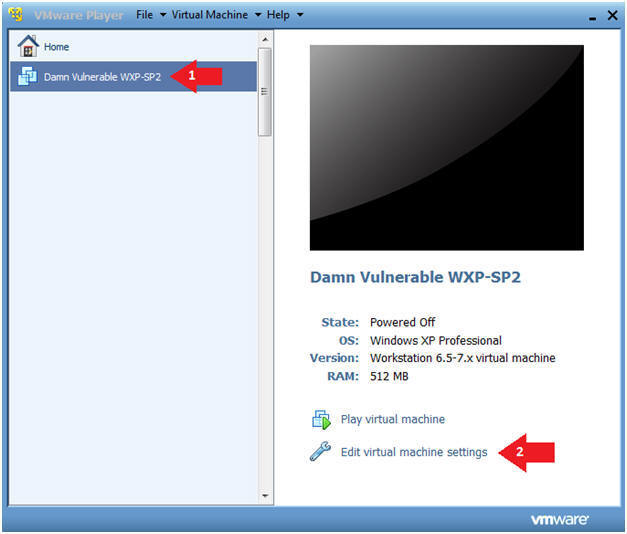
- Start Up Damn Vulnerable WXP-SP2.
- Instructions:
- Click on Damn Vulnerable WXP-SP2
- Click on Edit virtual machine Settings
- Note(FYI):
- For those of you not part of my class, this is a Windows XP machine running SP2.
- Instructions:
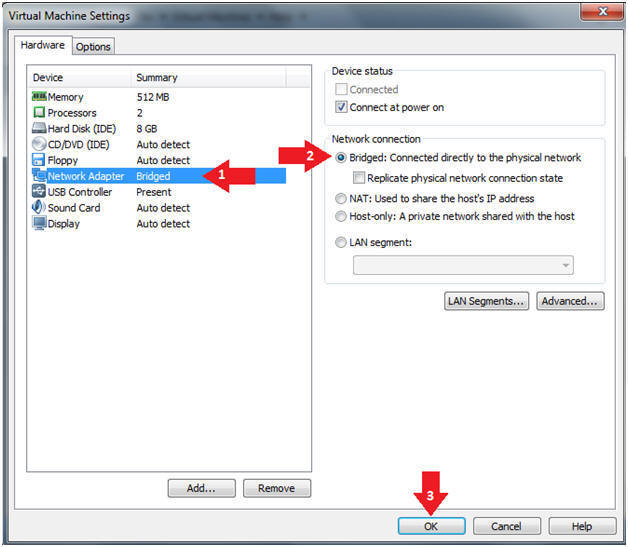
- Edit Virtual Machine Settings
- Instructions:
- Click on Network Adapter
- Click on the Bridged Radio button
- Click on the OK Button
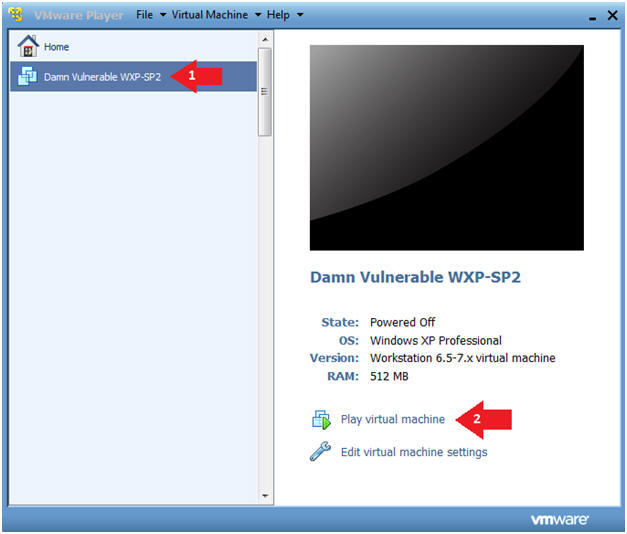
- Instructions:
- Play Virtual Machine
- Instructions:
- Click on Damn Vulnerable WXP-SP2
- Click on Play virtual machine
- Instructions:
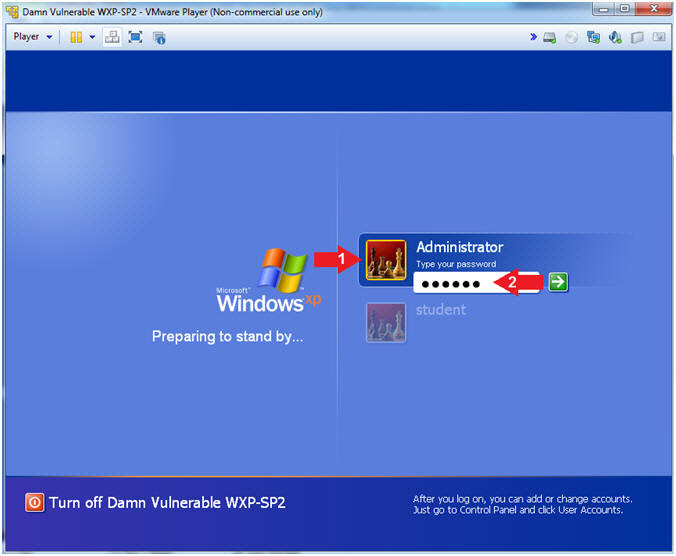
- Login to Damn Vulnerable WXP-SP2
- Instructions:
- Click on Administrator
- Type your password: <Supply Password>
- Instructions:
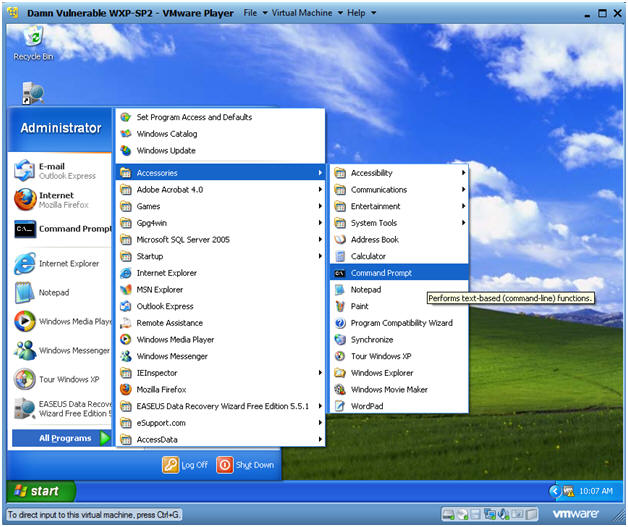
- Open a Command Prompt
- Instructions:
- Start --> All Programs --> Accessories --> Command Prompt
- Instructions:
- Obtain Damn Vulnerable WXP-SP2's IP Address
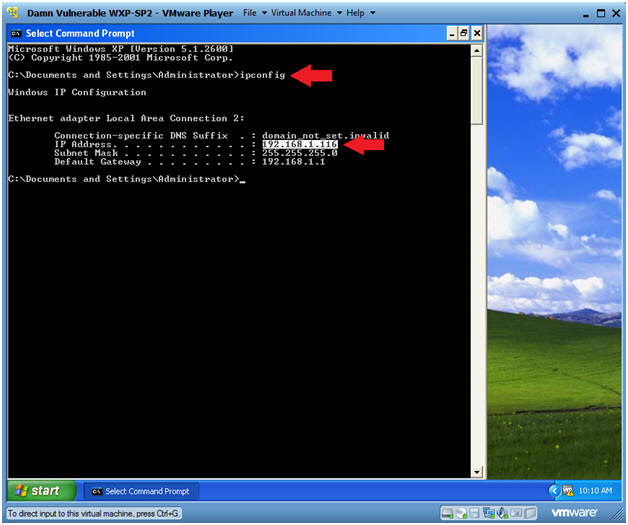
- Instructions:
- ipconfig
- Note(FYI):
- In my case, Damn Vulnerable WXP-SP2's IP Address 192.168.1.116.
- In your case, Damn Vulnerable WXP-SP2's IP Address might be different.
- Instructions:
| Section 2: Download and Install DevManView |
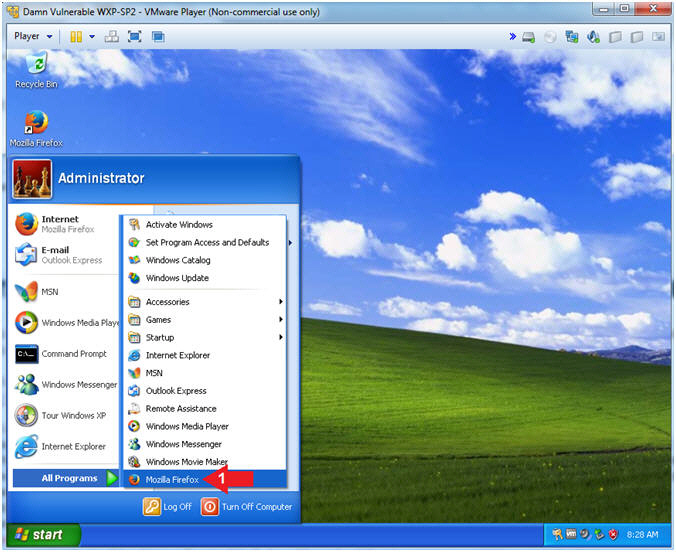
- Open Firefox
- Instructions:
- Start --> All Programs --> Mozilla Firefox
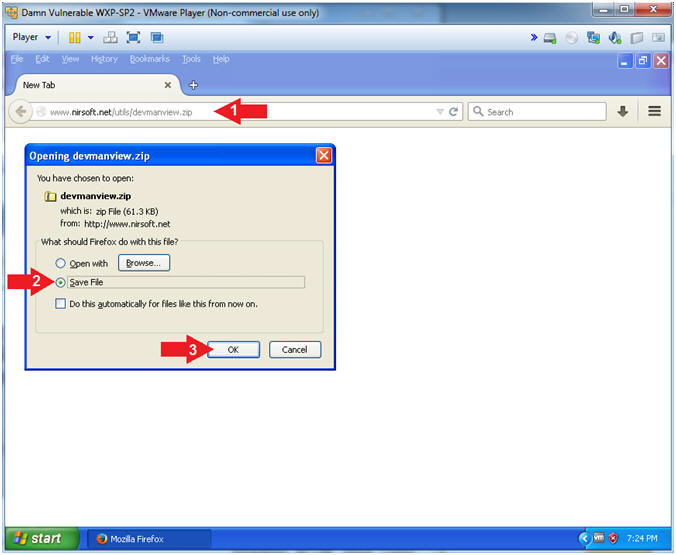
- Instructions:
- Download DevManView
- Instructions:
- Navigate to below URL
- Click the Save File Radio Button
- Click the OK Button.
- Instructions:
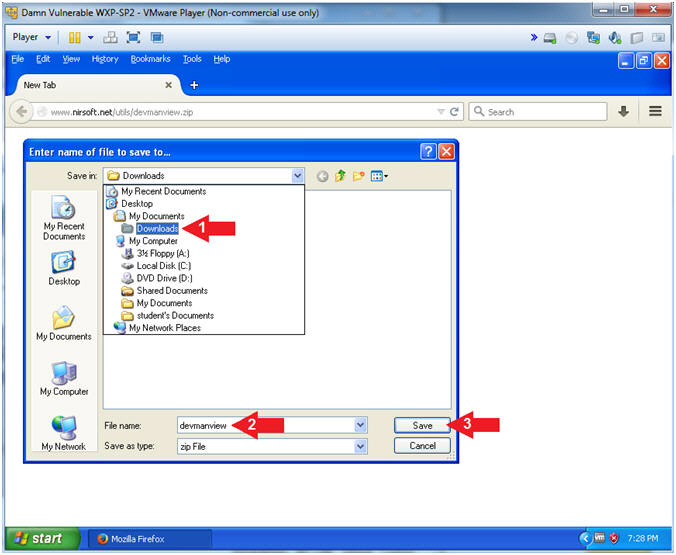
- Save DevManView
- Instructions:
- Navigate to Downloads
- File name: devmanview
- Click the Save Button
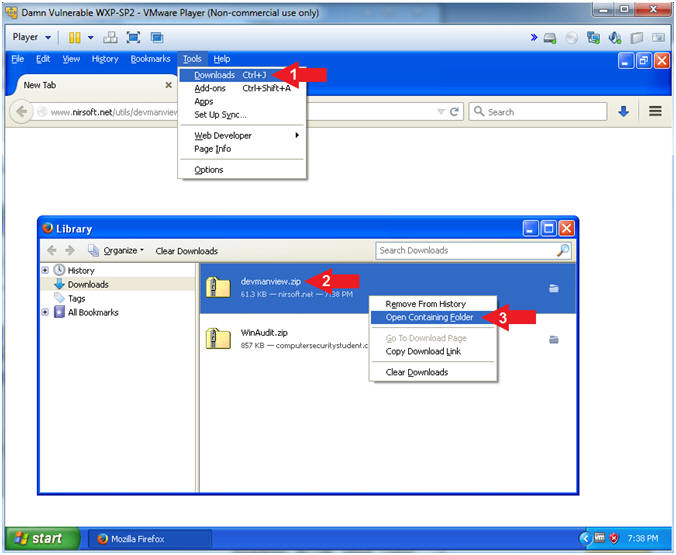
- Instructions:
- Open Containing Folder
- Instructions:
- Tools --> Downloads
- Right Click on devmanview.zip
- Select Open Containing Folder
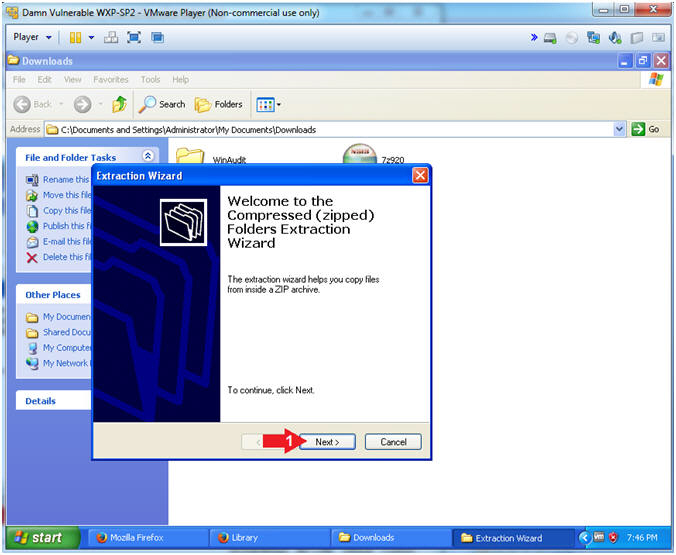
- Instructions:
- Extract DevManView
- Instructions:
- Right Click on devmanview.zip
- Click on Extract All...

- Instructions:
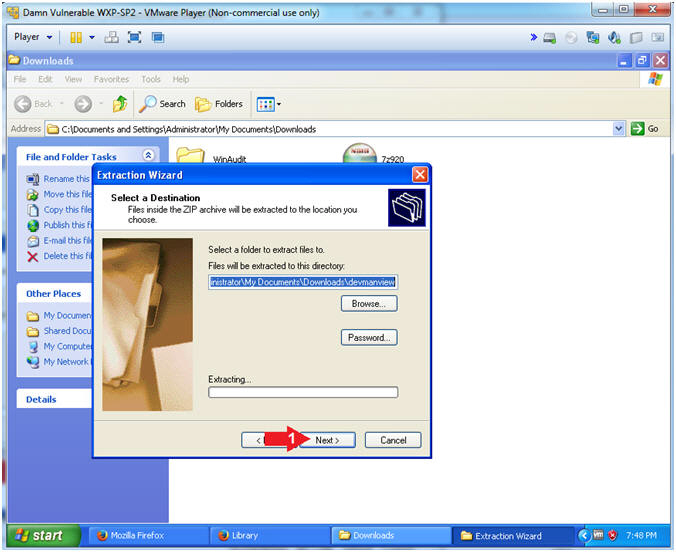
- Extraction Wizard
- Instructions:
- Click Next
- Instructions:
- Select a Destination
- Instructions:
- Click Next
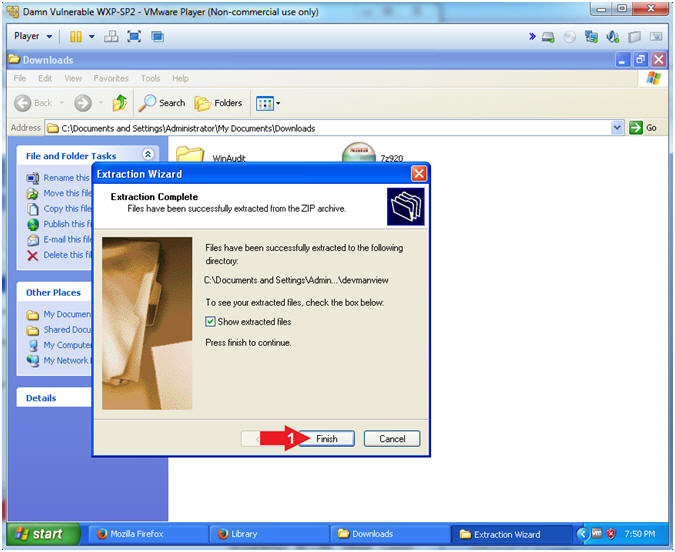
- Instructions:
- Extraction Complete
- Instructions:
- Click Finish
- Instructions:
| Section 3: Run DevManView |
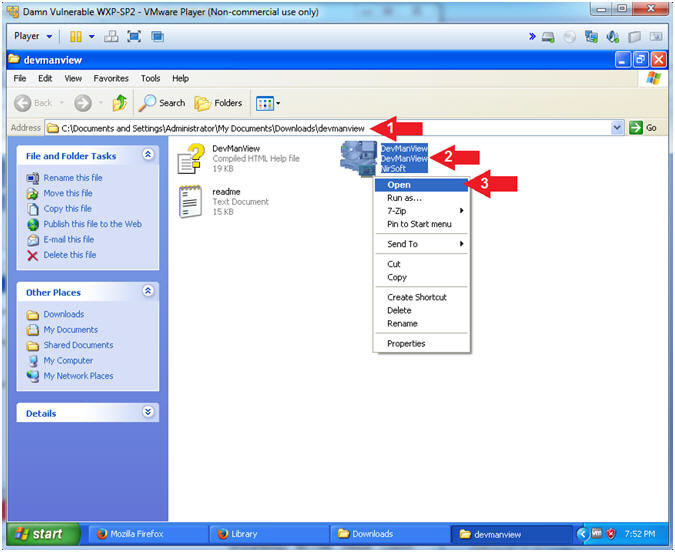
- Run DevManView
- Instructions:
- In Windows Explorer navigate to
the following directory
- C:\Documents and Settings\Administrator\My Documents\Downloads\devmanview
- Right Click on DevManView.exe
- Click Open
- In Windows Explorer navigate to
the following directory
- Instructions:
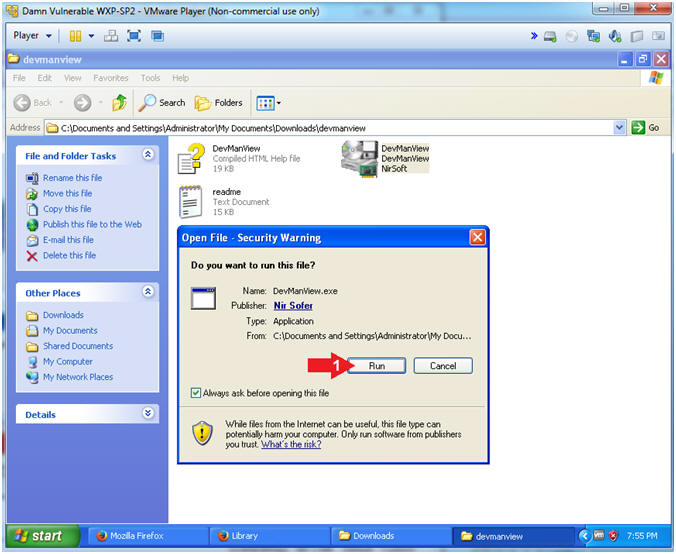
- Open File - Security Warning
- Instructions:
- Click Run
- Instructions:
- Open File - Security Warning
- Note(FYI):
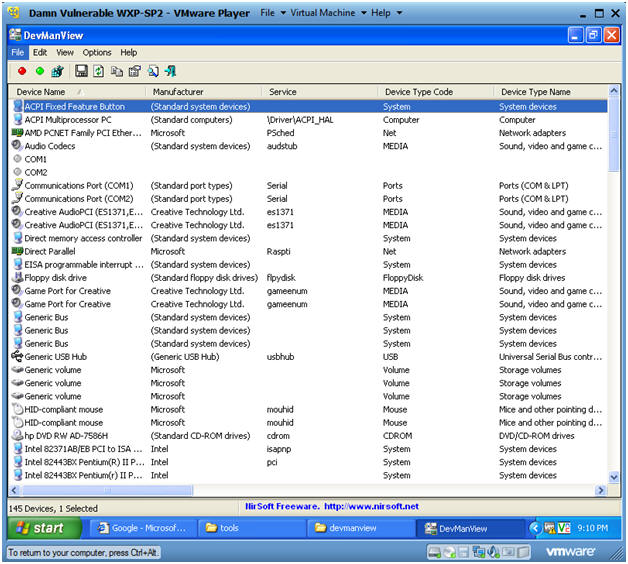
- Below you will see a detailed summary of all the physical devices and drivers on your machine.
- Note(FYI):
| Section 4: Device Name Analysis |
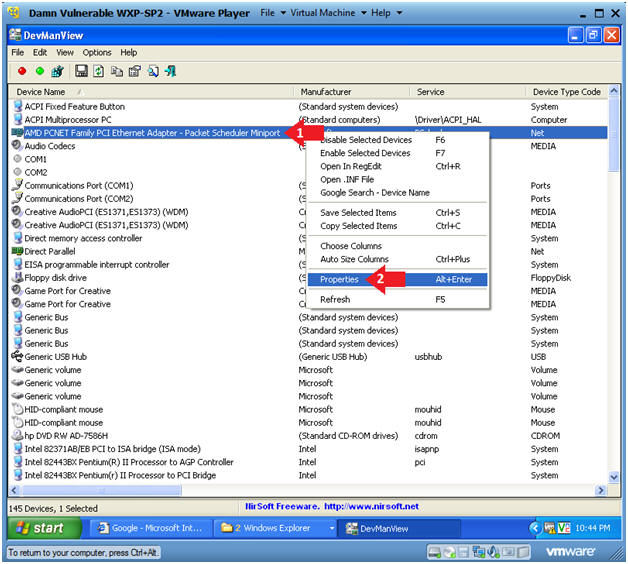
- Analyze your Ethernet Adapter
- Instructions:
- Right Click on the Ethernet Adapter
- Click on Properties
- Instructions:
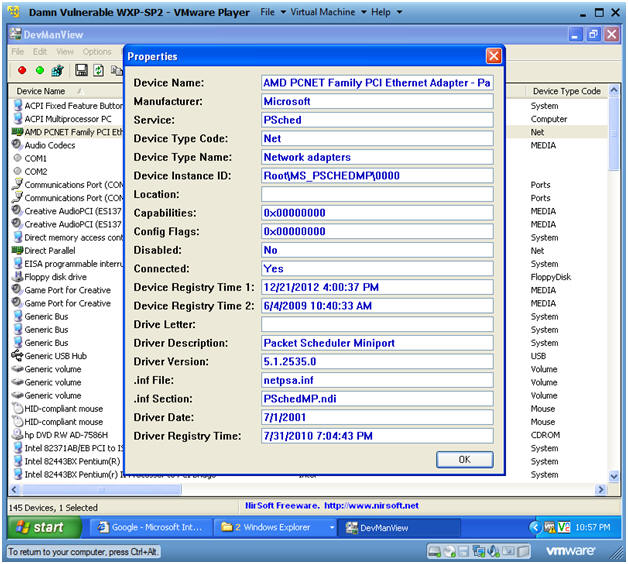
- Ethernet Adapter Device Properties
- Note(FYI):
- Below you will see various attributes of the Device and its drivers.
- Note(FYI):
| Section 5: Saving your device/driver inventory |
- Add Header Information
- Instructions:
- Click on "Options" in the menu bar
- Click on and Checkmark the "Add Header Line to CSV/Tab-Delimited File"
- Instructions:
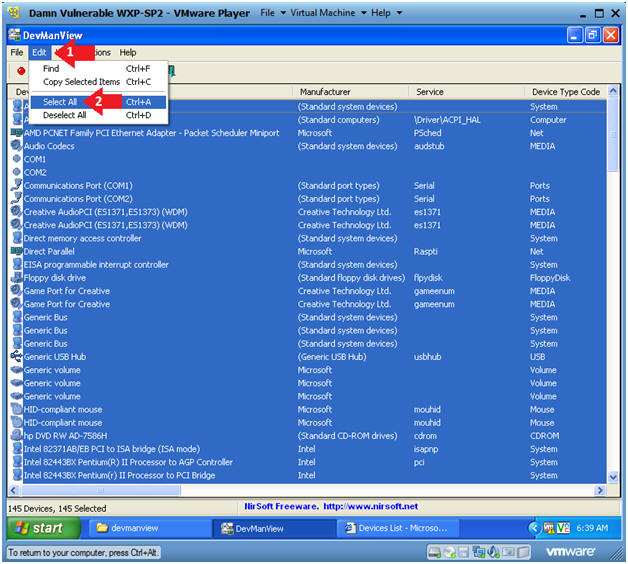
- Select Devices
- Instructions:
- Click on "Edit" in the menu bar
- Click on "Select All"
- Instructions:
- Select Devices
- Instructions:
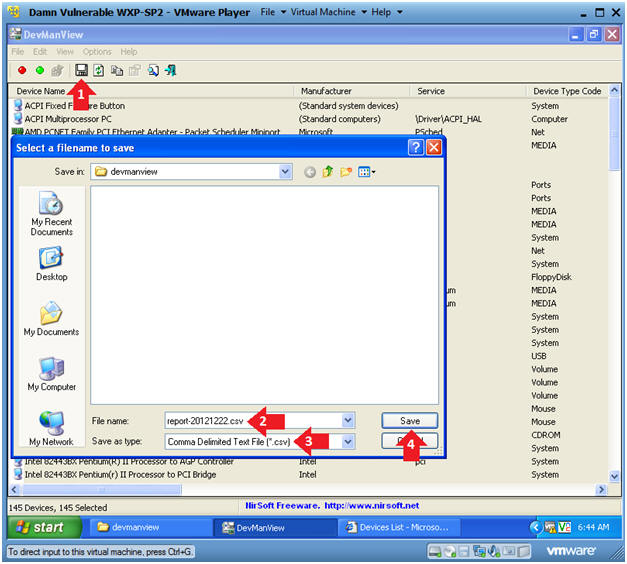
- Click on the disk icon.
- Filename: report-YYYYMMDD.csv
- In my case, report-20121222.csv
- YYYY = Year, MM = Month, DD = Day
- Save as type: Comma Delimited Text File
(*.csv)
- CSV format allows for (1) ease of parse-ability, (2) database importation, and (3) excel spreadsheet importation.
- Click the Save Button
- Instructions:
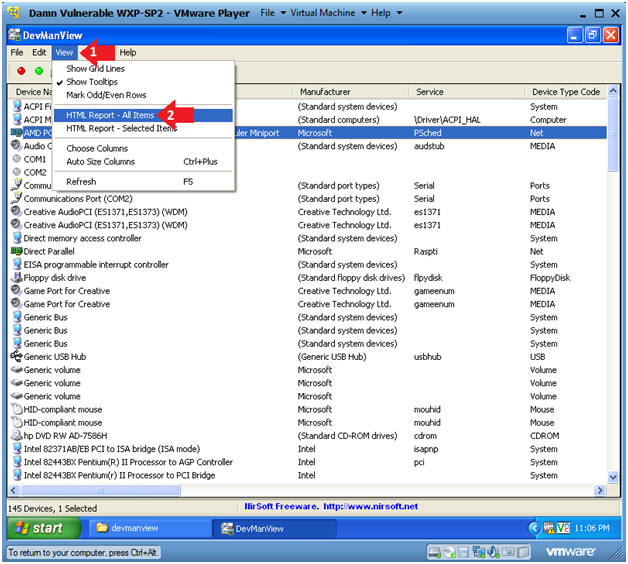
- Generate HTML Report
- Instructions:
- Click on View in the menu bar
- Click "HTML Report - All Items"
- Instructions:
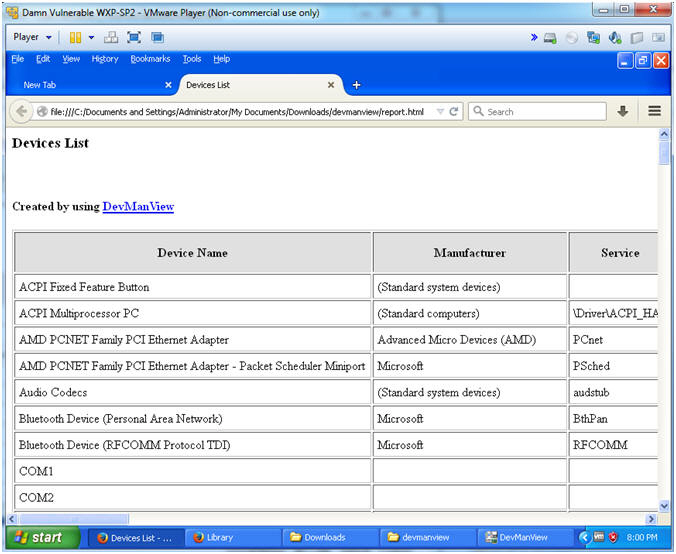
- View HTML Report
- Note(FYI):
- If your computer does not have Microsoft office we created a report in HTML format that can be viewed by any computer with a Web Browser.
- Note(FYI):

| Section 6: Proof of Lab |
- Open a Command Prompt
- Instructions:
- Start --> All Programs --> Accessories --> Command Prompt
- Instructions:
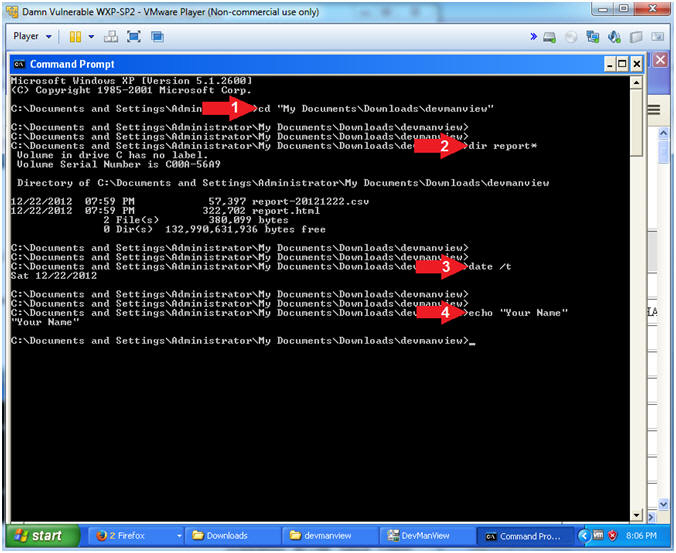
- Proof of Lab
- Instructions:
- cd c:\tools\devmanview
- dir report*
- This should result in two files.
- date /t
- echo "Your Name"
- Replace the string "Your Name" with your actual name.
- e.g., echo "John Gray"
-
Proof of Lab Instructions
- Press both the <Ctrl> and <Alt> keys at the same time.
- Do a <PrtScn>
- Paste into a word document
- Upload to Moodle
- Instructions: