(Foremost: Lesson 1)
{ Recovering Pictures from a NTFS File System }
| Section 0. Background Information |
- Foremost
- Foremost is a Linux based program data for recovering deleted files and served as the basis for the more modern Scalpel. The program uses a configuration file to specify headers and footers to search for. Intended to be run on disk images, foremost can search through most any kind of data without worrying about the format.
- http://www.forensicswiki.org/wiki/Foremost
-
Lab Notes
- In this lab we will do the following:
- Download an NTFS image that contains 7 deleted files.
- Use Foremost to extract the 7 deleted files
- Mount the NTFS image
- Use basic find command to search for hidden file types.
- In this lab we will do the following:
- Legal Disclaimer
- As a condition of your use of this Web site, you warrant to computersecuritystudent.com that you will not use this Web site for any purpose that is unlawful or that is prohibited by these terms, conditions, and notices.
- In accordance with UCC § 2-316, this product is provided with "no warranties, either express or implied." The information contained is provided "as-is", with "no guarantee of merchantability."
- In addition, this is a teaching website that does not condone malicious behavior of any kind.
- Your are on notice, that continuing and/or using this lab outside your "own" test environment is considered malicious and is against the law.
- © 2013 No content replication of any kind is allowed without express written permission.
| Section 1: Start Up the BackTrack5R1 VM |
- Start Up VMWare Player
- Instructions:
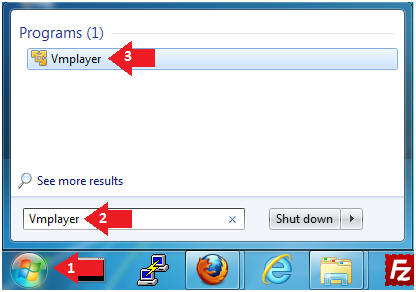
- Click the Start Button
- Type Vmplayer in the search box
- Click on Vmplayer
- Instructions:
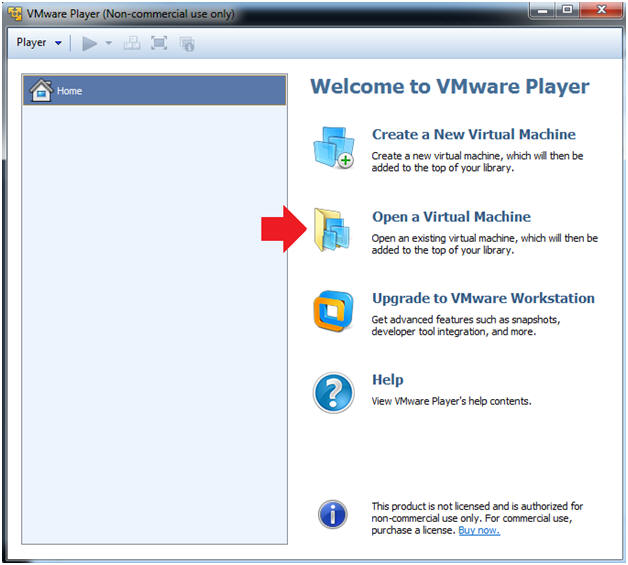
- Open a Virtual Machine
- Instructions:
- Click on Open a Virtual Machine
- Instructions:
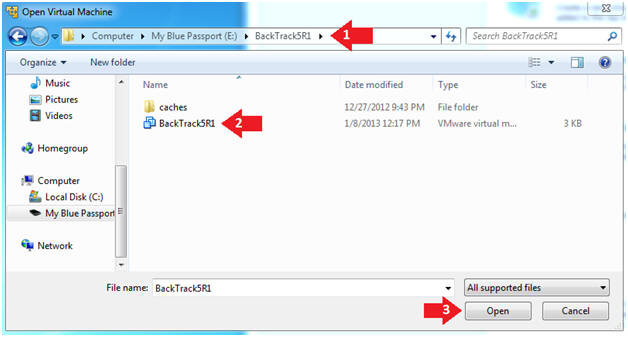
- Open the BackTrack5R1 VM
- Instructions:
- Navigate to where the BackTrack5R1 VM is located
- Click on on the BackTrack5R1 VM
- Click on the Open Button
- Instructions:
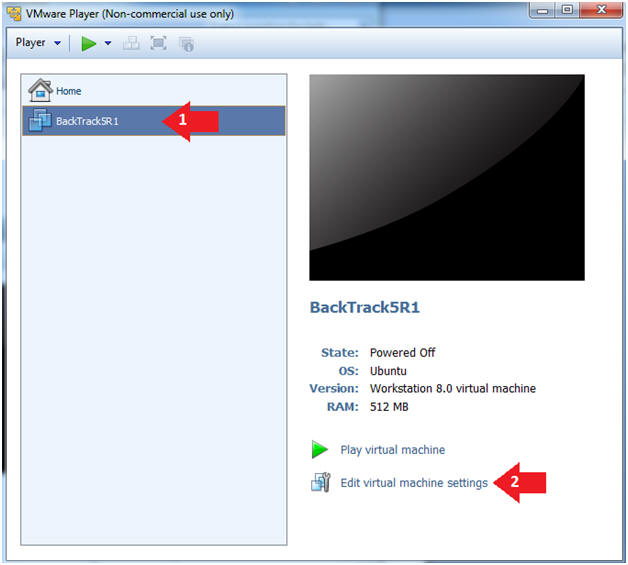
- Edit the BackTrack5R1 VM
- Instructions:
- Select BackTrack5R1 VM
- Click Edit virtual machine settings
- Instructions:
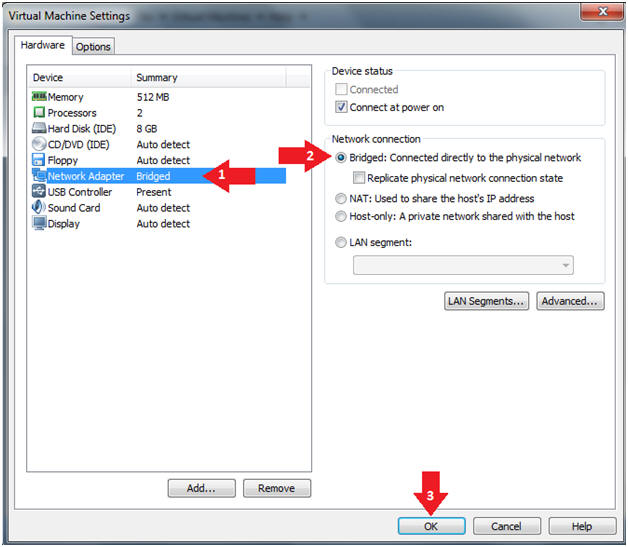
- Edit Virtual Machine Settings
- Instructions:
- Click on Network Adapter
- Click on the Bridged Radio button
- Click on the OK Button
- Instructions:
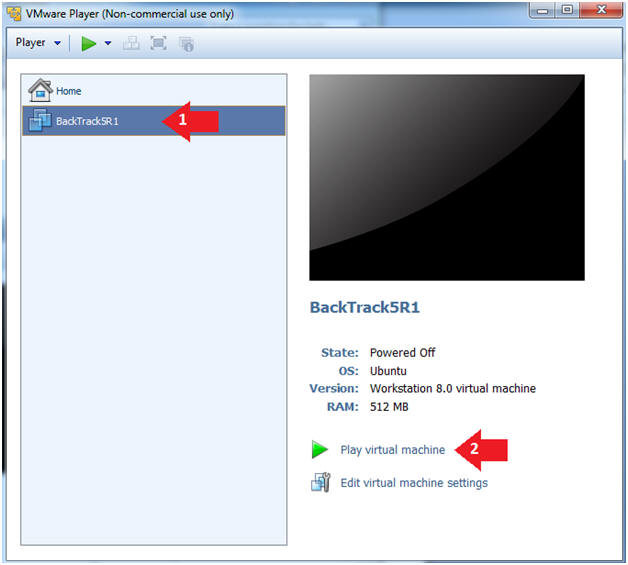
- Play the BackTrack5R1 VM
- Instructions:
- Click on the BackTrack5R1 VM
- Click on Play virtual machine
- Instructions:
- Login to BackTrack
- Instructions:
- Login: root
- Password: toor or <whatever you changed it to>.

- Instructions:
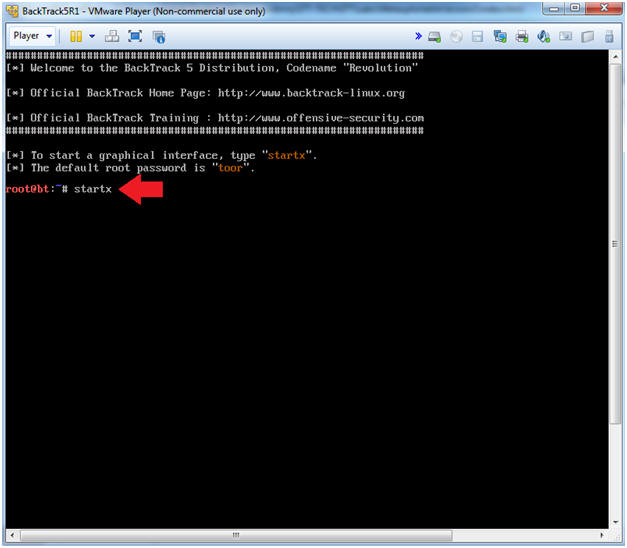
- Bring up the GNOME
- Instructions:
- Type startx
- Instructions:
- Start up a terminal window
- Instructions:
- Click on the Terminal Window
- Instructions:
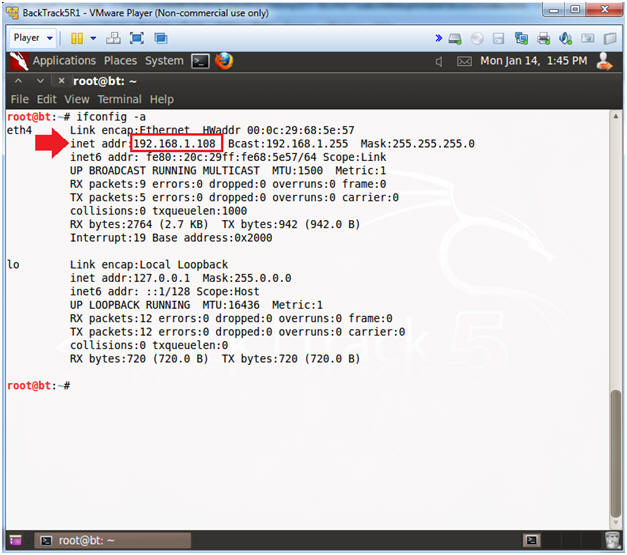
- Obtain the IP Address
- Instructions:
- ifconfig -a
- Note(FYI):
- My IP address 192.168.1.108.
- In your case, it will probably be different.
- Instructions:
| Section 2: Download NTFS Practice Image |
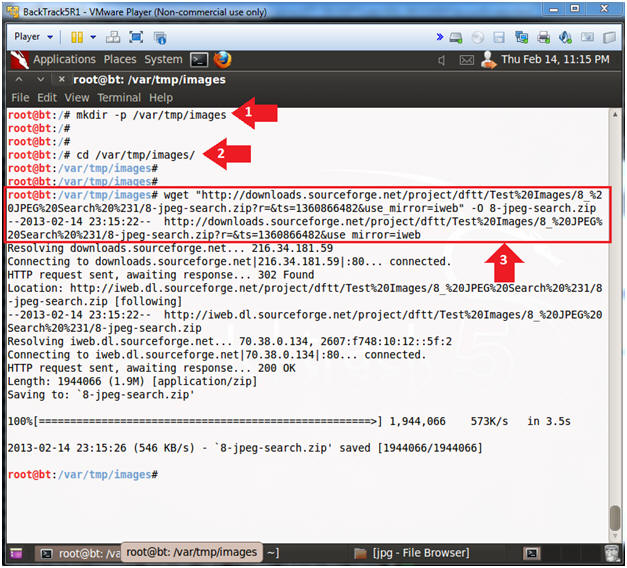
- Download Image File
- Instructions:
- mkdir -p /var/tmp/images
- cd /var/tmp/images
- wget "http://downloads.sourceforge.net/project/dftt/Test%20Images/8_%20JPEG%20Search%20%231/8-jpeg-search.zip?r=&ts=1360866482&use_mirror=iweb" -O 8-jpeg-search.zip
- Note(FYI):
- Copy and paste the above wget line instead of retyping it.
- Instructions:
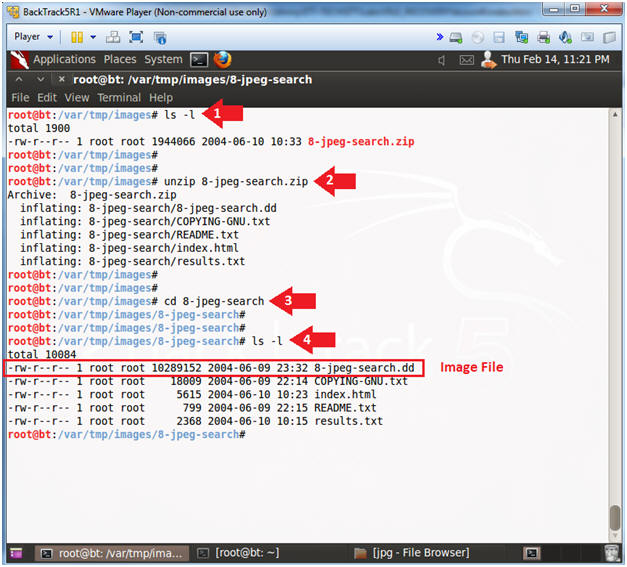
- Unzip Image File
- Instructions:
- ls -l
- unzip 8-jpeg-search.zip
- cd 8-jpeg-search
- ls -l
- Note(FYI):
- 8-jpeg-search.dd is the NTFS image file.
- Instructions:
| Section 3: Mount NTFS Practice Image |
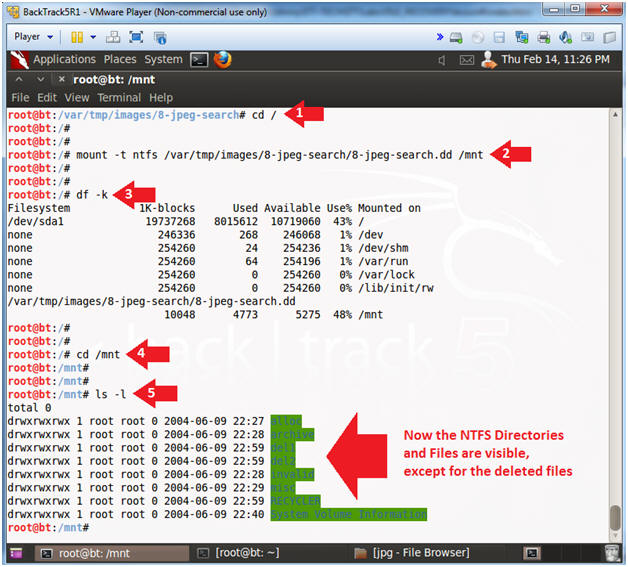
- Mount Up the Image File
- Instructions:
- cd /
- mount -t ntfs /var/tmp/images/8-jpeg-search/8-jpeg-search.dd /mnt
- df -k
- cd /mnt
- ls -l
- Note(FYI):
- Mounting the image file is not necessary to run foremost.
- Instructions:
| Section 4: Use Foremost to Extract Deleted Files |
- Use Foremost to Extract Deleted Files
- Instructions:
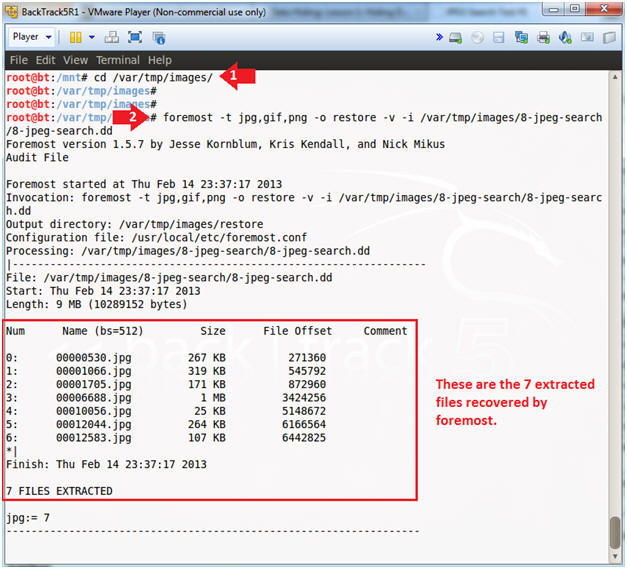
- cd /var/tmp/images/
- foremost -t jpg,gif,png -o
restore -v -i /var/tmp/images/8-jpeg-search/8-jpeg-search.dd
- -t, specifies file types to search for.
- -o, specifies the name of the recovering directory
- -v, specifies to run in verbose mode.
- -i, specifies the image file.
- Note(FYI):
- Foremost was able to recover 7 deleted files.
- Instructions:
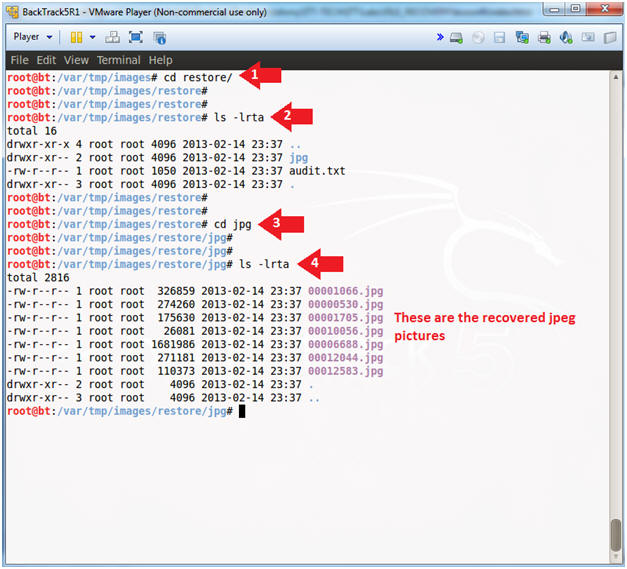
- Viewing the Recovered Pictures
- Instructions:
- cd restore/
- ls -lrta
- cd jpg
- ls -lrta
- Instructions:
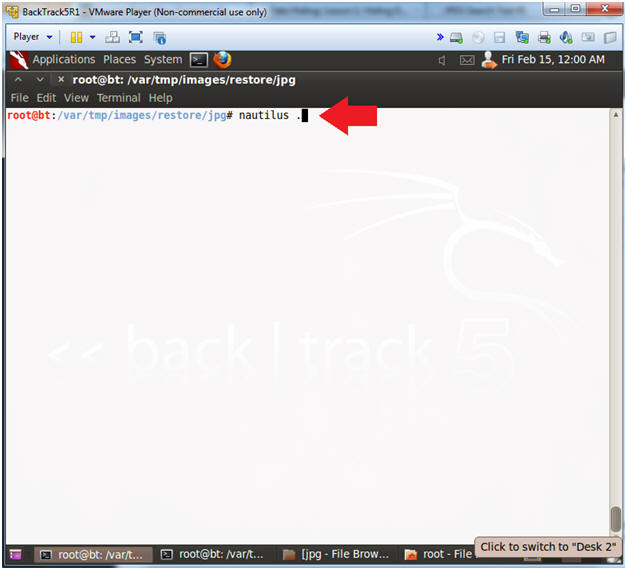
- Start Up the File Browser (a.k.a., nautilus)
- Instructions:
- nautilus .
- Instructions:
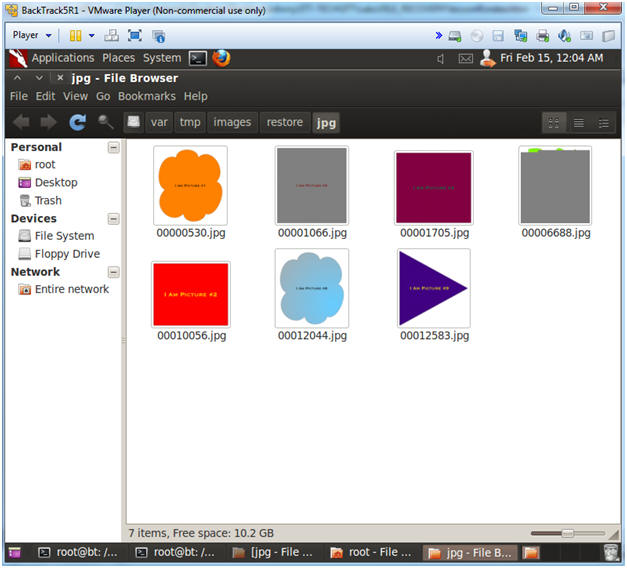
- Viewing the Pictures
- Note(FYI):
- As you can see, there are 7 pictures to view.
- Note(FYI):
| Section 5: Searching For Hidden File Types |
- Searching For Hidden File Types
- Instructions:
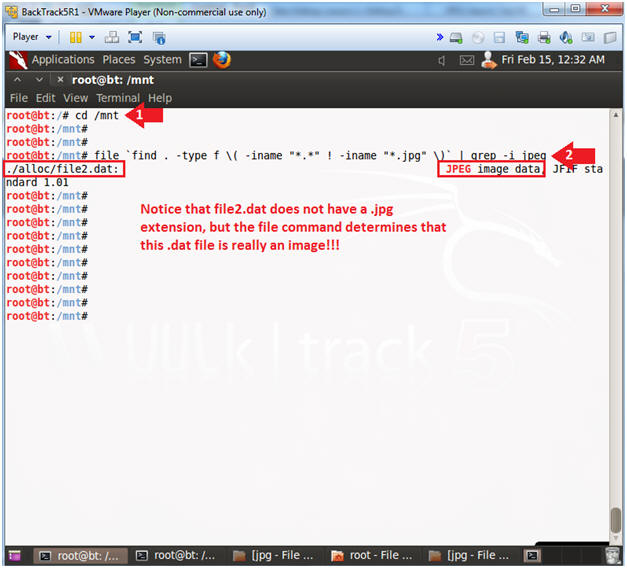
- cd /mnt
- file
`find . -type f \( -iname
"*.*" ! -iname "*.jpg" \)`
| grep -i jpeg
- find - show me all files that do not have a jpg extension.
- file - determine the file type
- grep - show me only jpeg files for non-jpg extensions.
- Instructions:
- Viewing the Hidden File Type
- Instructions:
- eog ./alloc/file2.dat

| Section 6: Proof of Lab |
- Proof of Lab
- Instructions:
- cd /
- df -k | grep /mnt
- ls -l /var/tmp/images/restore/jpg
- date
- echo "Your Name"
- Replace the string "Your Name" with your actual name.
- e.g., echo "John Gray"
- umount /mnt
-
Proof of Lab Instructions
- Press both the <Ctrl> and <Alt> keys at the same time.
- Do a <PrtScn>
- Paste into a word document
- Upload to Moodle
