(Damn Vulnerable Web App (DVWA): Lesson 13)
{ Using nikto.pl }
| Section 0. Background Information |
- What is Damn Vulnerable Web App (DVWA)?
- Damn Vulnerable Web App (DVWA) is a PHP/MySQL web application that is damn vulnerable.
- Its main goals are to be an aid for security professionals to test their skills and tools in a legal environment, help web developers better understand the processes of securing web applications and aid teachers/students to teach/learn web application security in a class room environment.
- What is Nikto?
- Nikto is an Open Source (GPL) web server scanner which performs comprehensive tests against web servers for multiple items, including over 6400 potentially dangerous files/CGIs, checks for outdated versions of over 1200 servers, and version specific problems on over 270 servers.
- Pre-Requisite Labs
- Damn Vulnerable Web App (DVWA): Lesson 1: How to Install DVWA in Fedora 14
- BackTrack: Lesson 1: Installing BackTrack 5 R1
-
Lab
Notes
- In this lab we will do the following:
- We will use nikto.pl to scan DVWA for vulnerabilities.
- We show you how to manually grab a webserver and operating system banner.
- We will show you an old but still common mistake some web administrators/developers make by placing a configuration direction under a web folder.
- In this lab we will do the following:
- Legal Disclaimer
- As a condition of your use of this Web site, you warrant to computersecuritystudent.com that you will not use this Web site for any purpose that is unlawful or that is prohibited by these terms, conditions, and notices.
- In accordance with UCC § 2-316, this product is provided with "no warranties, either expressed or implied." The information contained is provided "as-is", with "no guarantee of merchantability."
- In addition, this is a teaching website that does not condone malicious behavior of any kind.
- Your are on notice, that continuing and/or using this lab outside your "own" test environment is considered malicious and is against the law.
- © 2012 No content replication of any kind is allowed without express written permission.
| Section 1: Configure Fedora14 Virtual Machine Settings |
- Open Your VMware Player
- Instructions:
- On Your Host Computer, Go To
- Start --> All Program --> VMWare --> VMWare Player
- Instructions:
- Edit Fedora14 Virtual Machine Settings
- Instructions:
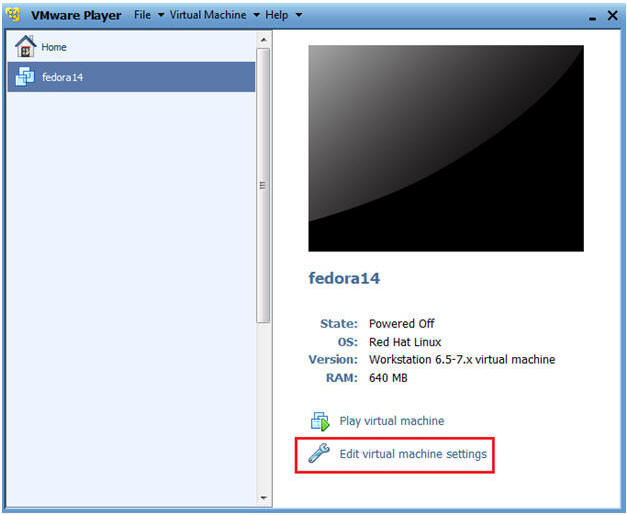
- Highlight fedora14
- Click Edit virtual machine settings
- Instructions:
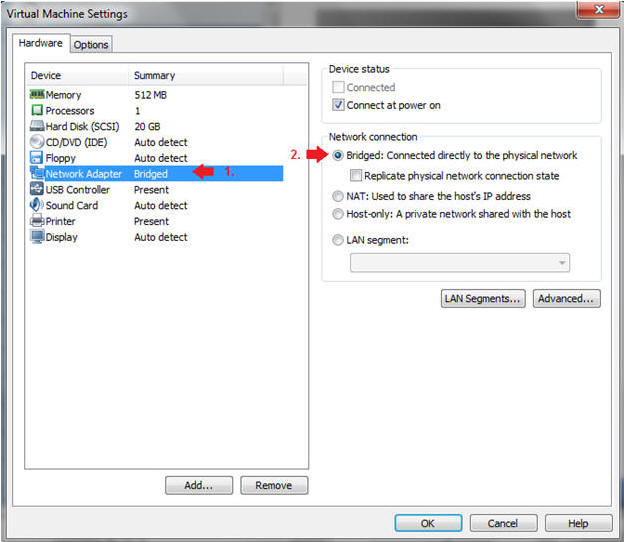
- Edit Network Adapter
- Instructions:
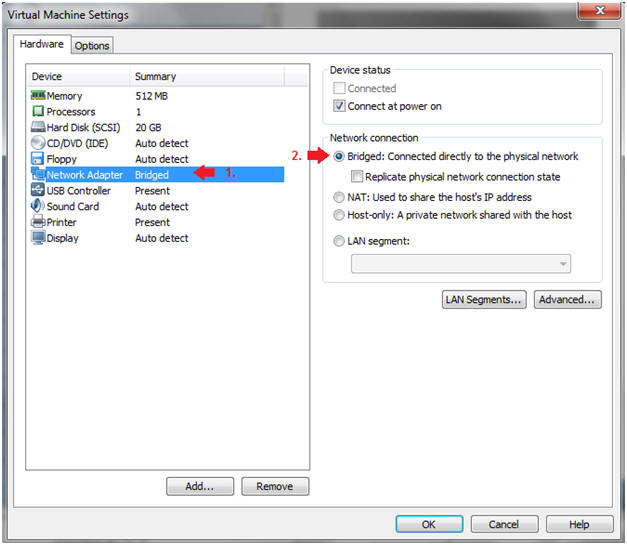
- Highlight Network Adapter
- Select Bridged
- Click on the OK Button.
| Section 2: Login to Fedora14 |
- Start Fedora14 VM Instance
- Instructions:
- Start Up VMWare Player
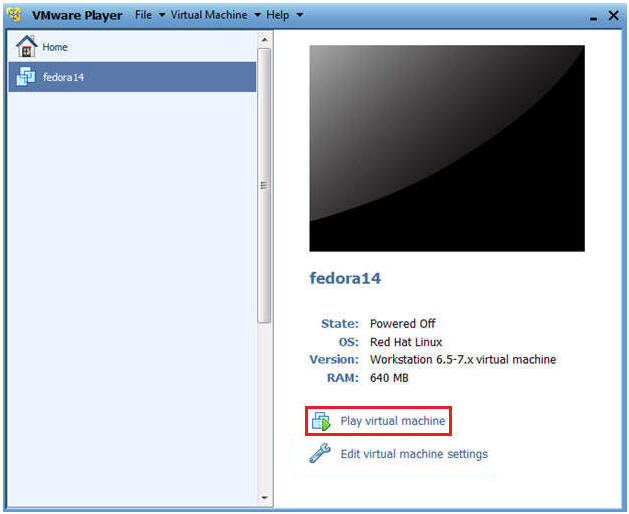
- Select Fedora14
- Play virtual machine
- Instructions:
- Login to Fedora14
- Instructions:
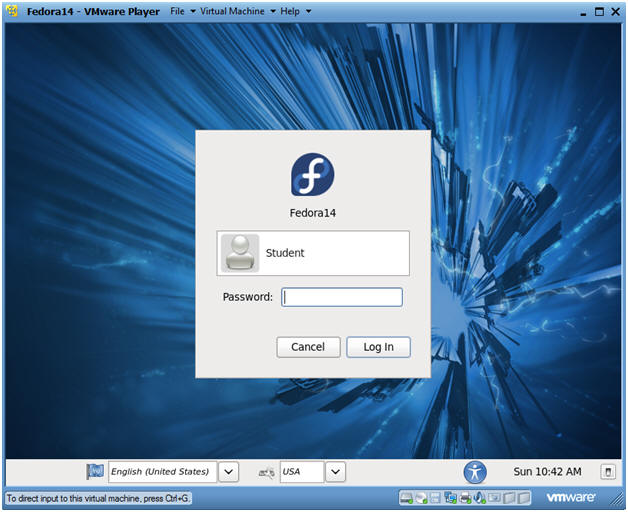
- Login: student
- Password: <whatever you set it to>.
-
- Instructions:
| Section 3: Open Console Terminal and Retrieve IP Address |
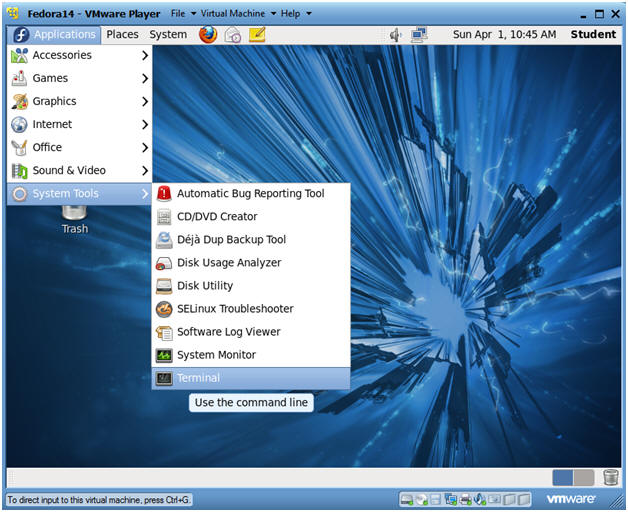
- Start a Terminal Console
- Instructions:
- Applications --> Terminal
- Instructions:
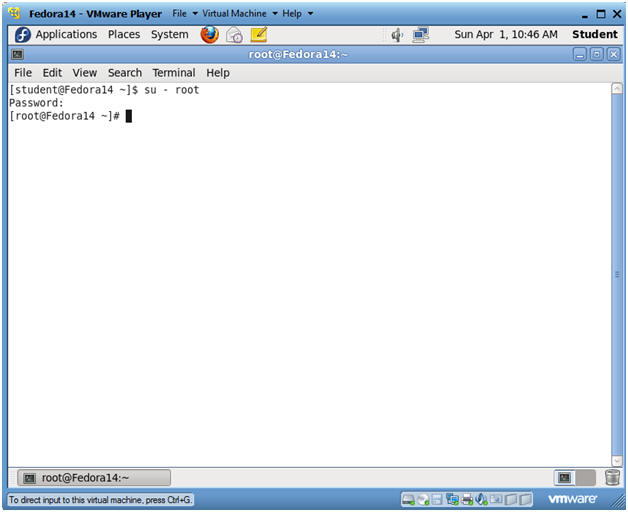
- Switch user to root
- Instructions:
- su - root
- <Whatever you set the root password to>
-
- Instructions:
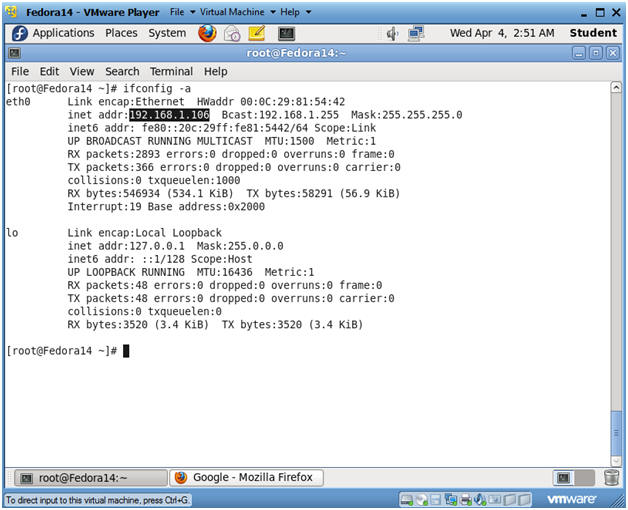
- Get IP Address
- Instructions:
- ifconfig -a
- Notes:
- As indicated below, my IP address is 192.168.1.106.
- Please record your IP address.
- Instructions:
| Section 4: Configure BackTrack Virtual Machine Settings |
- Open Your VMware Player
- Instructions:
- On Your Host Computer, Go To
- Start --> All Program --> VMWare --> VMWare Player
- Instructions:
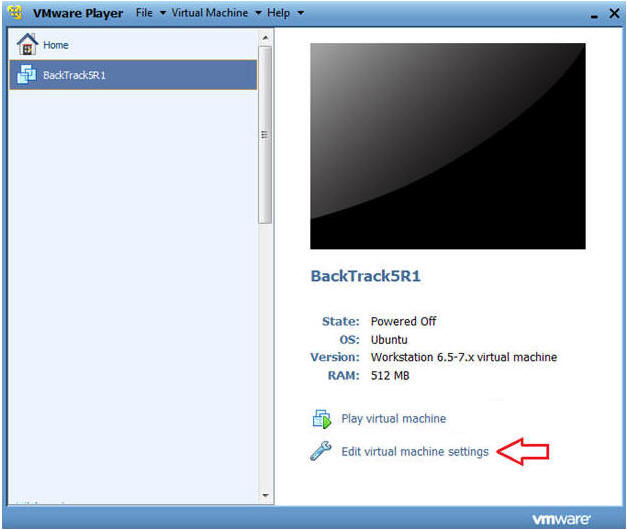
- Edit BackTrack Virtual Machine Settings
- Instructions:
- Highlight BackTrack5R1
- Click Edit virtual machine settings
- Instructions:
- Edit Network Adapter
- Instructions:
- Highlight Network Adapter
- Select Bridged
- Do not Click on the OK Button.
- Instructions:
| Section 5: Login to BackTrack |
- Start BackTrack VM Instance
- Instructions:
- Start Up VMWare Player
- Select BackTrack5R1
- Play virtual machine

- Instructions:
- Login to BackTrack
- Instructions:
- Login: root
- Password: toor or <whatever you changed it to>.

- Instructions:
- Bring up the GNOME
- Instructions:
- Type startx

- Instructions:
| Section 6: Open Console Terminal and Retrieve IP Address |
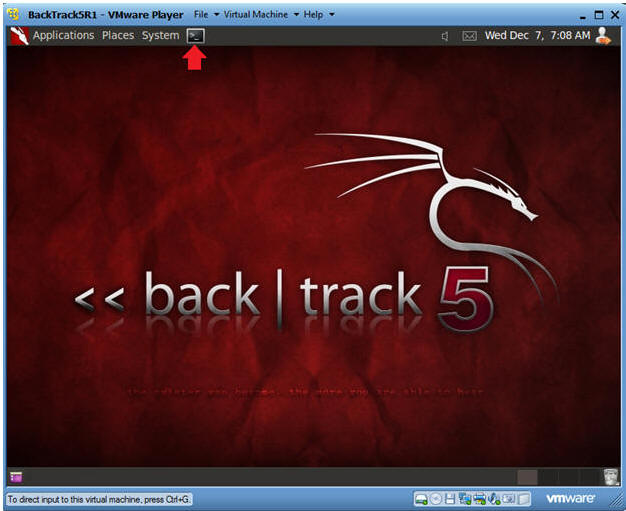
- Open a console terminal
- Instructions:
- Click on the console terminal
- Instructions:
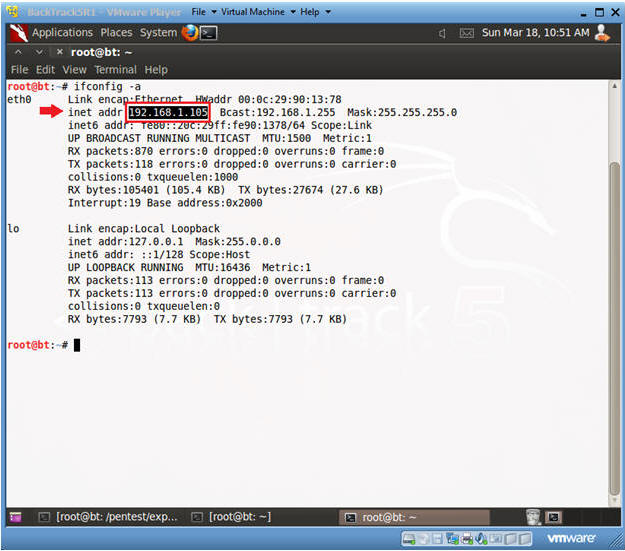
- Get IP Address
- Instructions:
- ifconfig -a
- Notes:
- As indicated below, my IP address is 192.168.1.105.
- Please record your IP address.
- Instructions:
| Section 7: Start Nikto |
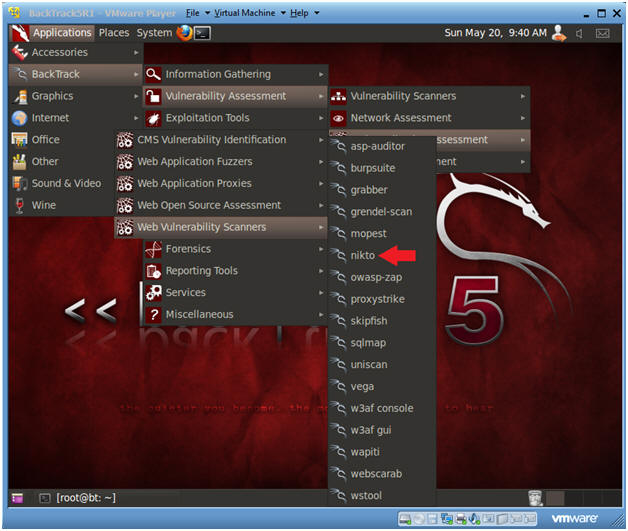
- Start nikto
- Instructions:
- Applications --> BackTrack --> Vulnerability Assessment --> Web Application Assessment --> Web Vulnerability Scanners --> nikto
- Instructions:
- Update nikto
- Instructions:
- ./nikto.pl -update
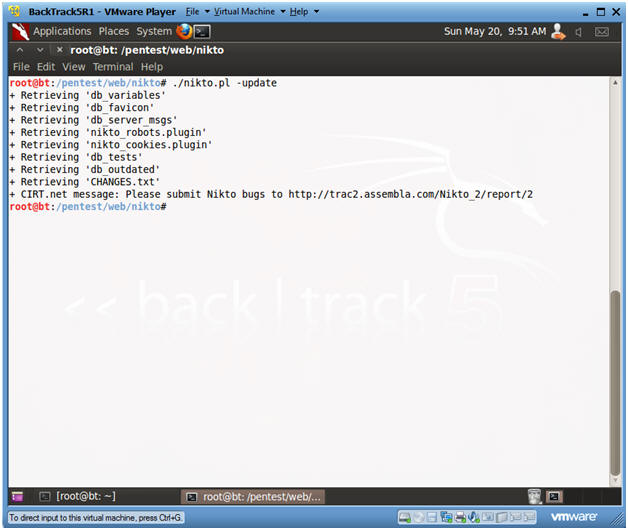
- Instructions:
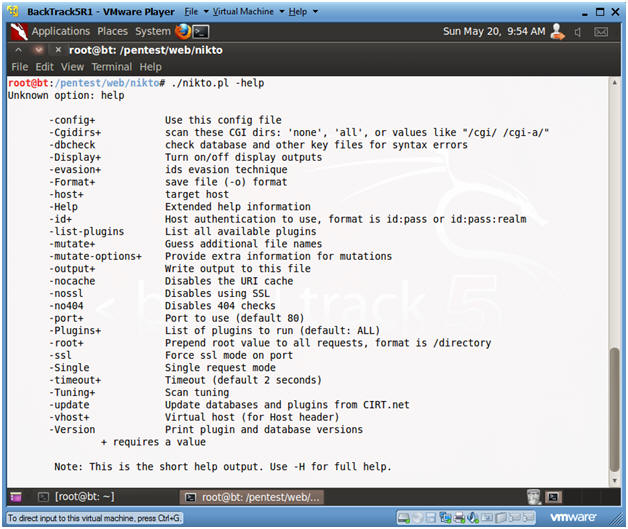
- Show Options
- Instructions:
- ./nikto.pl -help
- Instructions:
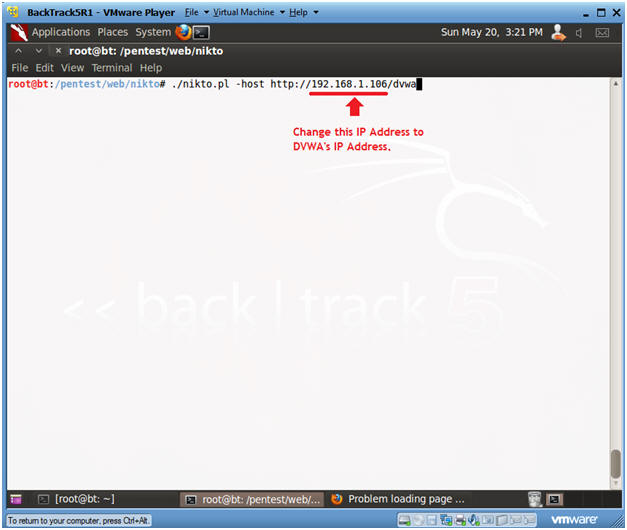
- Scan with nikto
- Instructions:
- ./nikto.pl -host http://192.168.1.106/dvwa
- Notes:
- Replace 192.168.1.106 with the IP Address obtained in (Section 3, Step 3)
- Instructions:
- View nikto Scan Results
- Notes:
- Right away Nikto is not only able to identify the Apache Web Server version, but also it is outdated.
- In addition, Nikto identifies the operating system as Fedora, and the version of PHP.
- Nikto, also displays various vulnerabilities whose explanation are found in the Open Source Vulnerabilities Database.

- Notes:
| Section 8: OSVDB-877: Use Telnet to Grab Webserver and Operating System Banner |
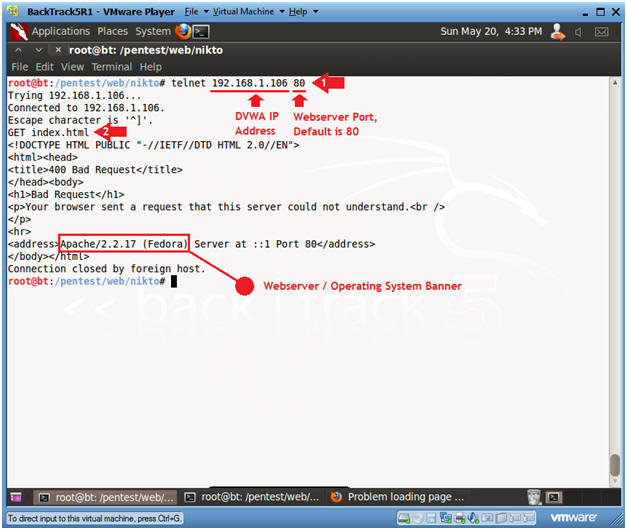
- Use Telnet to Grab Banner
- Instructions:
- telnet 192.168.1.106 80
- Replace 192.168.1.106 with DVWA's IP Address found in (Section 3, Step 3).
- Where 80 is the default Webserver Report.
- GET index.html
- telnet 192.168.1.106 80
- Notes:
- Although the webserver responds back with a "400 Bad Request", it does provide the Webserver and Operating System Banner.
-
OSVDB-877
- RFC compliant web servers support the TRACE HTTP method, which contains a flaw that may lead to an unauthorized information disclosure. The TRACE method is used to debug web server connections and allows the client to see what is being received at the other end of the request chain.
- Instructions:
| Section 9: OSVDB-3268: /dvwa/config/: Directory indexing found: |
- Browse /dvwa/config with Firefox
- Instructions:
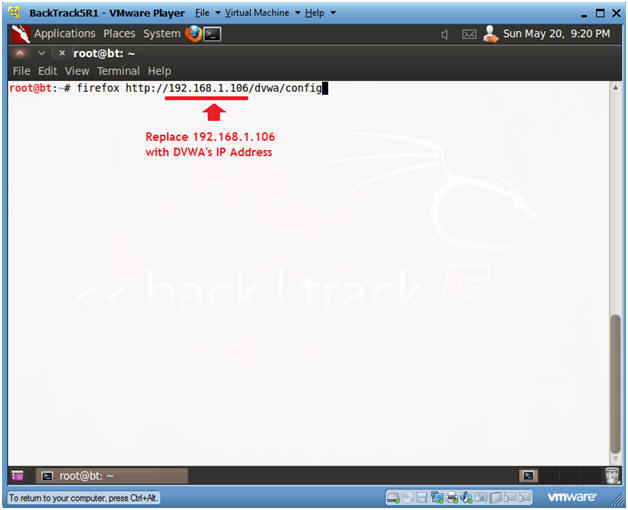
- firefox http://192.168.1.106/dvwa/config
- Notes:
- Replace 192.168.1.106 with the IP Address obtained in (Section 3, Step 3)
- Instructions:
- Investigate /dvwa/config
- Instructions:
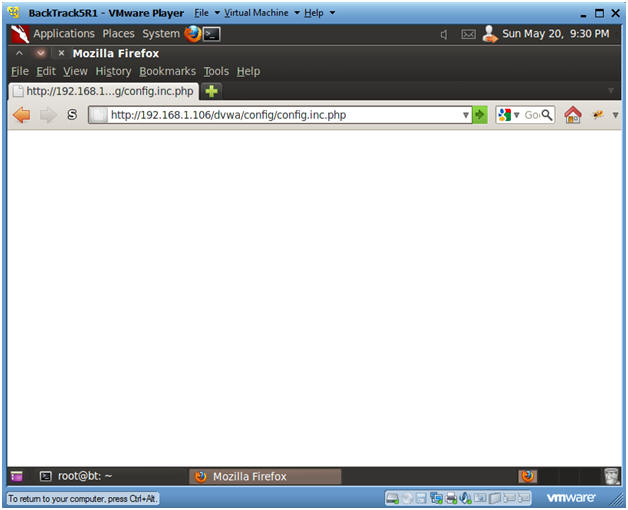
- Click on config.inc.php
- Notes:
- When a web directory does not contain index.html, index.php, etc, then all files in that directory will be displayed.
- Note, you should never allow a configuration directory to be available to the public.
-
OSVDB-3268
- Directory indexing has been found to be enabled on the web server. While there is no known vulnerability or exploit associated with this, it may reveal sensitive or "hidden" files or directories to remote users, or aid in more focused attacks.

- Instructions:
- Nothing Happened?
- Note:
- The config.inc.php produced nothing.
- Typically php, perl, asp, etc script will execute as designed and will not produce output.
- Note:
- Let's test for a tilde
- Instructions:
-
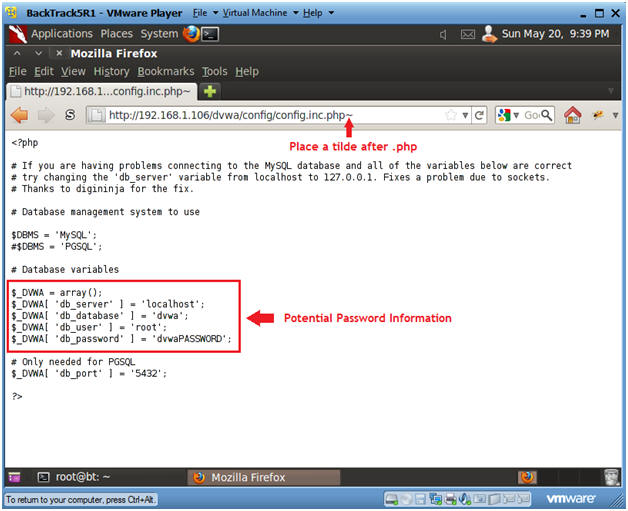
http://192.168.1.106/dvwa/config/config.inc.php~
- Place a tilde(~) after .php
-
http://192.168.1.106/dvwa/config/config.inc.php~
- Notes:
- Some applications create a backup file of the file you are edit, with a "~" following it.
- The contents of the php file are displayed to the screen, since the Web Server does not recognize a file as a php script because it ends with "~".
- Instructions:
| Section 10: Proof of Lab |
- Proof of Lab
-
Proof of Lab Instructions:
- On BackTrack, pull up a terminal window.
- cd /pentest/web/nikto
- ./nikto.pl -host
http://192.168.1.106/dvwa 2>&1 > /var/tmp/nikto.txt
- Replace 192.168.1.106 with DVWA's IP Address obtained in (Section 3, Step 3).
- ls -l /var/tmp/nikto.txt
- date
- echo "Your Name"
- Replace the string "Your Name" with your actual name.
- e.g., echo "John Gray"
- Do a <PrtScn>
- Paste into a word document
- Upload to Moodle
-

-
Proof of Lab Instructions: