(Helix)
{ Install Helix Linux Image to Hard drive }
| Section 0. Background Information |
- Helix3 is a Live CD built on top of Ubuntu. It focuses on incident response and computer forensics. According to Helix3 Support Forum, e-fense is no longer planning on updating the free version of Helix.
- See http://www.e-fense.com/products.php
| Section 1. Downloading Helix |
- On any machine connected to the Internet, bring
up a Web Browser.
- In my case, I am using a Windows Machine that has a USB hard drive attached to it.
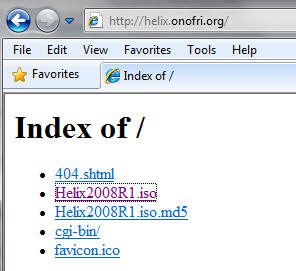
- Go To
http://helix.onofri.org/Helix2008R1.iso
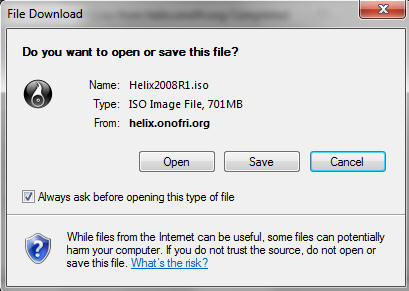
- Saving the ISO
- Command: Click Save
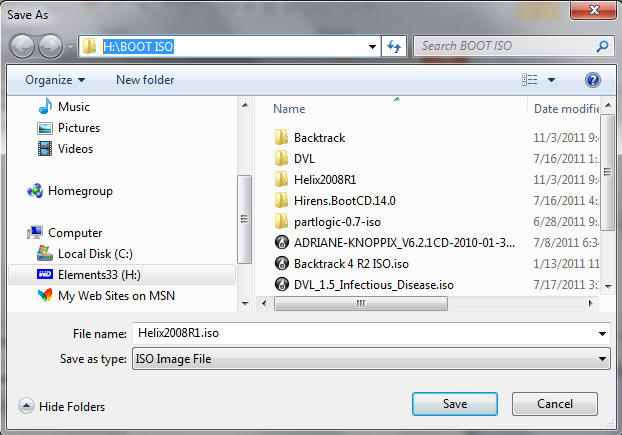
- Saving ISO to a location
- Instruction: It's up to you where you want to save the file. In my case, I will save the ISO to H:\BOOT ISO
| Section 2. Create a New Virtual Machine |
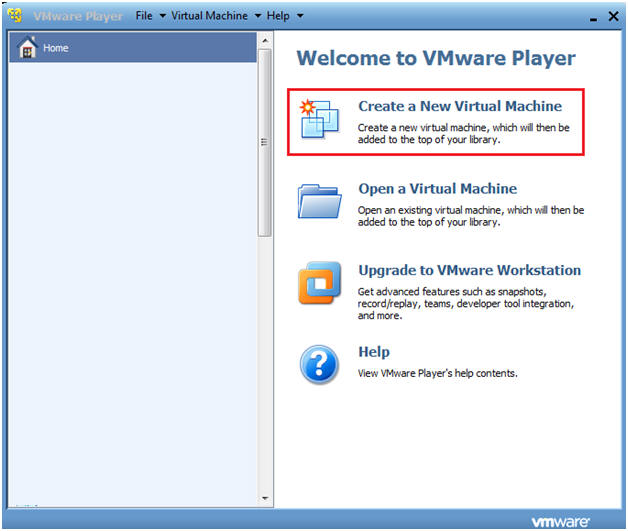
- Create a New Virtual Machine
- Command: Click on "Create a New Virtual Machine"
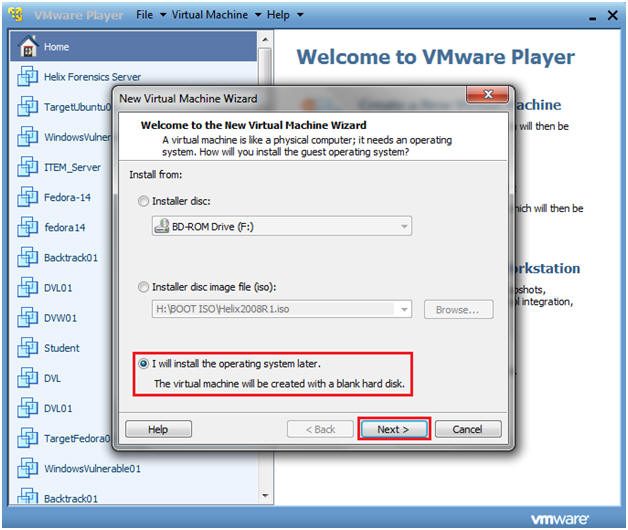
- New Virtual Machine Wizard
- Instructions:
- Click on the "I will install the operating system later" radio button.
- Click Next.
- Instructions:
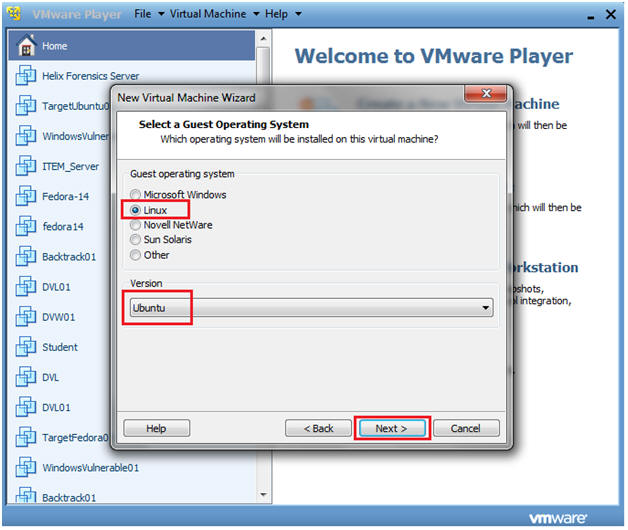
- Customer Operating System and Version
- Instructions:
- Guest operating system: Linux
- Version: Ubuntu
- Click Next.
- Instructions:
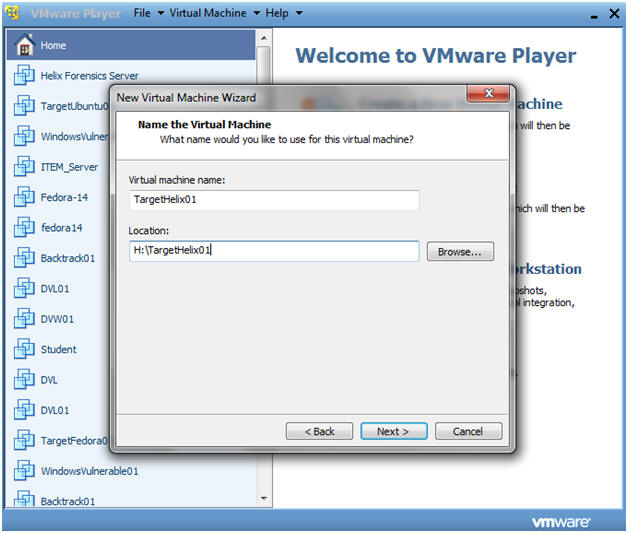
- Personalize Linux
- Instructions:
- Virtual machine name: TargetHelix01
- Note: Name it whatever you like.
- Location: H:\TargetHelix01
- Note: If you can, save this image to a USB Hard drive.
- Click Next.
- Virtual machine name: TargetHelix01
- Instructions:
- Personalize Linux
- Instructions:
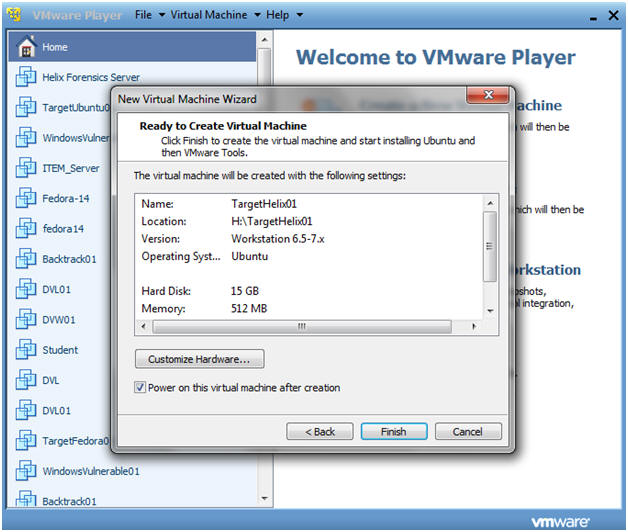
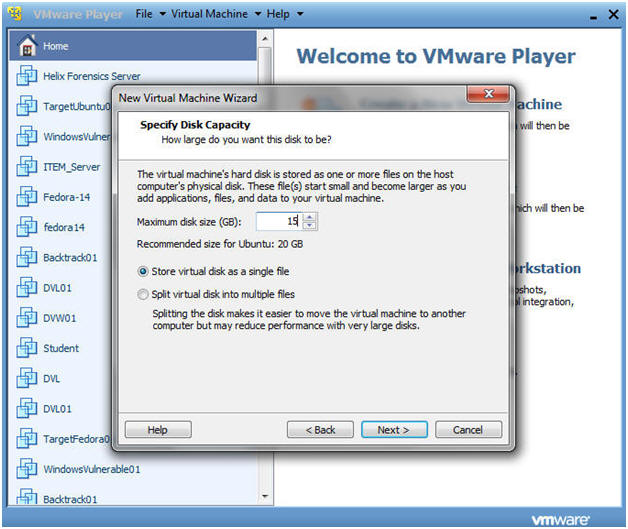
- Maximum disk size (GB): 15
- Note: You can make this a little as 3.5 GB. It really depends if you instead on analyzing images with Autopsy.
- Click on the "Store virtual disk as a single file"
- Click Next.
- Maximum disk size (GB): 15
- Instructions:
- Personalize Linux
- Instructions:
- Click Finished
- Note:
- Helix will now boot off of the Helix2008R1.iso.
- Instructions:
| Section 3. Install Helix to the Hard drive (Part 1) |
- Warning: Step 10 will fail. Unfortunately, you will have to go through the install steps twice, due to an os-prober issue that has trouble seeing the logical volumes. So, don't get frustrated and just follow along step by step.
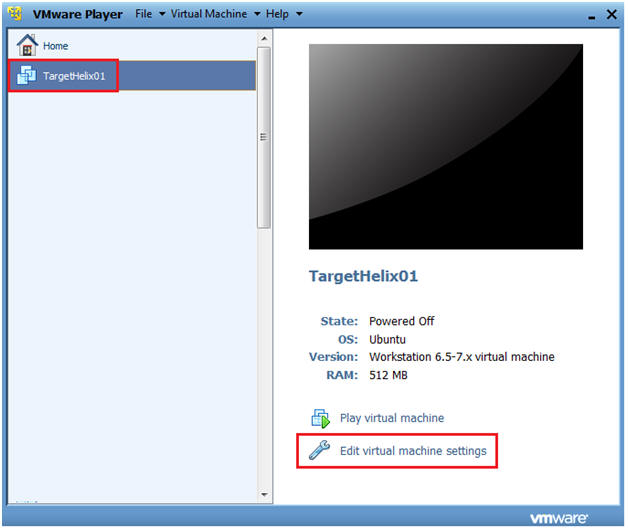
- Edit TargetHelix01 Virtual Machine
- Command: Click Edit virtual machine settings
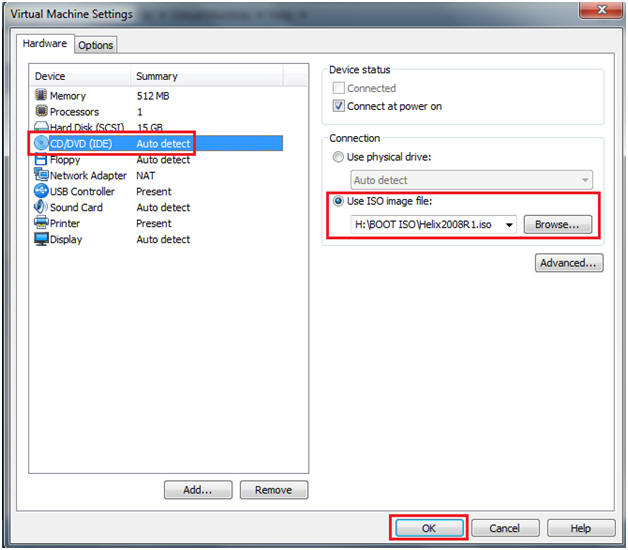
- Virtual Machine Settings
- Command:
- Select CD/DVD (IDE)
- Select the "Use ISO image file:" radio button.
- Browse to where you saved the Helix2008R1.iso
- Select OK.
- Command:
- Booting from Helix Options
- Instructions:
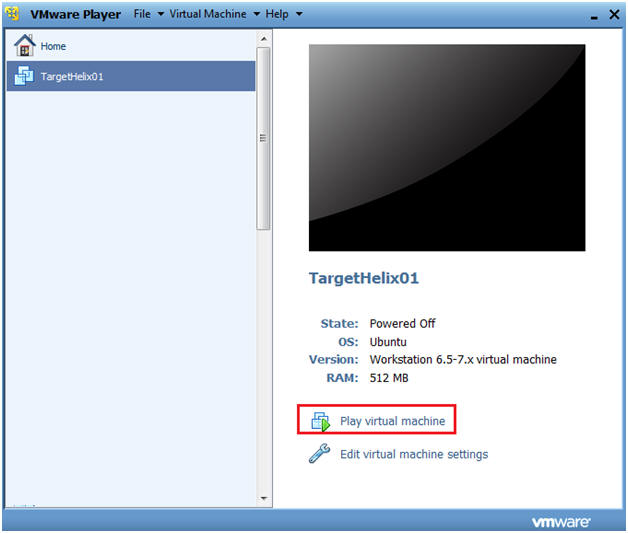
- Select TargetHelix01
- Play Virtual Machine
- Instructions:
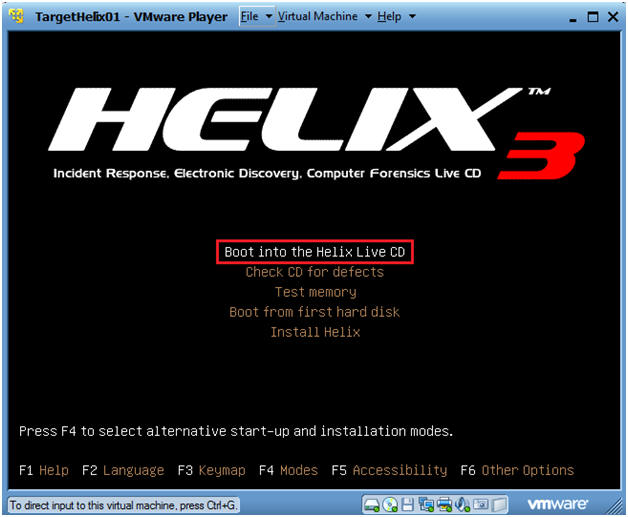
- Boot into the Helix Live CD
- Command:
- Arrow Down to "Boot into the Helix Live CD"
- Press Enter
- Command:
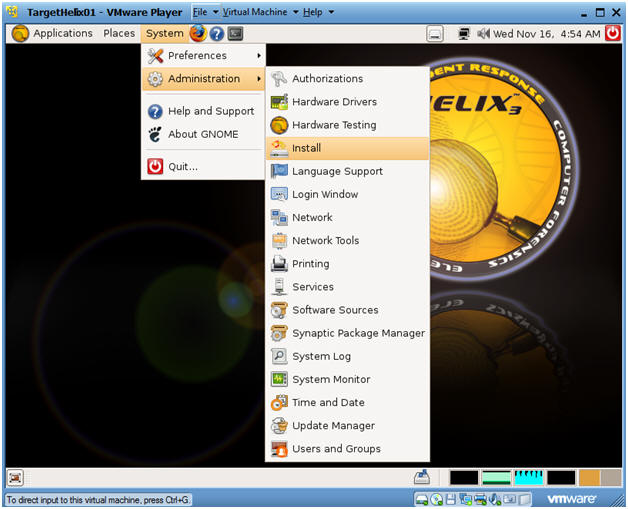
- Install to Hard drive (Part 1)
- Instructions:
- System --> Administration --> Install
- Instructions:
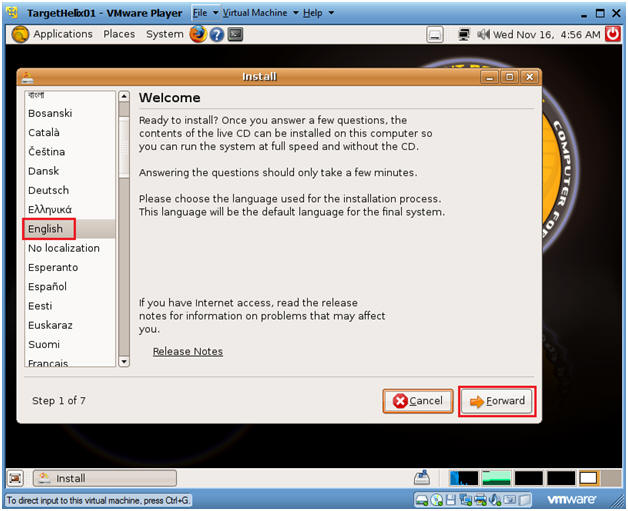
- Language Selection
- Instructions:
- English
- Forward
- Instructions:
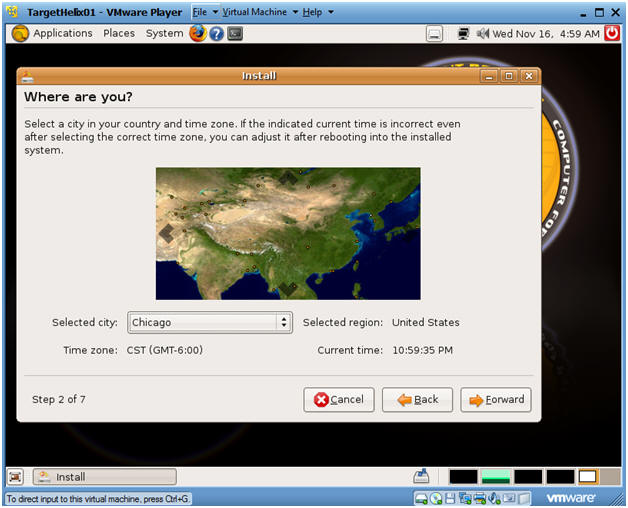
- Timezone Selection
- Instructions:
- Select City: Chicago
- Forward
- Instructions:
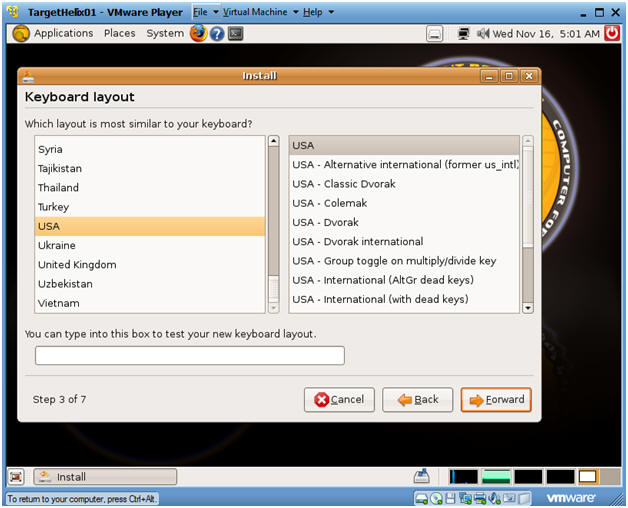
- Keyboard layout
- Instructions:
- Which layout is most similar to your keyboard? USA
- USA
- Forward
- Instructions:
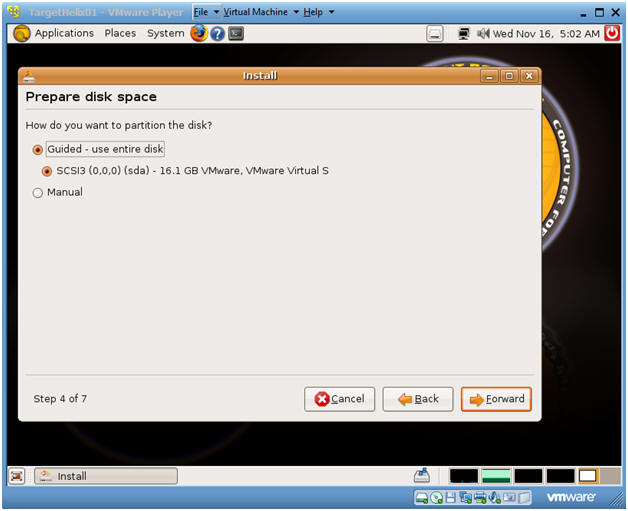
- Prepare disk space
- Instructions:
- Make sure Guided - use entire disk is selected.
- Forward
- Instructions:
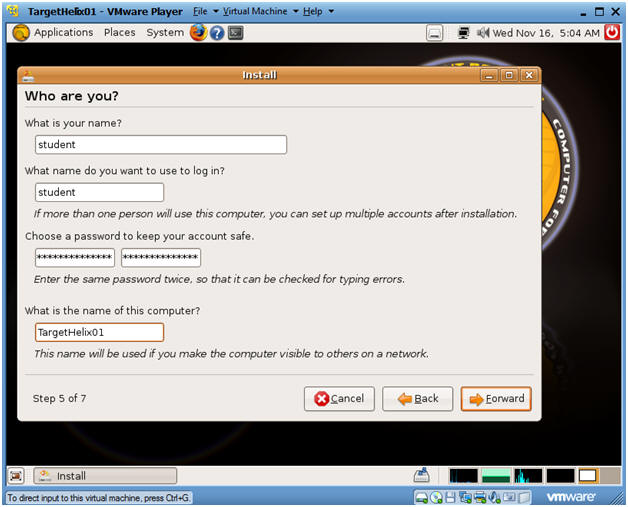
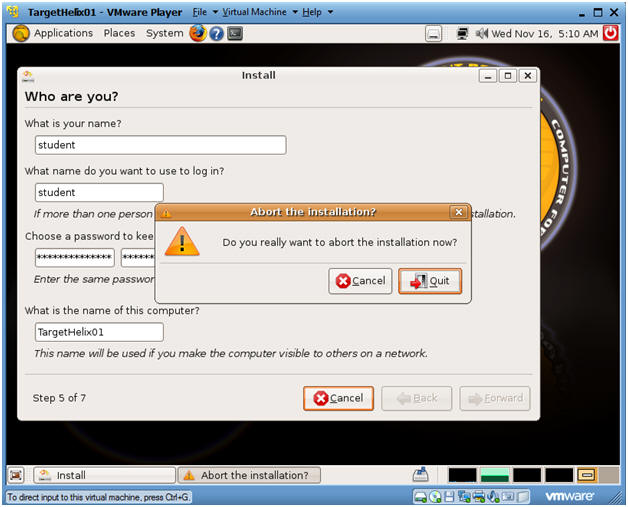
- Who are you?
- Instructions:
- What is your name? student
- What name do you want to use to log in? student
- Choose a password
- What is the name of this computer? TargetHelix01
- Forward
- Warning
Instructions:
- After pressing forward the os-prober will fail because it cannot the volume groups.
- Click Cancel
- I realize you are saying what the hell, but please continue to follow along to get Helix to install to disk.
- Instructions:
- Abort the installation?
- Instructions:
- Click on Quit
- Notes: I know this sounds crazy, but continue to Section 4.
- Instructions:
| Section 4. Install Helix to the Hard drive (Part 2) |
- Install to Hard drive (Part 2)
- Instructions:
- System --> Administration --> Install
- Instructions:
- Language Selection
- Instructions:
- English
- Forward
- Instructions:
- Timezone Selection
- Instructions:
- Select City: Chicago
- Forward
- Instructions:
- Keyboard layout
- Instructions:
- Which layout is most similar to your keyboard? USA
- USA
- Forward
- Instructions:
- Prepare disk space
- Instructions:
- Make sure Guided - use entire disk is selected.
- Forward
- Instructions:
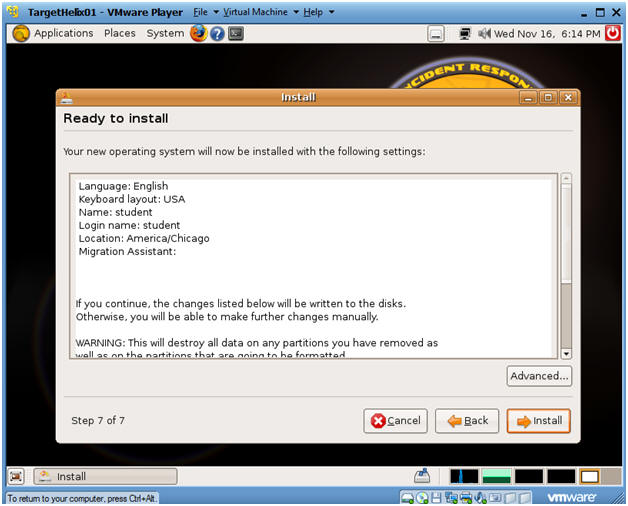
- Ready to Install
- Instructions:
- Click Install
- Side Note:
- See, I am not crazy, it works a second time. BTW, I discovered this trick by scavenging through many of websites and blogs.
- Instructions:
- Installing system
- Side Note: This process will take between 10 to 20 minutes.

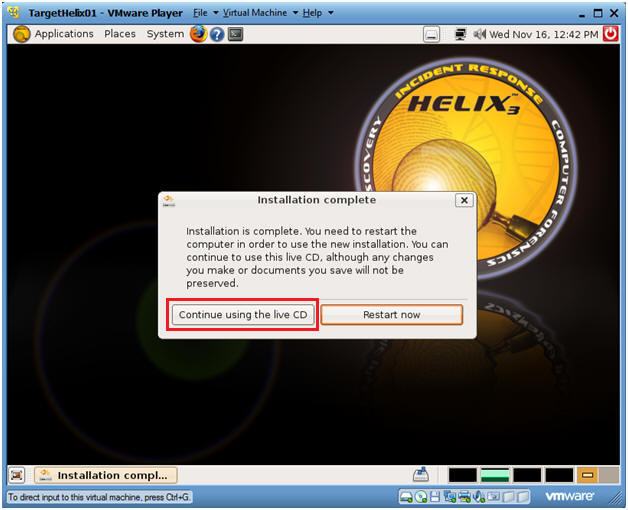
- Post Installation
- Command: Click on Continue using the Live CD
- Adjust VMware Settings (For VMWare Only, See
Below)
- Command: Click on VMware Settings.

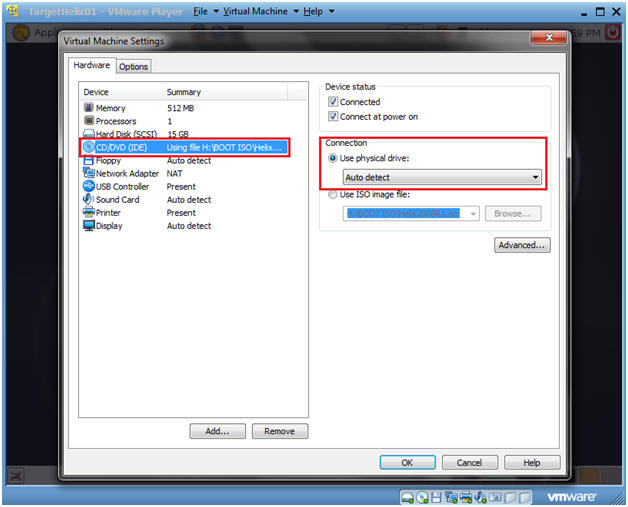
- Change Physical Drive (For VMWare Only, See
Below)
- Command:
- Select CD/DVD (IDE)
- Select the "Use physical drive:" Connection radio button.
- Command:
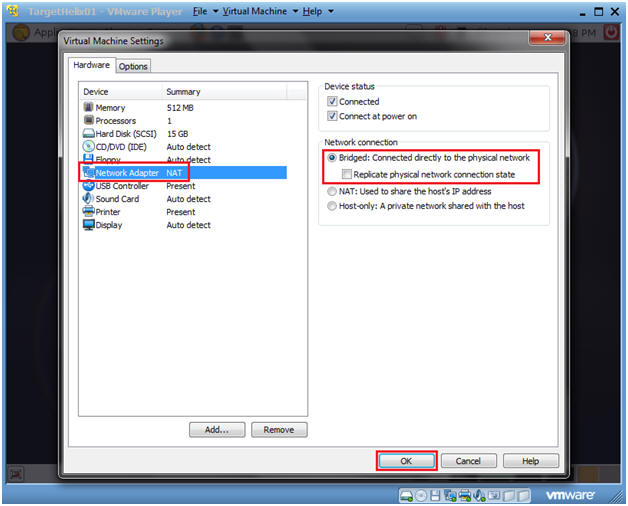
- Change Network Adapter (For VMWare Only, See
Below)
- Command:
- Select Network Adapter NAT
- Select the "Bridged: Connected directly to the physical network" Network Connection radio button.
- Command:
- Consistency Reboot
- Command:
- Click on the Terminal Console
- sudo su -
- shutdown -r now
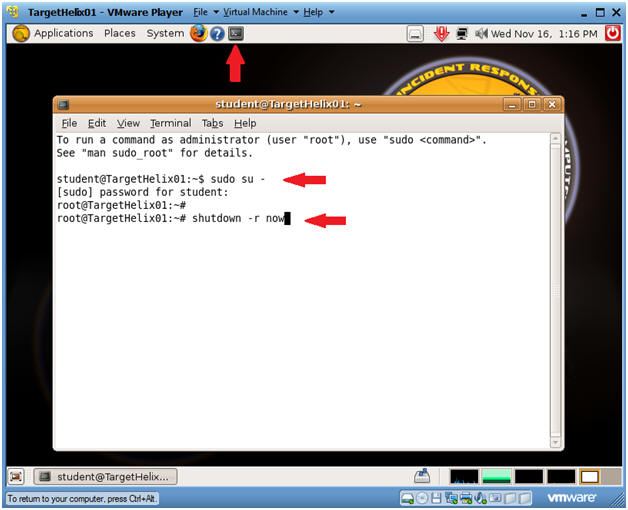
- Command:
| Section 5. Logging Into TargetHelix01 |
- Preview system information
- Command:
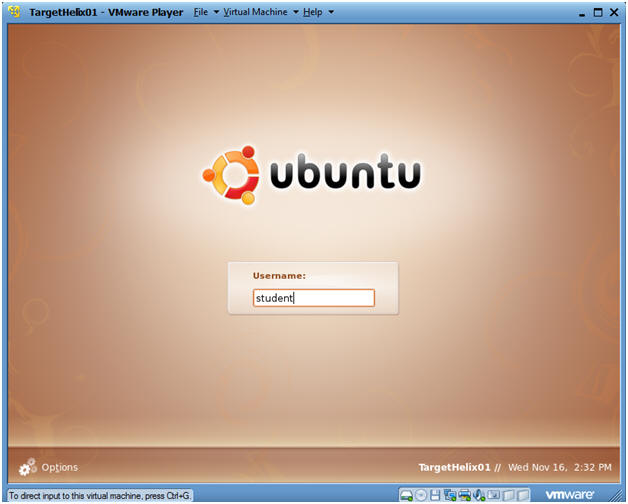
- Login with your the username and password you created earlier.
- In my case, I create a username called "student".
- Command:
- How to become root
- Command:
- sudo su -
- Enter your current password for the account your logged in as.
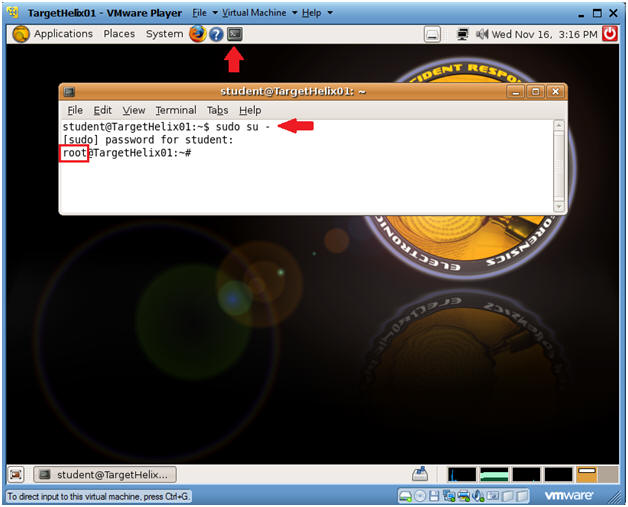
- Command:
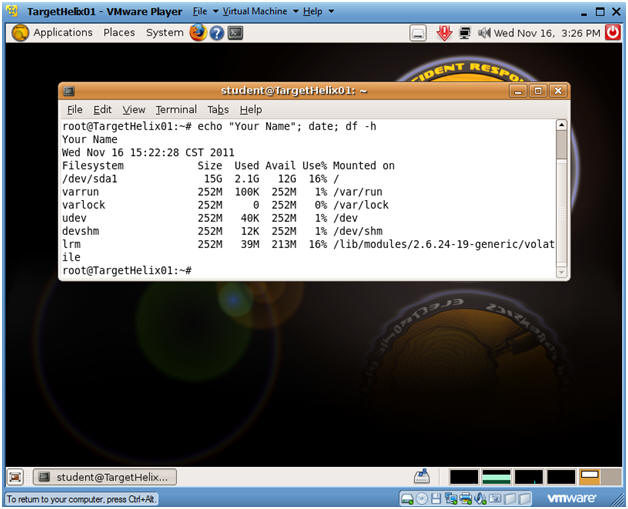
- Proof
of Lab
- Command:
- echo "Your Name"; date; df -h
- Do an Alt PrtScn (Print Screen)
- Cut and Paste into a Word Document
- Upload to Moodle.
- Command:
| Section: Proof of Lab |
- Cut and Paste a screen shot found in Section 5, Step 3 in a word and upload to Moodle.